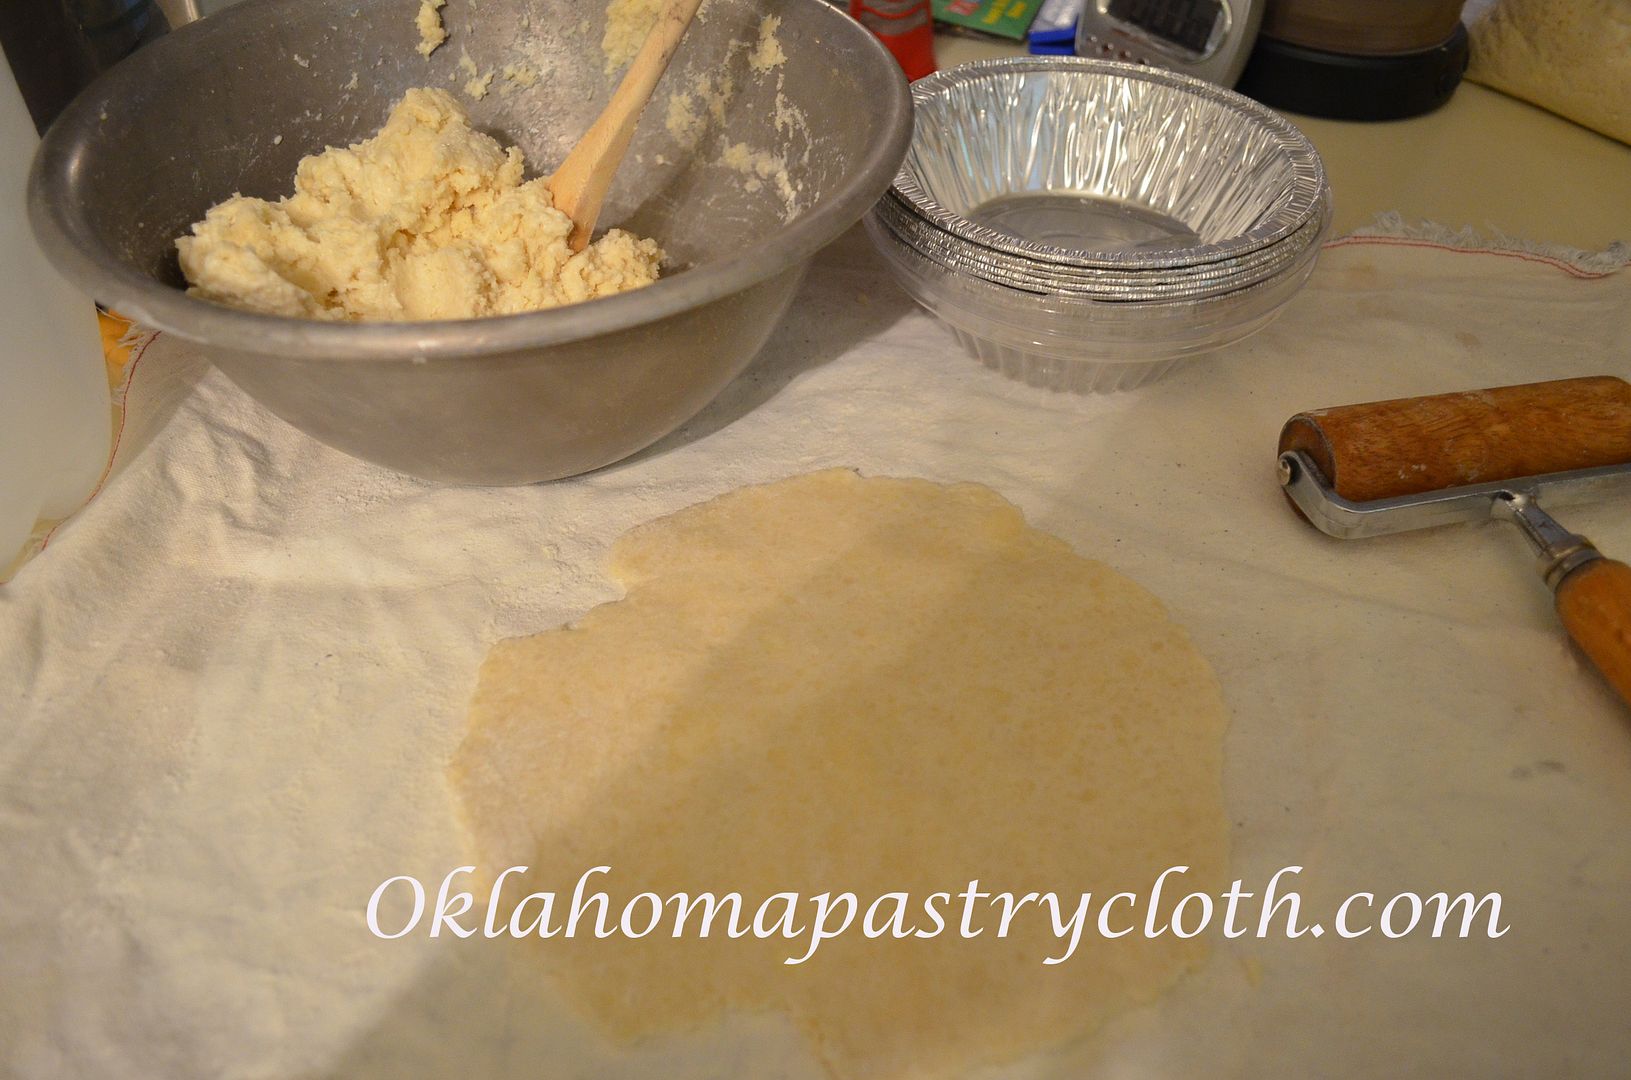
 It isn’t Fall yet and it’s still hot here in Oklahoma but if the weatherman knows what he is talking about, cool weather is on its way. Shortening days and coming holidays mean lots of full days with not much time to cook on many of them. Planning ahead and making your own, simple freezer meals saves time and money! And what screams, “Simple – Easy – Fast” like pot pies? Pot pies were a treat when I was growing up. We knew that if my parents were going to go out and a babysitter was coming to corral us four girls, it meant pot pies for supper. My favorite has always been turkey. And so, when I finally figured out, “Heh. I can do this myself”, making the buttery meat pies ahead of time for freezing has provided a quick meal in a pinch. So, I am going to share my recipe with you. This is totally my own, original recipe and you can add to it anything you like – carrots, spices, whatever. But I like just plain, ol’ pot pie rather like the simple, English meat pies. If I were going to add anything, it would be a little fresh thyme. But even that is gilding the lily for me. Oh, and you can find the foil pie tins with lids at your grocery store with the other foil baking pans. So here you go: Printable Recipe Instructions: First, make sure that the pie crust mix is cool but not frozen. Mix 3 1/2 cups of Our Pie Crust Mix Recipe with 12-14 Tablespoons of ice water. Using tablespoons, you can add and stir and add and stir to keep from adding too much water. The dough should be a little sticky. Set aside. 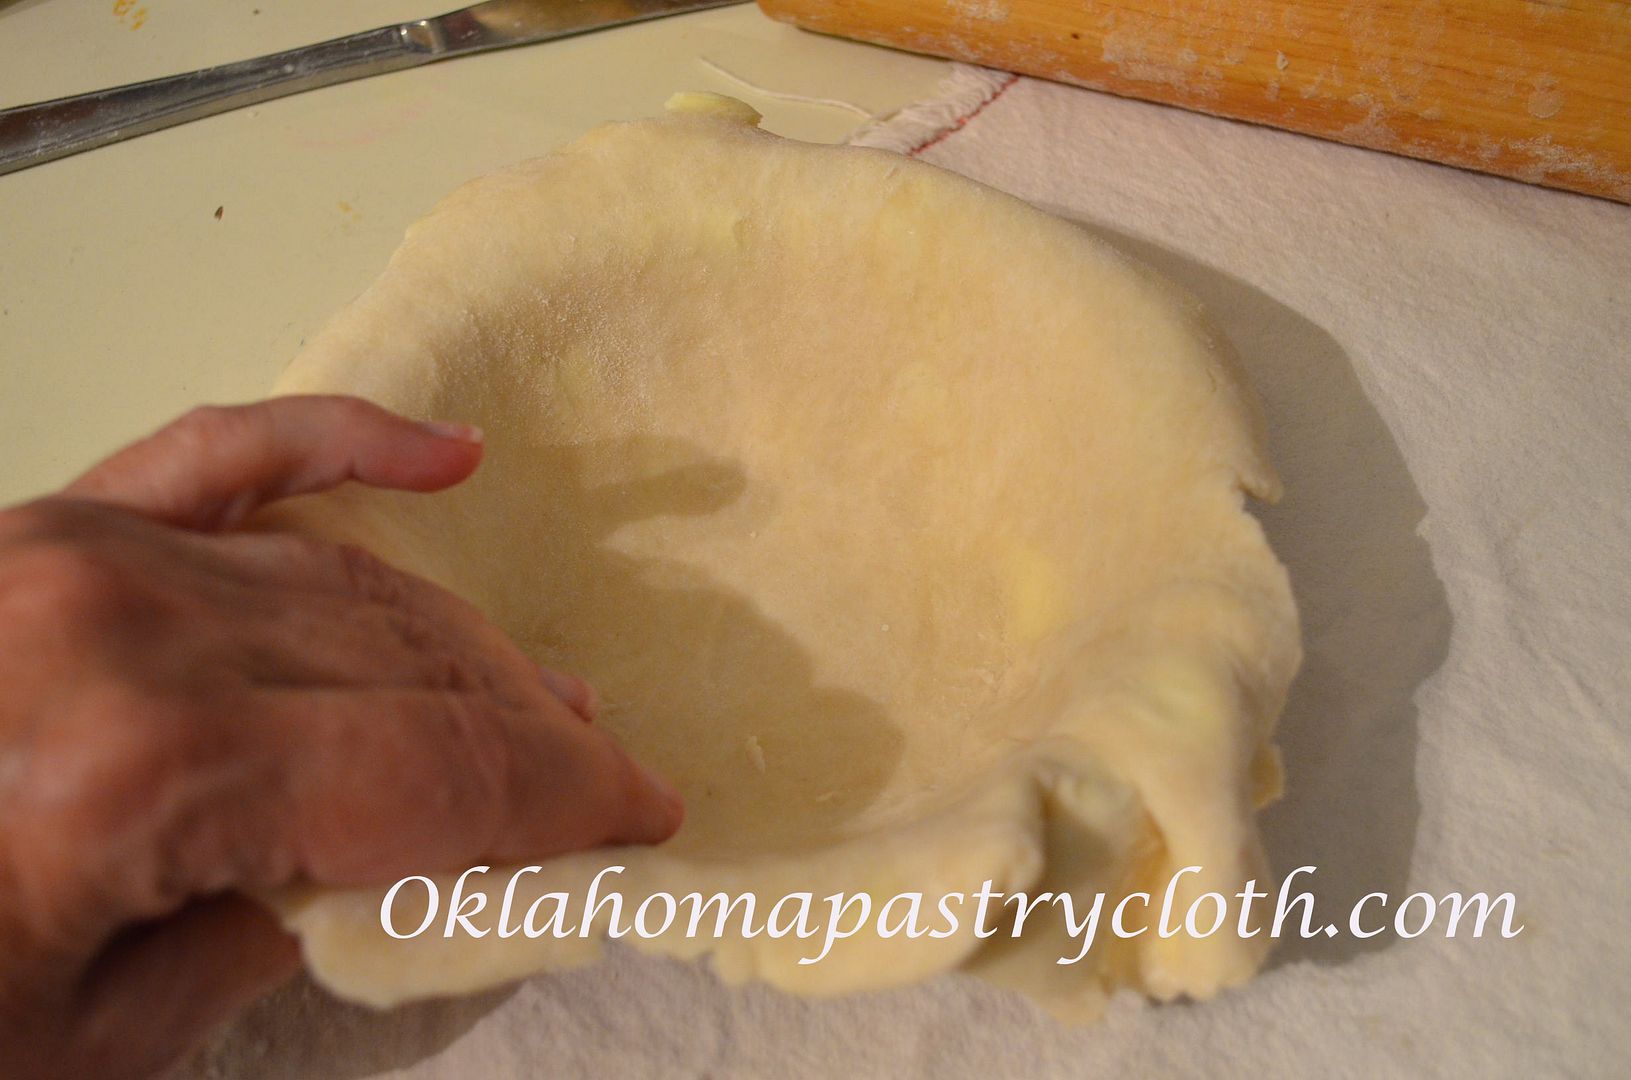 Place the rolled crust into one of the aluminum pie tins and gently press it down to fit to the shape of the tin. Press the edges down around the edge of the tin and fill in any spots that are missing dough by cutting off extra and putting a little ice water on the area and then pressing the piece into place.  Fill pie shell with 1 cup of turkey mixture. Pinch off a smaller ball of dough and roll it into about a 6″ circle. Wet the top edge of the bottom crust with ice water and place the second crust over the first crust . Press the edges down gently. 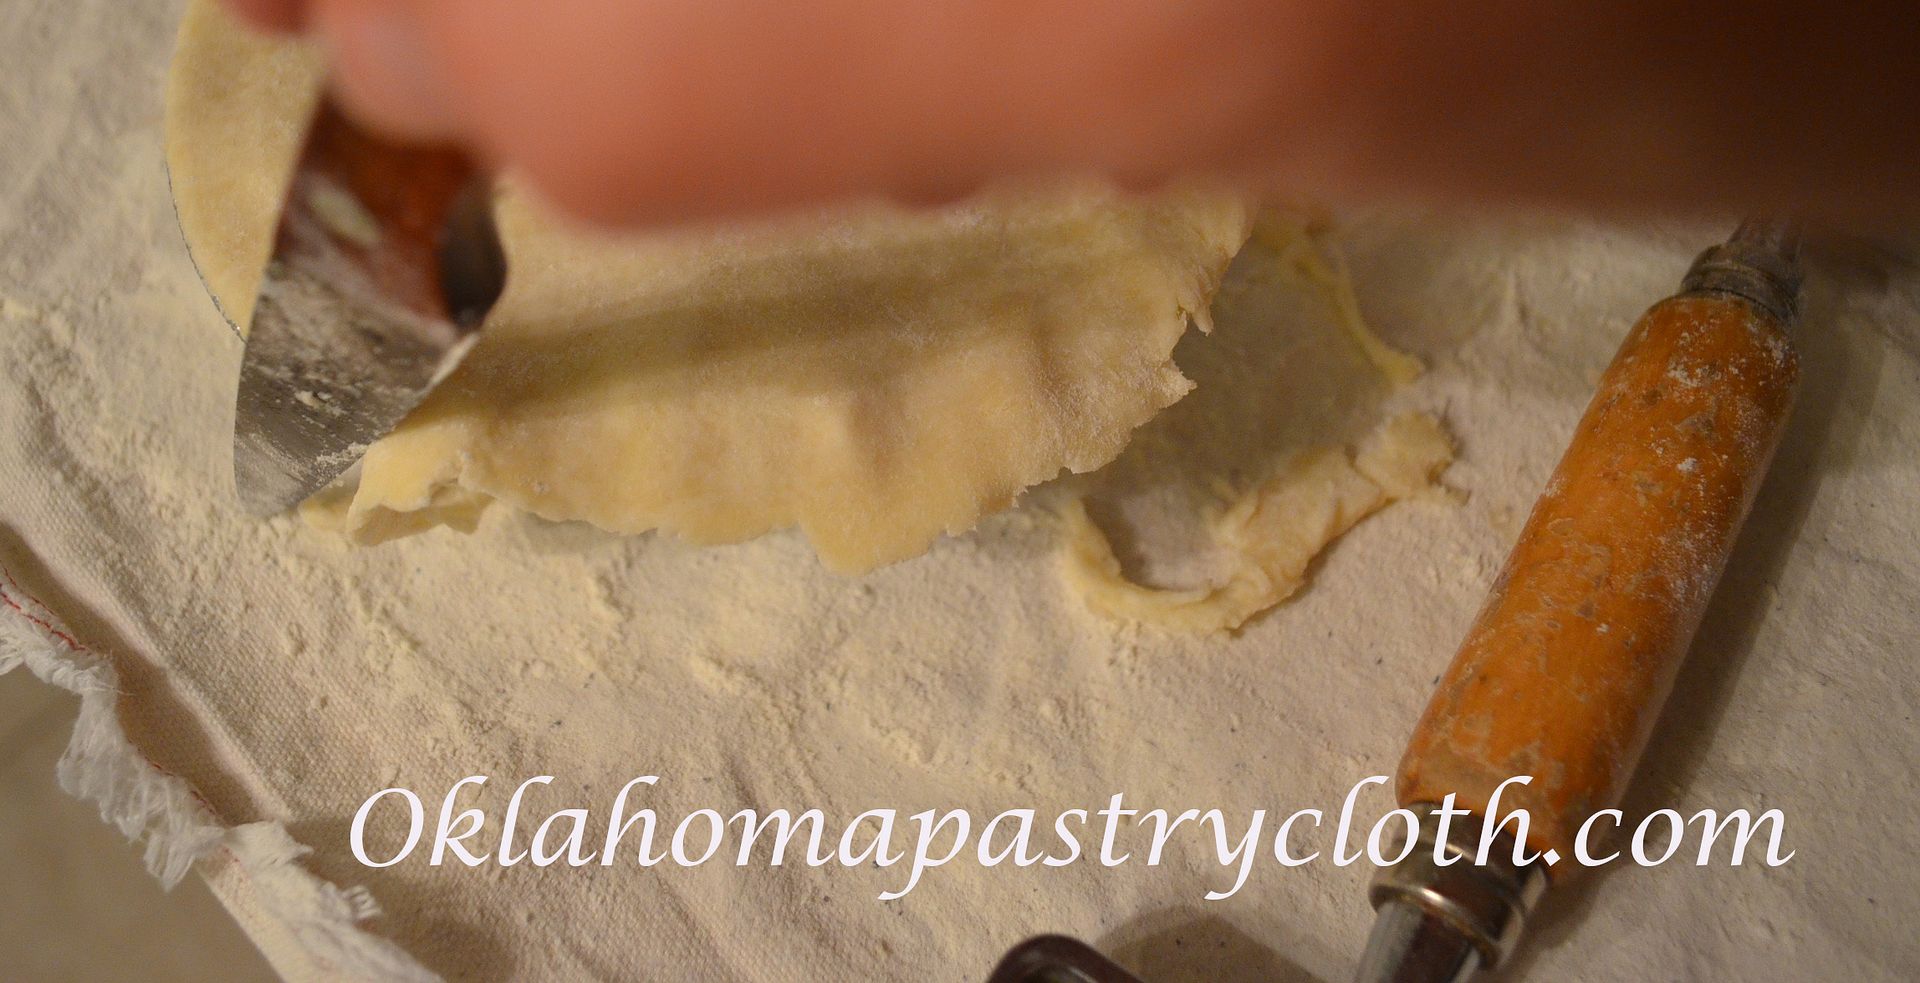 Using a sharp knife, trim edges by cutting against the outside edge of the tin. 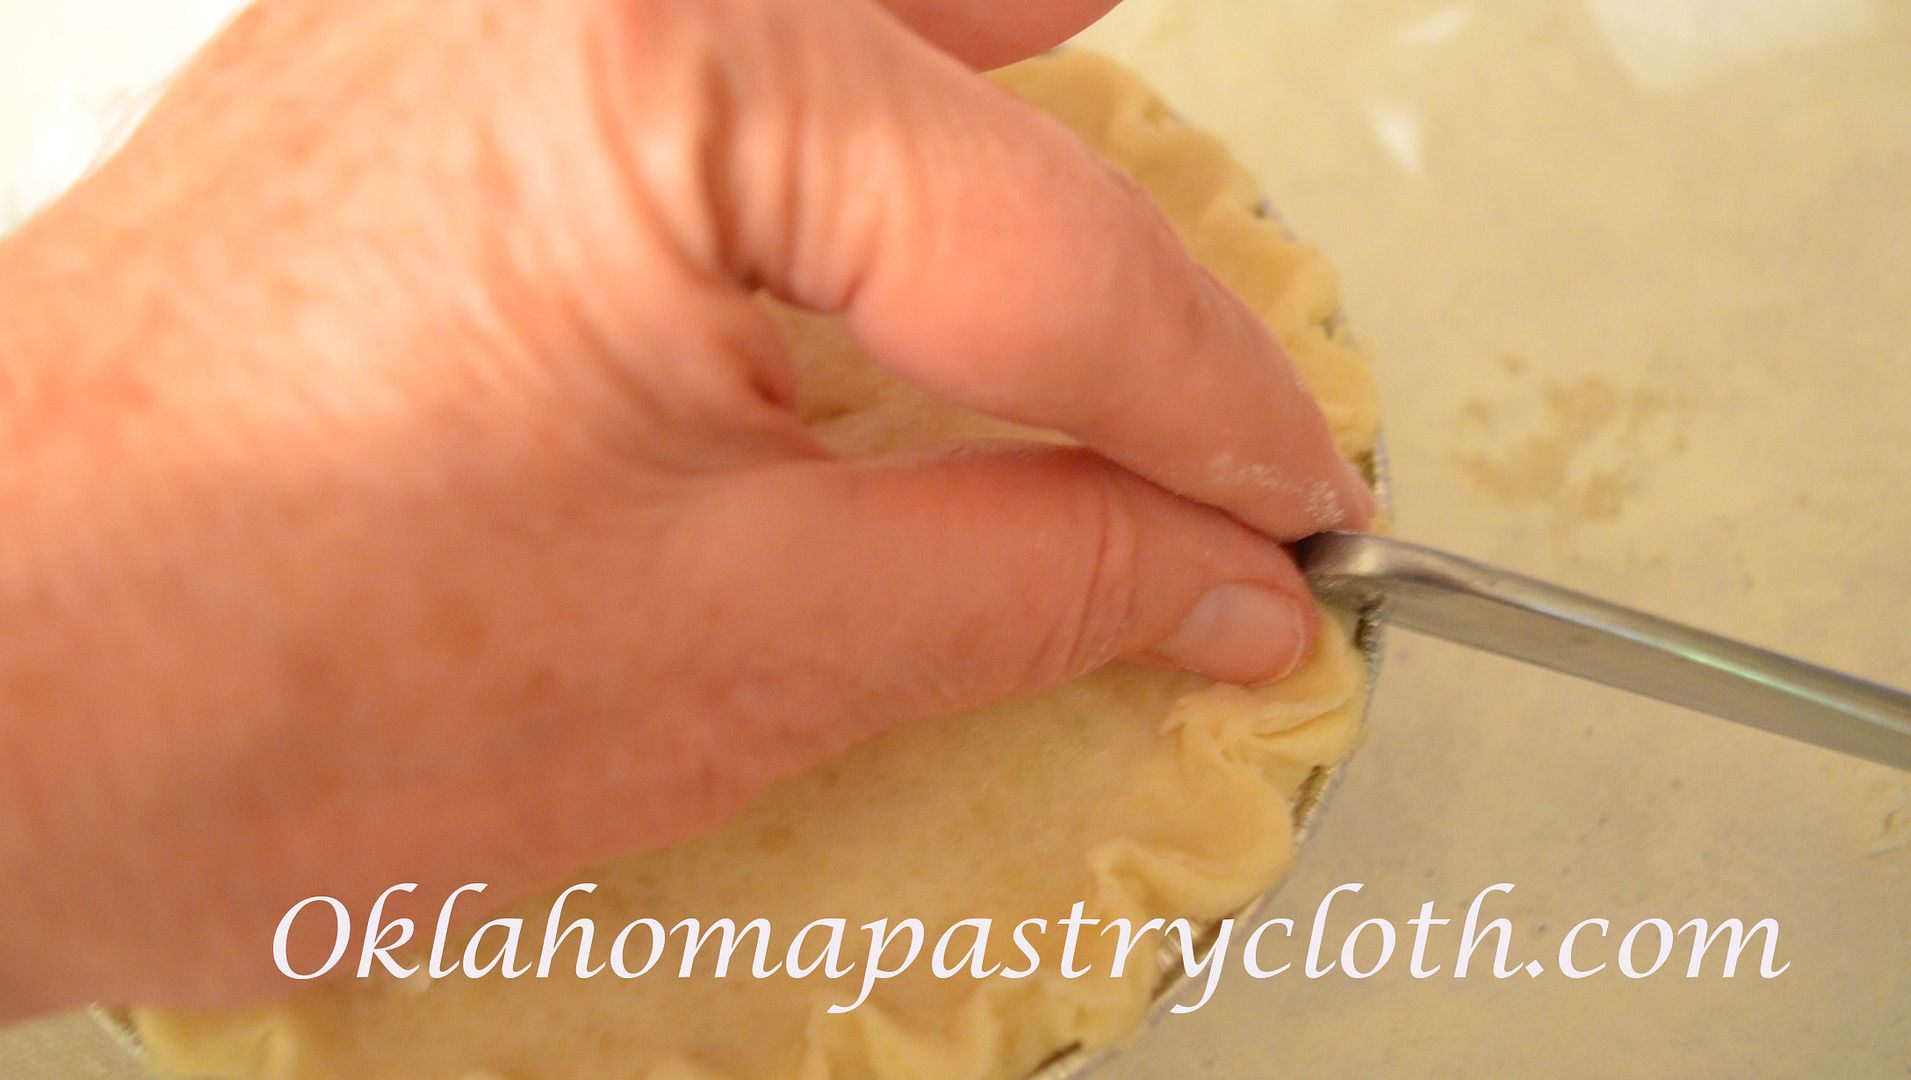 You can flute the edges of the crust by taking the end of a knife, pushing it against the outside edge of the crust toward your pinched index finger and thumb, pushing the dough into your fingers. Do this all the way around the pie. 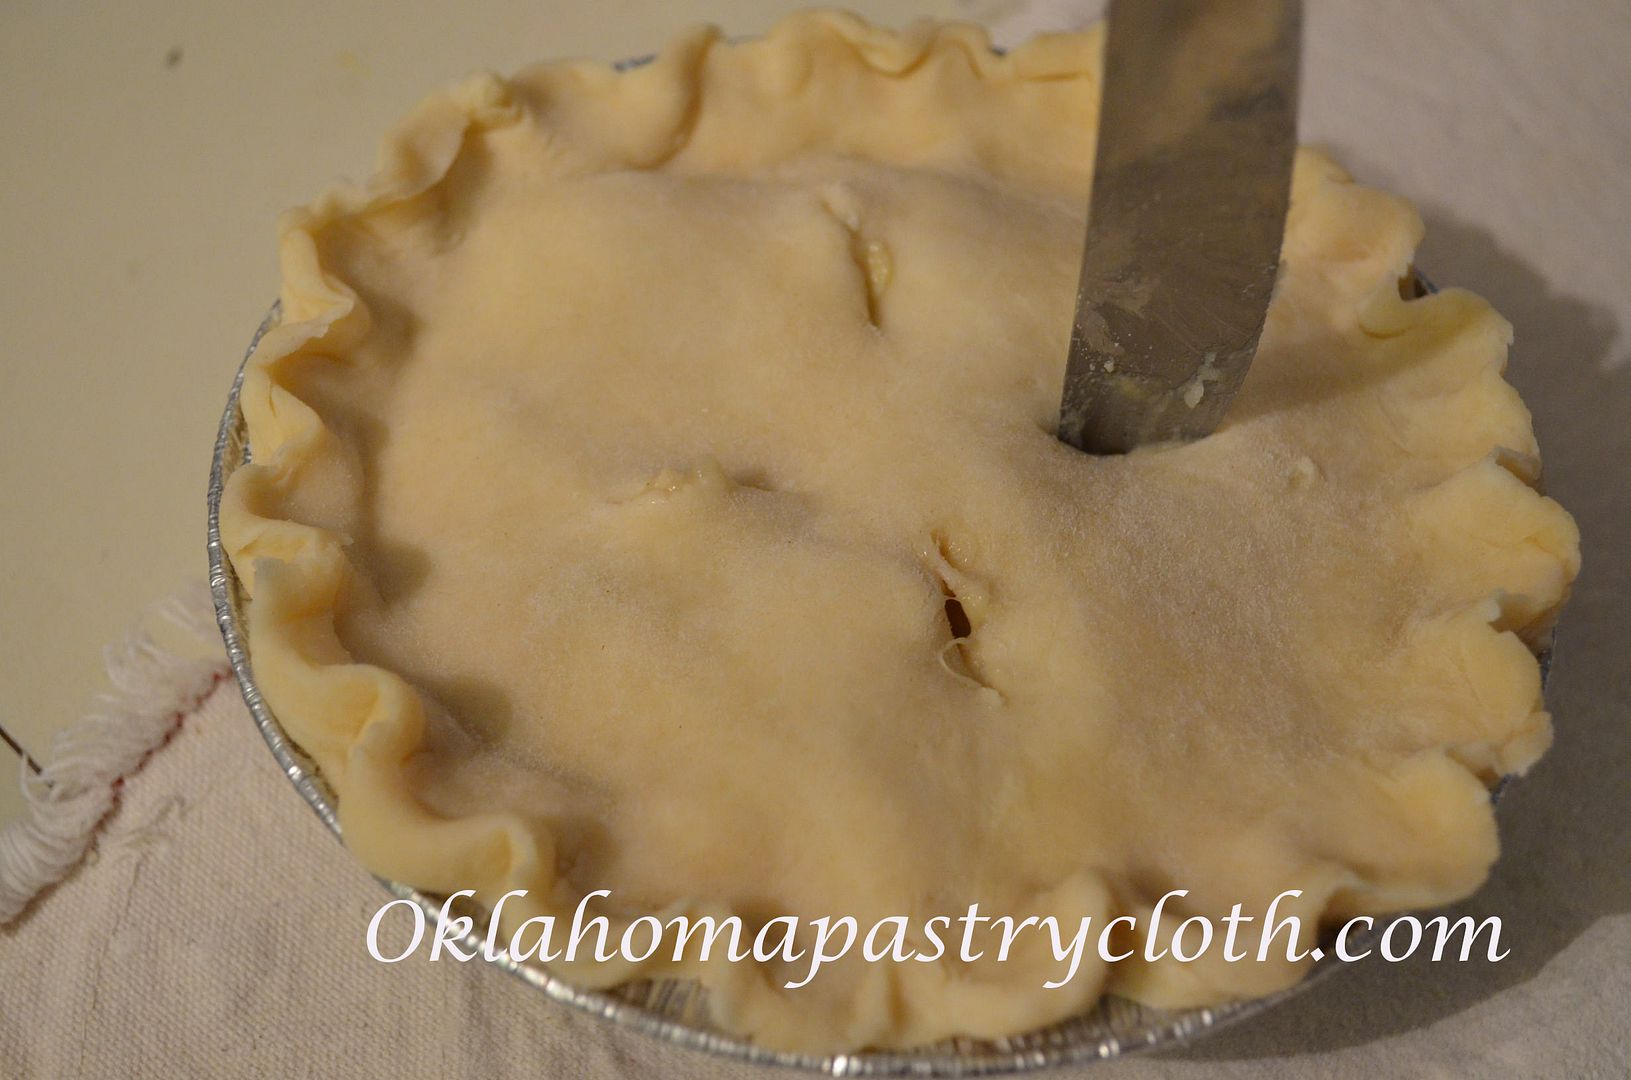 Cut four vent slits in the top crust 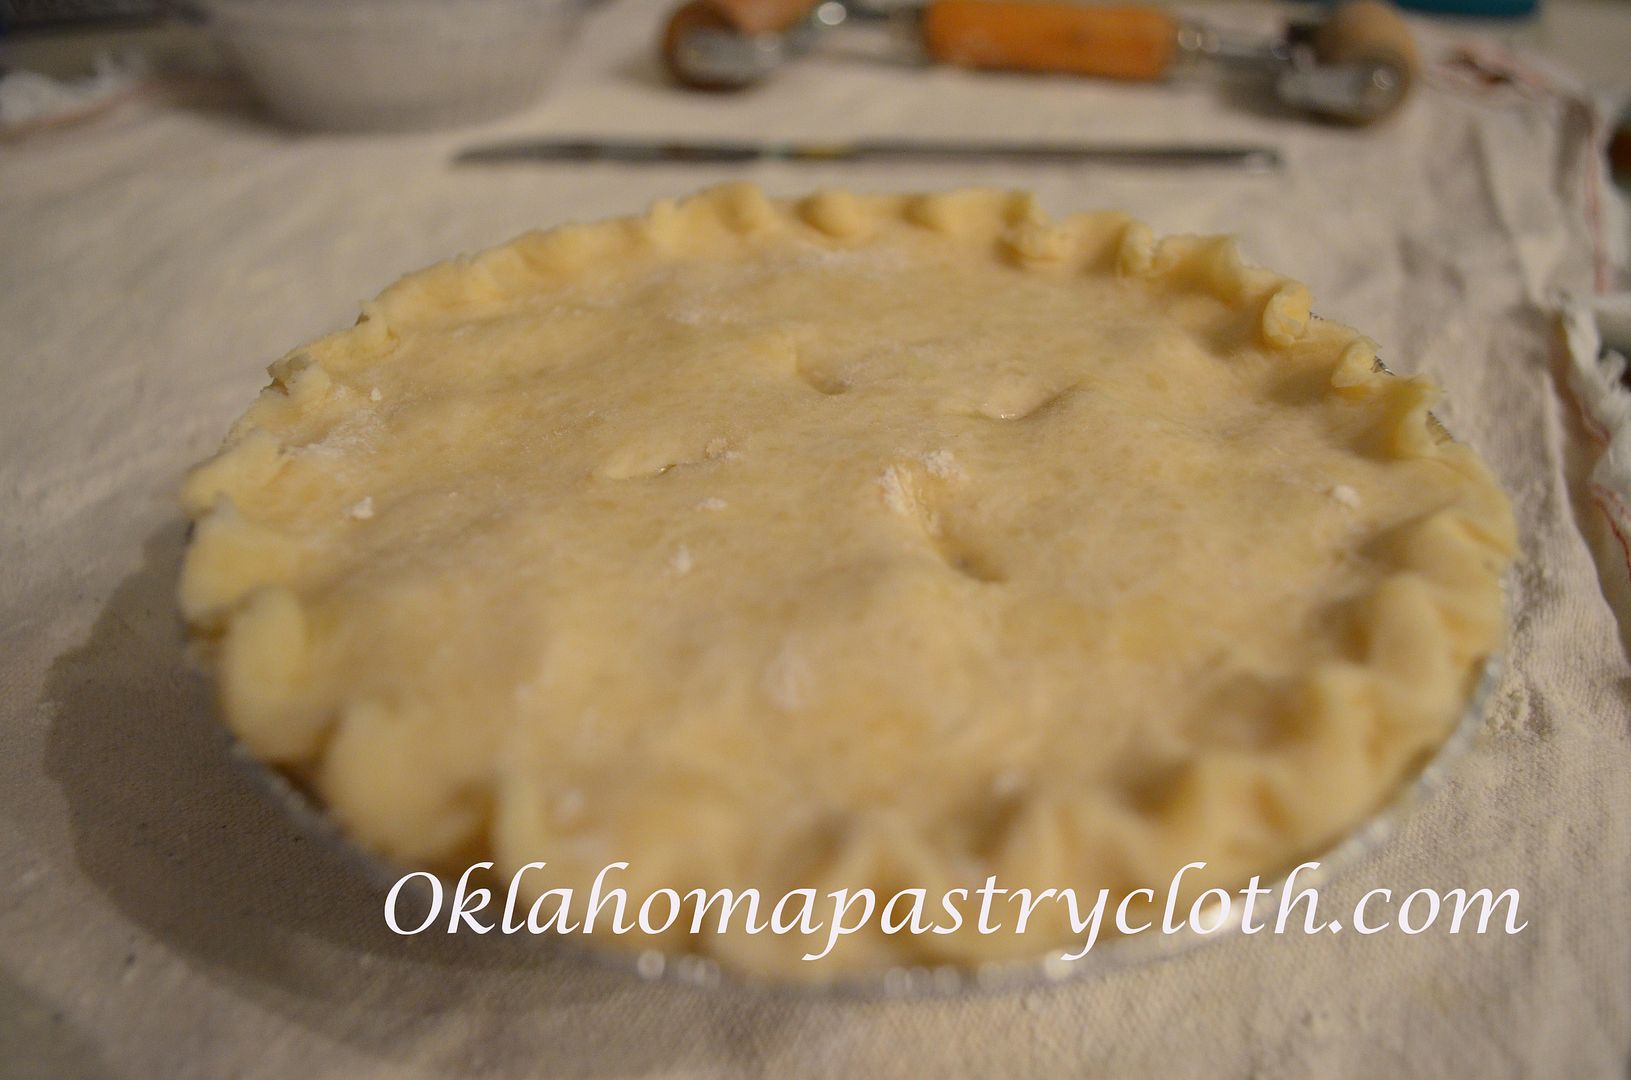 Voila. A finished pot pie! 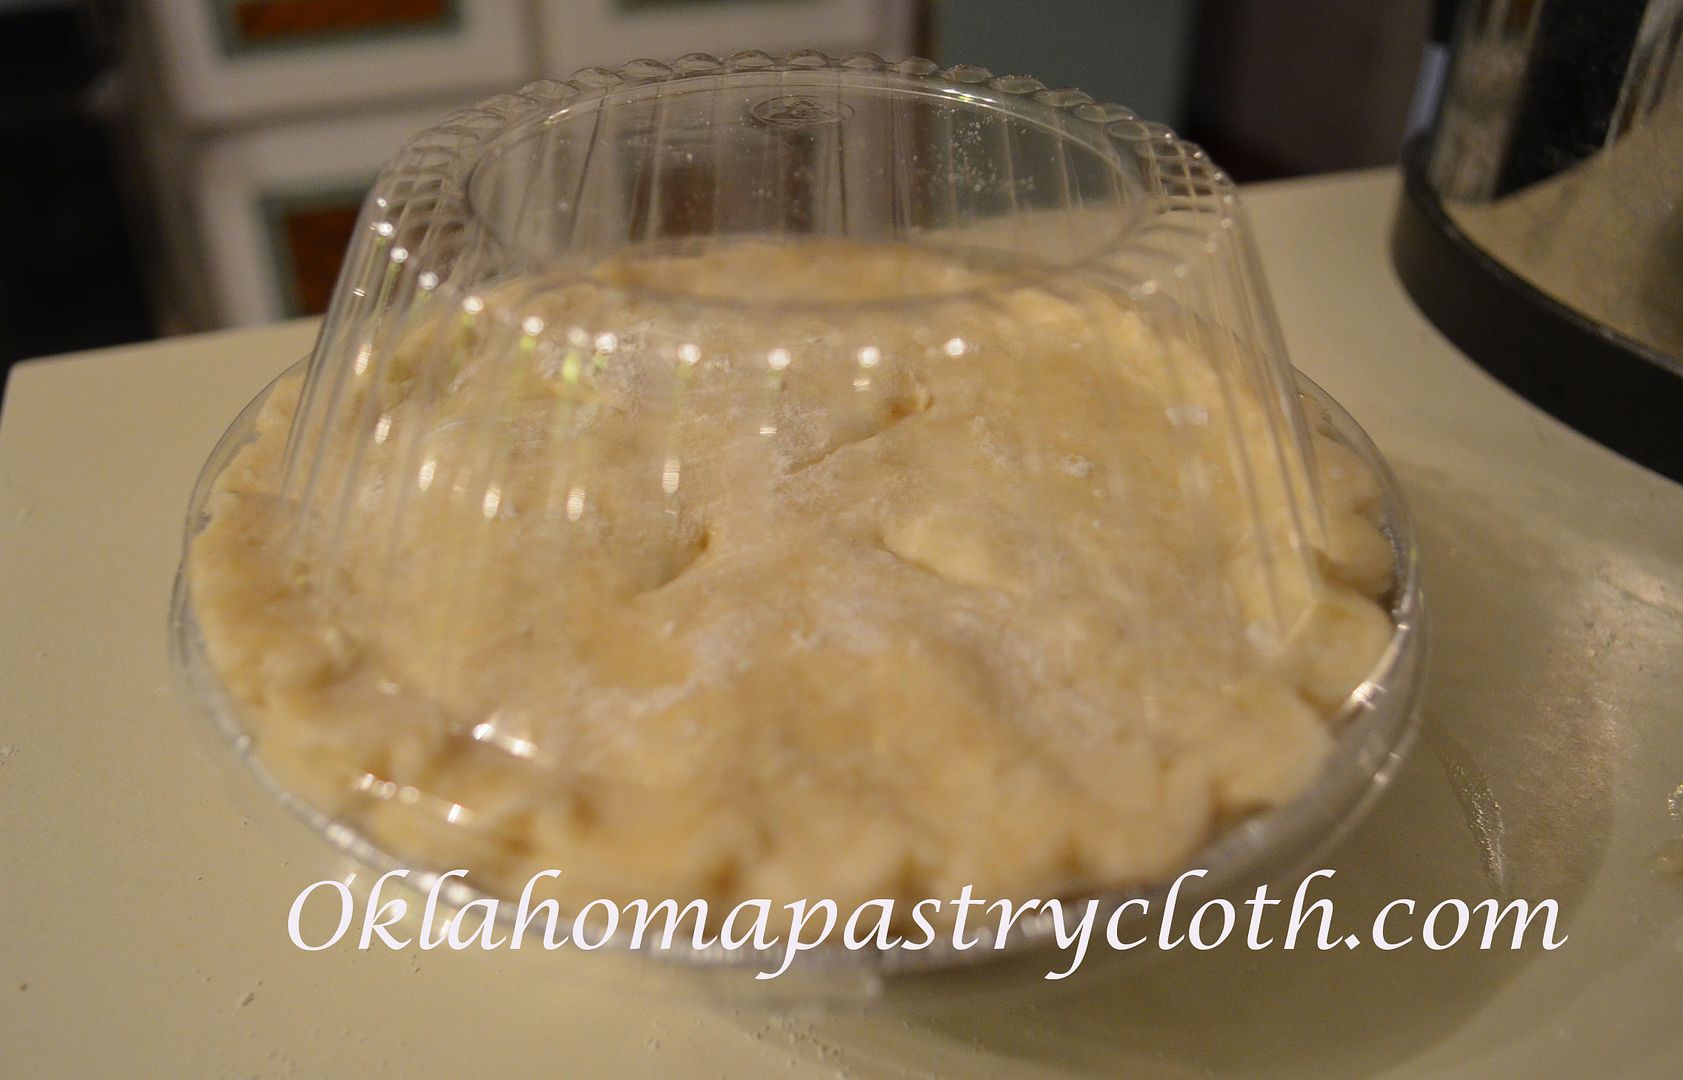 Cover with the plastic lid that comes with the foil pie tin. 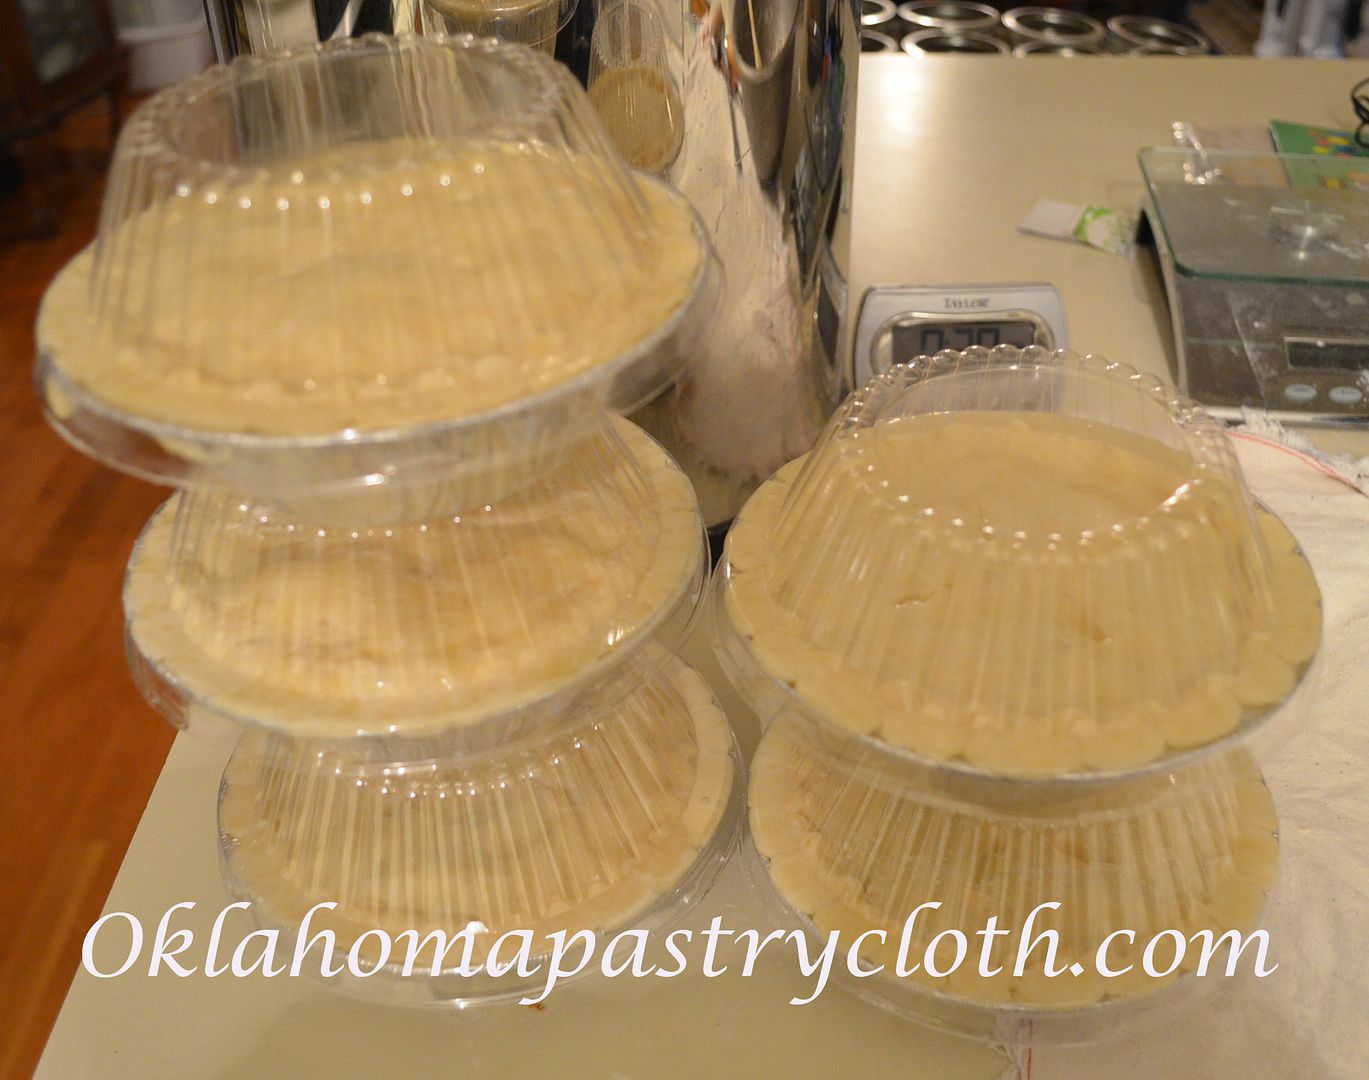 Repeat this process to make 7 – 8 pies. Freeze or bake immediately. 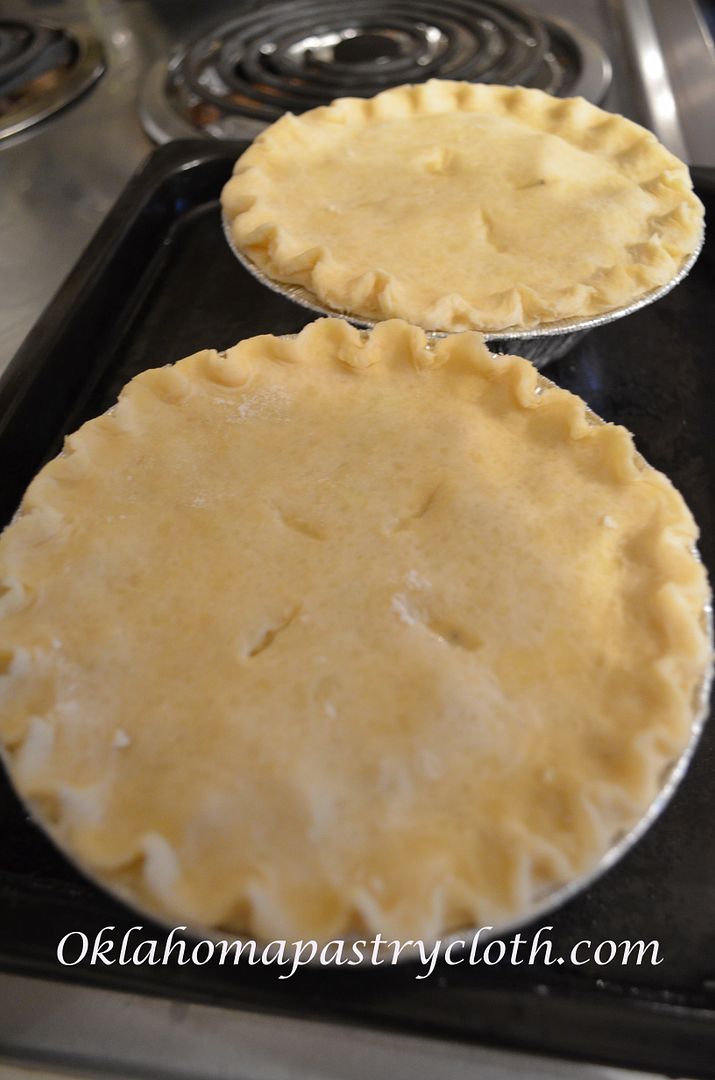 To bake, preheat oven to 400º. Bake pies for 45 – 50 minutes if fresh and 60-65 minutes if frozen until golden brown and bubbly. 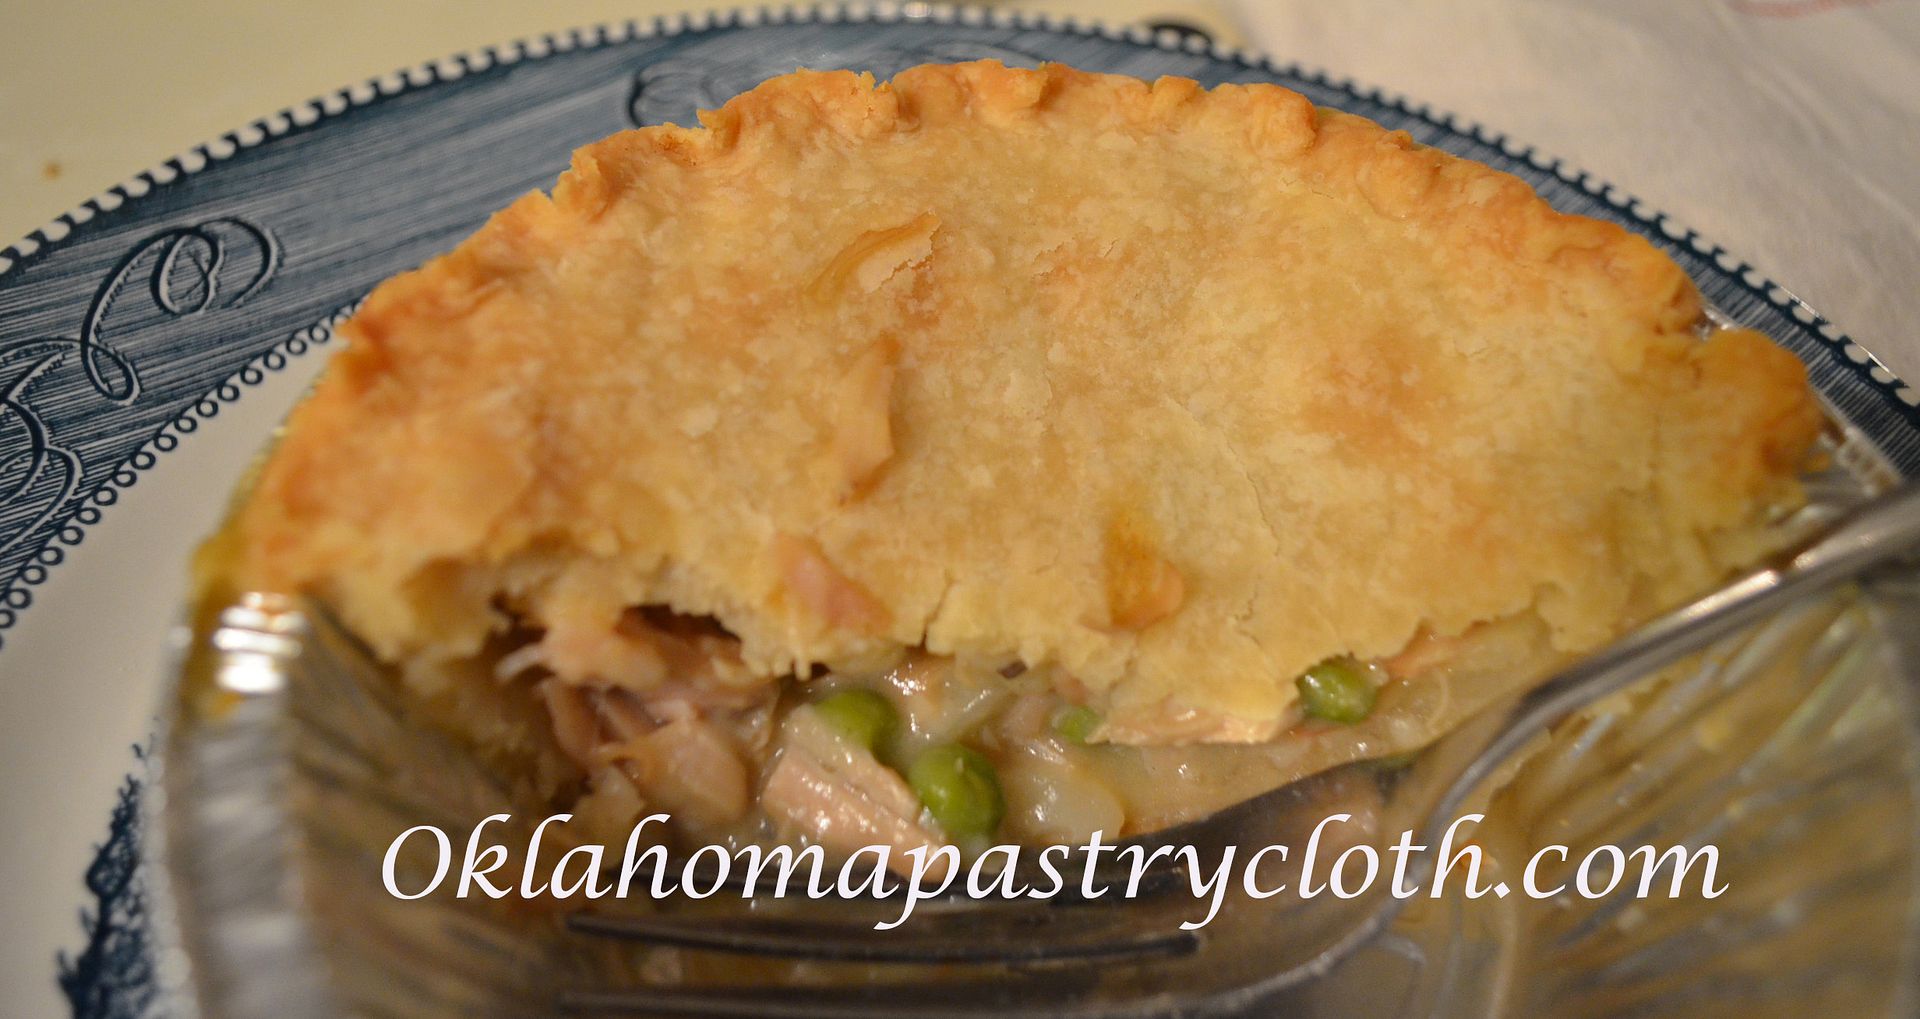 Allow to cool about 5 minutes before serving. The crust is flaky and the filling is yummy!!  |
|
| |
|
Oklahoma Pastry Cloth™ Company on Facebook
|
|
 |
|
Posts Tagged ‘recipe’
Easy Individual Turkey Pot Pies
Wednesday, September 21st, 2016
Italian Cream Cake
Sunday, January 24th, 2016
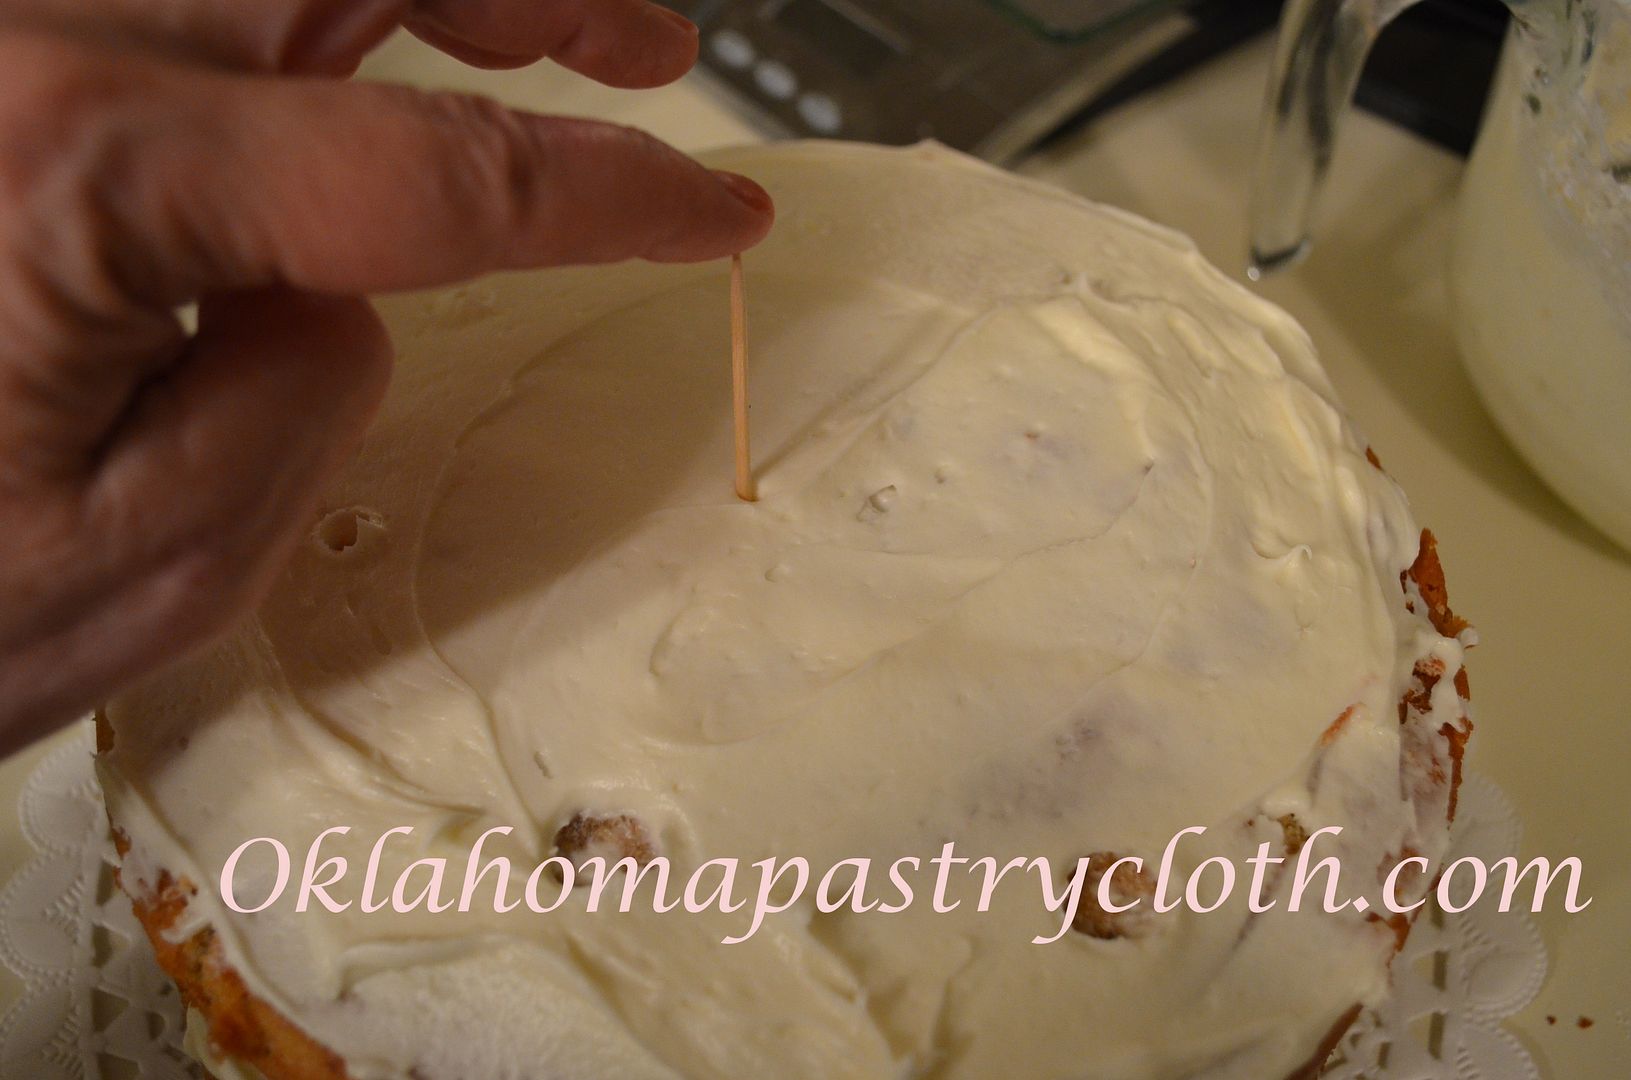
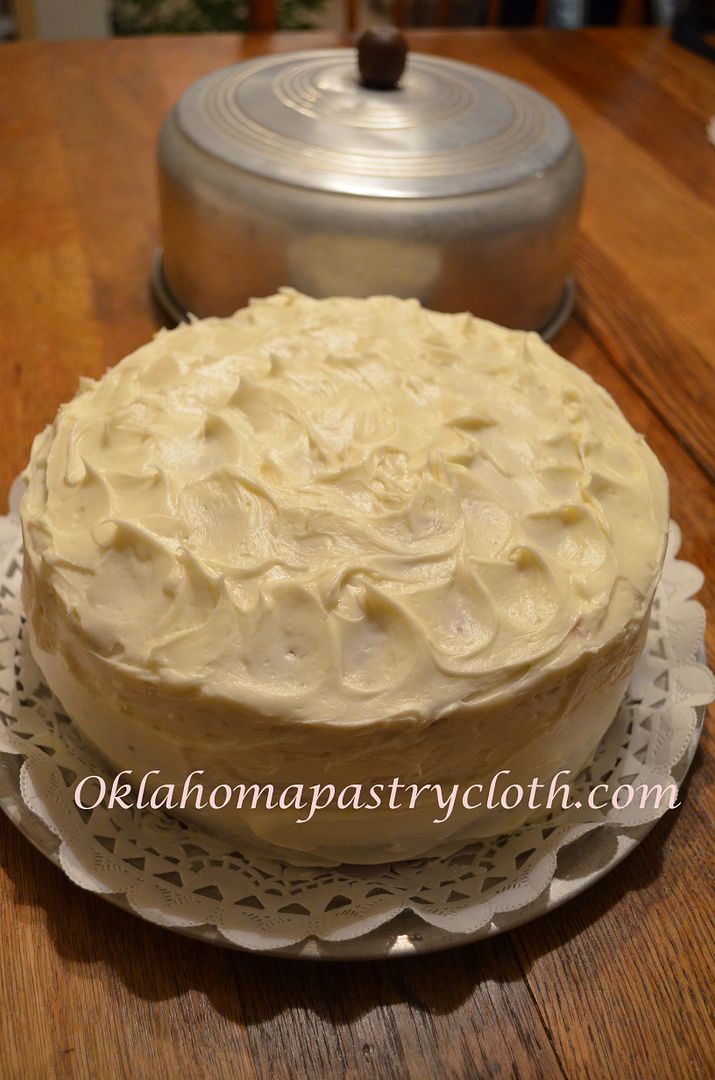
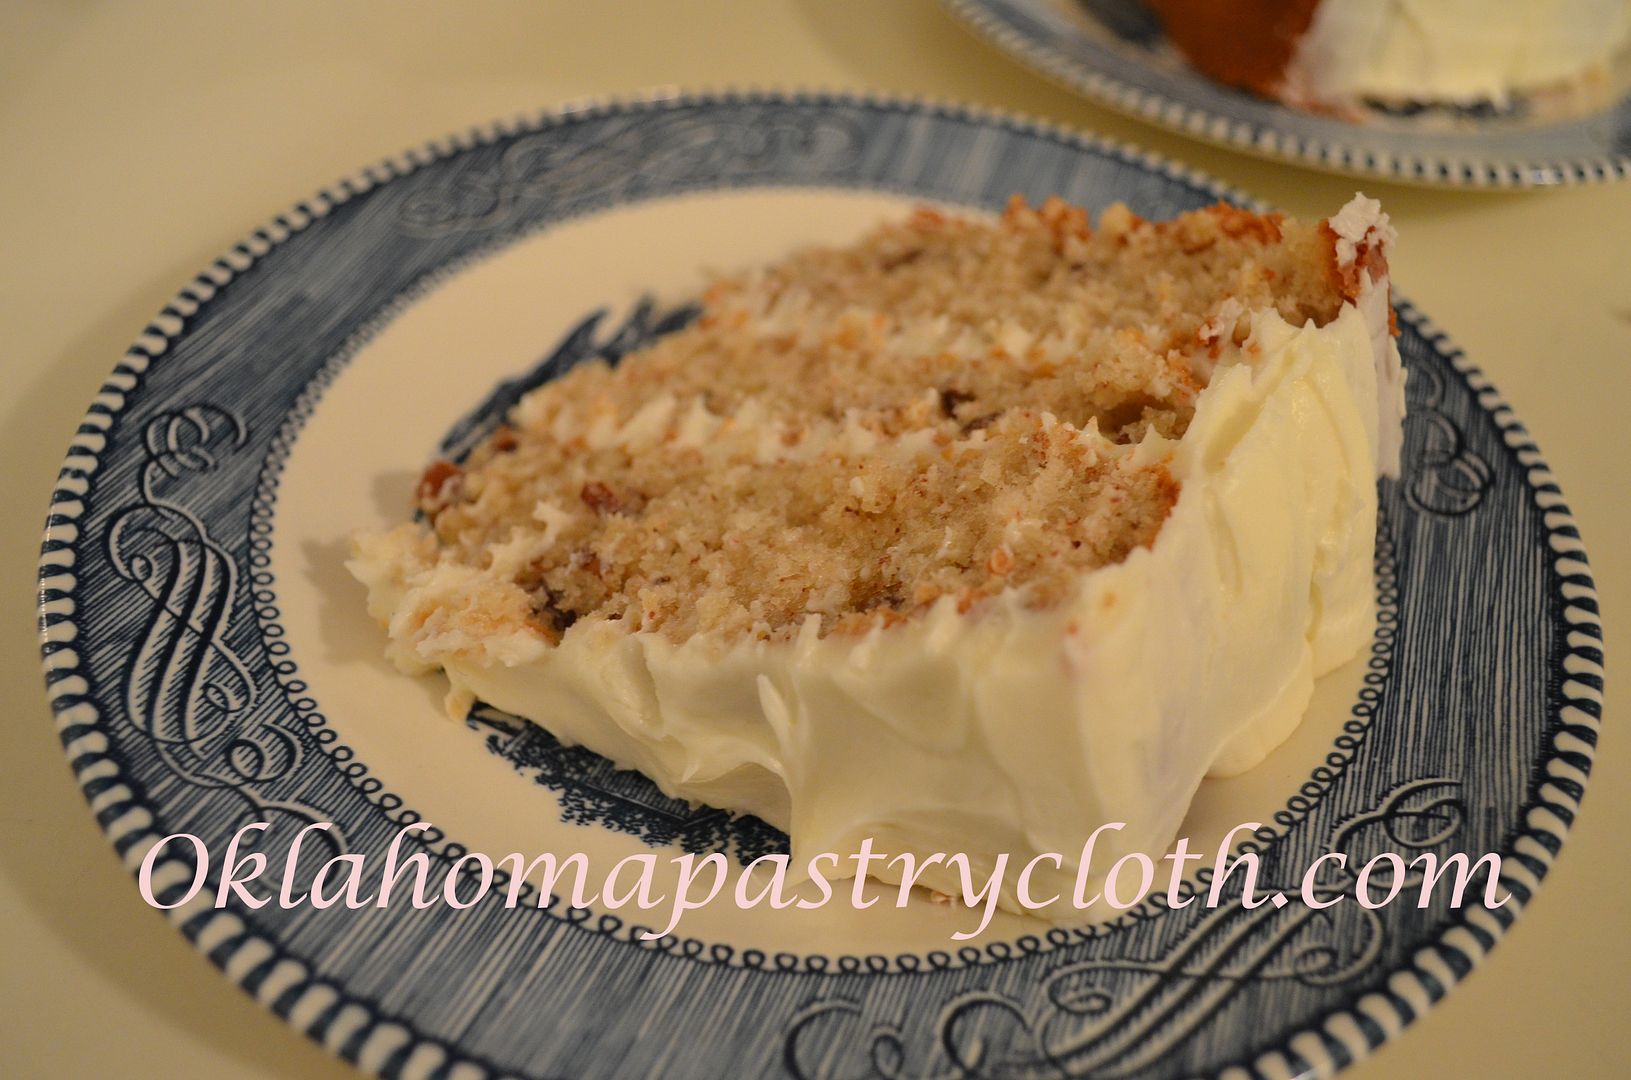
 The other cold-to-the-bones, dismal, misty night, Mr. Fix-It said he was really, really, really wanting a dessert. We aren’t eating many desserts since the discovery of my thyroid issues. Of course, Mr. Skinny Fix-It can’t eat anything if I can’t eat anything, right?! So, with the wood stove finally blazing, to make the house toasty warm, dogs sacked out around it like stuffed animals tossed aside, I decided to be nice and make him something special – an Italian Cream Cake. Ever since Sir Flying Ace’s and Miss Amelia Air-Heart’s wedding, Mr. Fix-It has been wanting another Italian Cream Cake. Only, he wanted it the way their wedding cake was – no coconut. It does make a difference – especially for those who aren’t crazy about coconut!! Now, you know me. I had to find out the background on Italian Cream Cakes and so I researched and researched and guess what. There IS no background on Italian Cream Cakes. This is the best I could come up with from Answer.com and a recipe book: “While the Italian Cream Cake has its roots in renaissance Italy, the first written record of it is first seen in Canada in 1913. It is not until 1937 that the first recipe of Italian Creak Cake surfaces in the Plano News from Texas. Over the years the recipe has grown more complicated, though it is adored for its endless flavor combinations.” And “Not much is known about the origin of the Italian cream cake. The recipe apparently first appeared in the southern part of the United States and was the creation of an Italian baker who had moved to the U.S.” Evidently, we rednecks are more crazy about this cake than are Italians. That would make sense since it is all about butter and pecans! So here is my version of the Italian Cream Cake. And just a note, I use my own, homemade bourbon vanilla which I’ll show in an upcoming post. Preheat oven to 350º Ingredients: Icing:
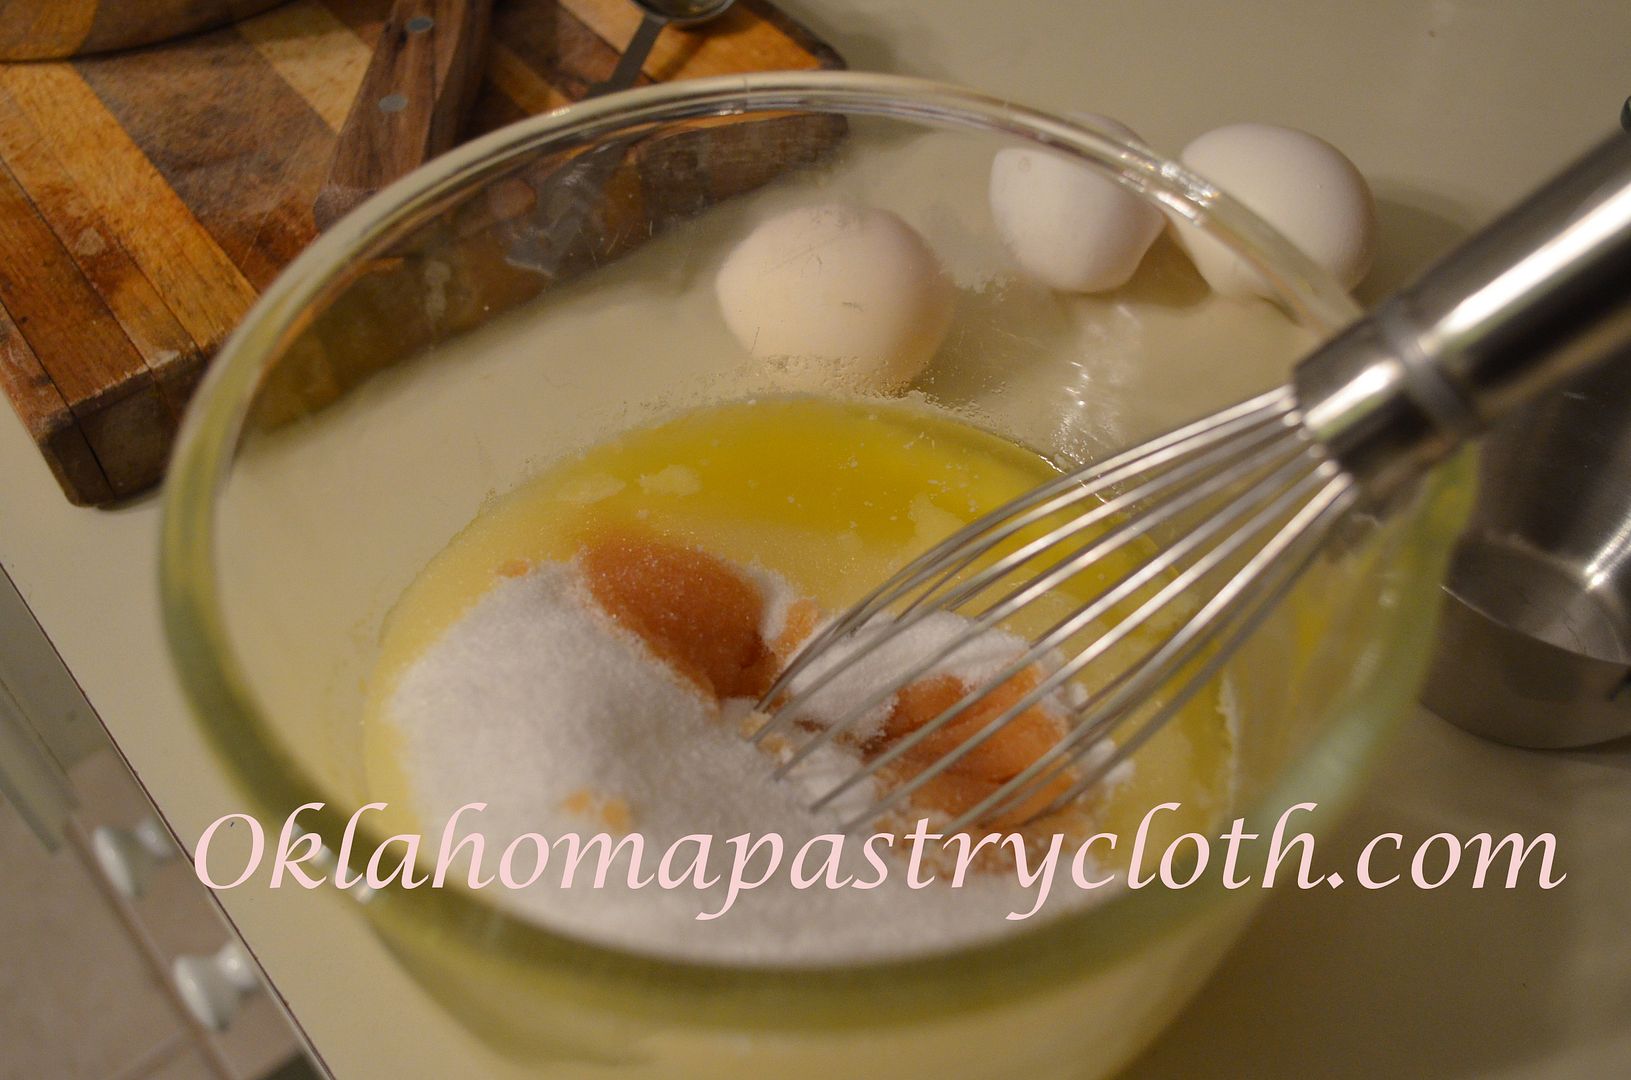 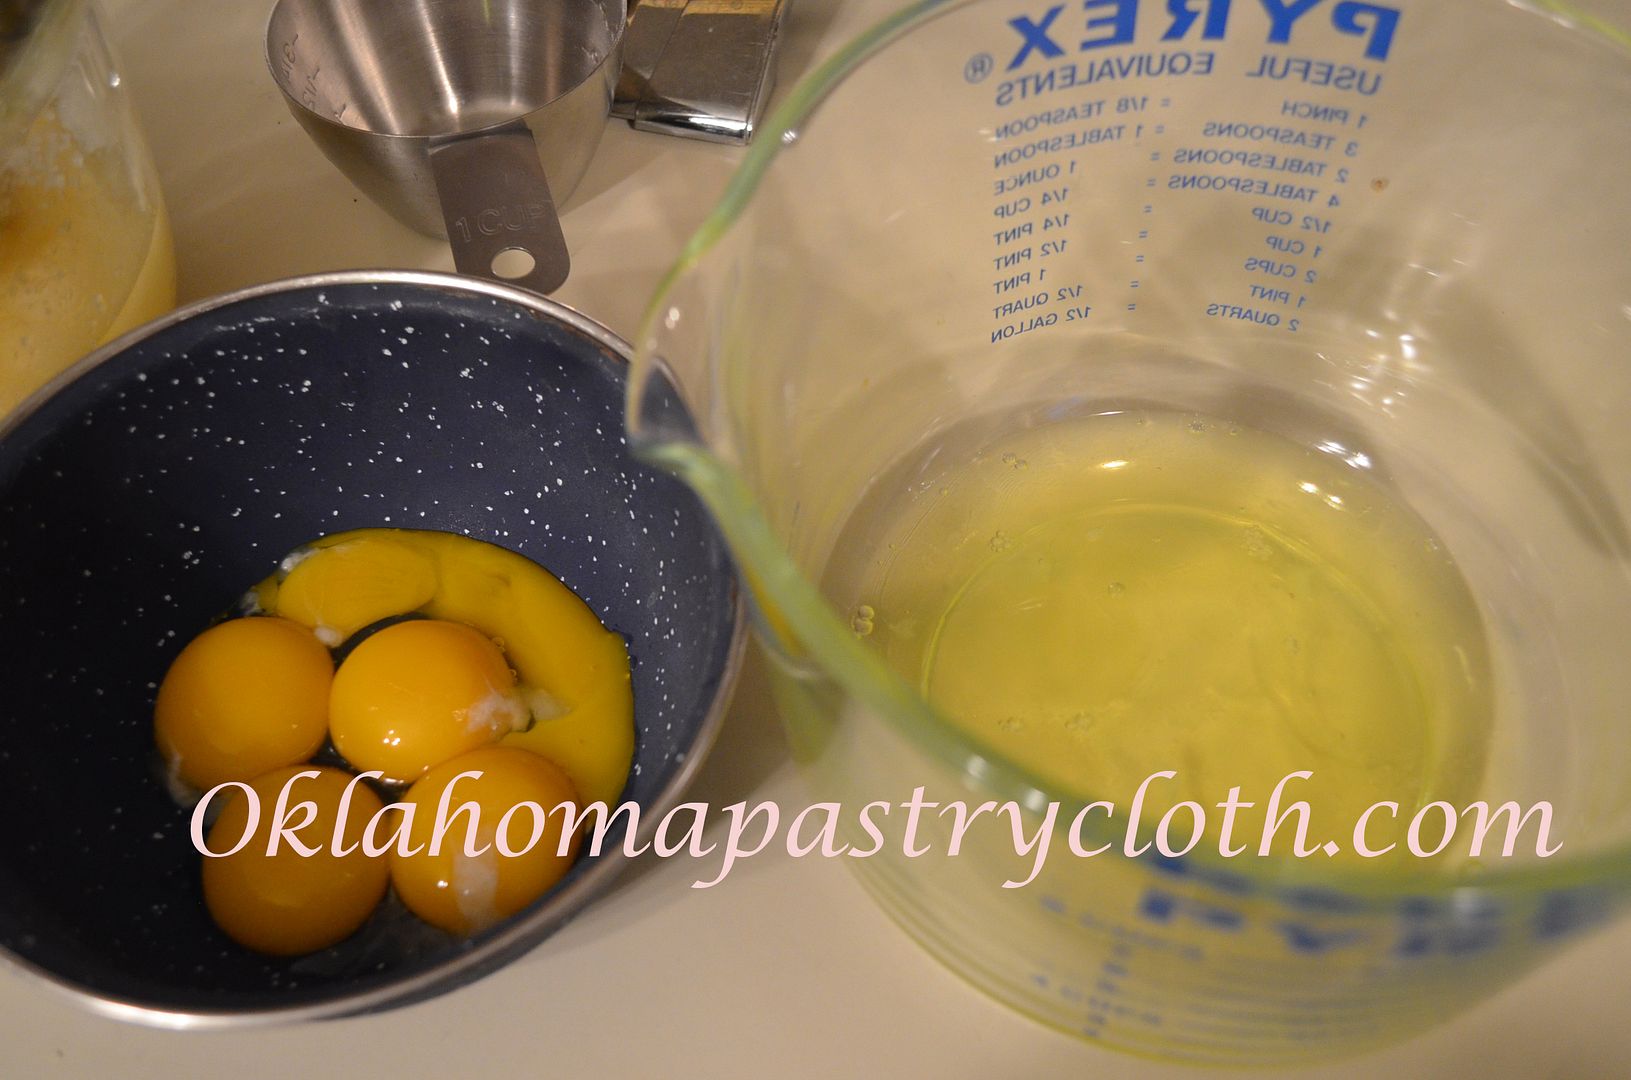 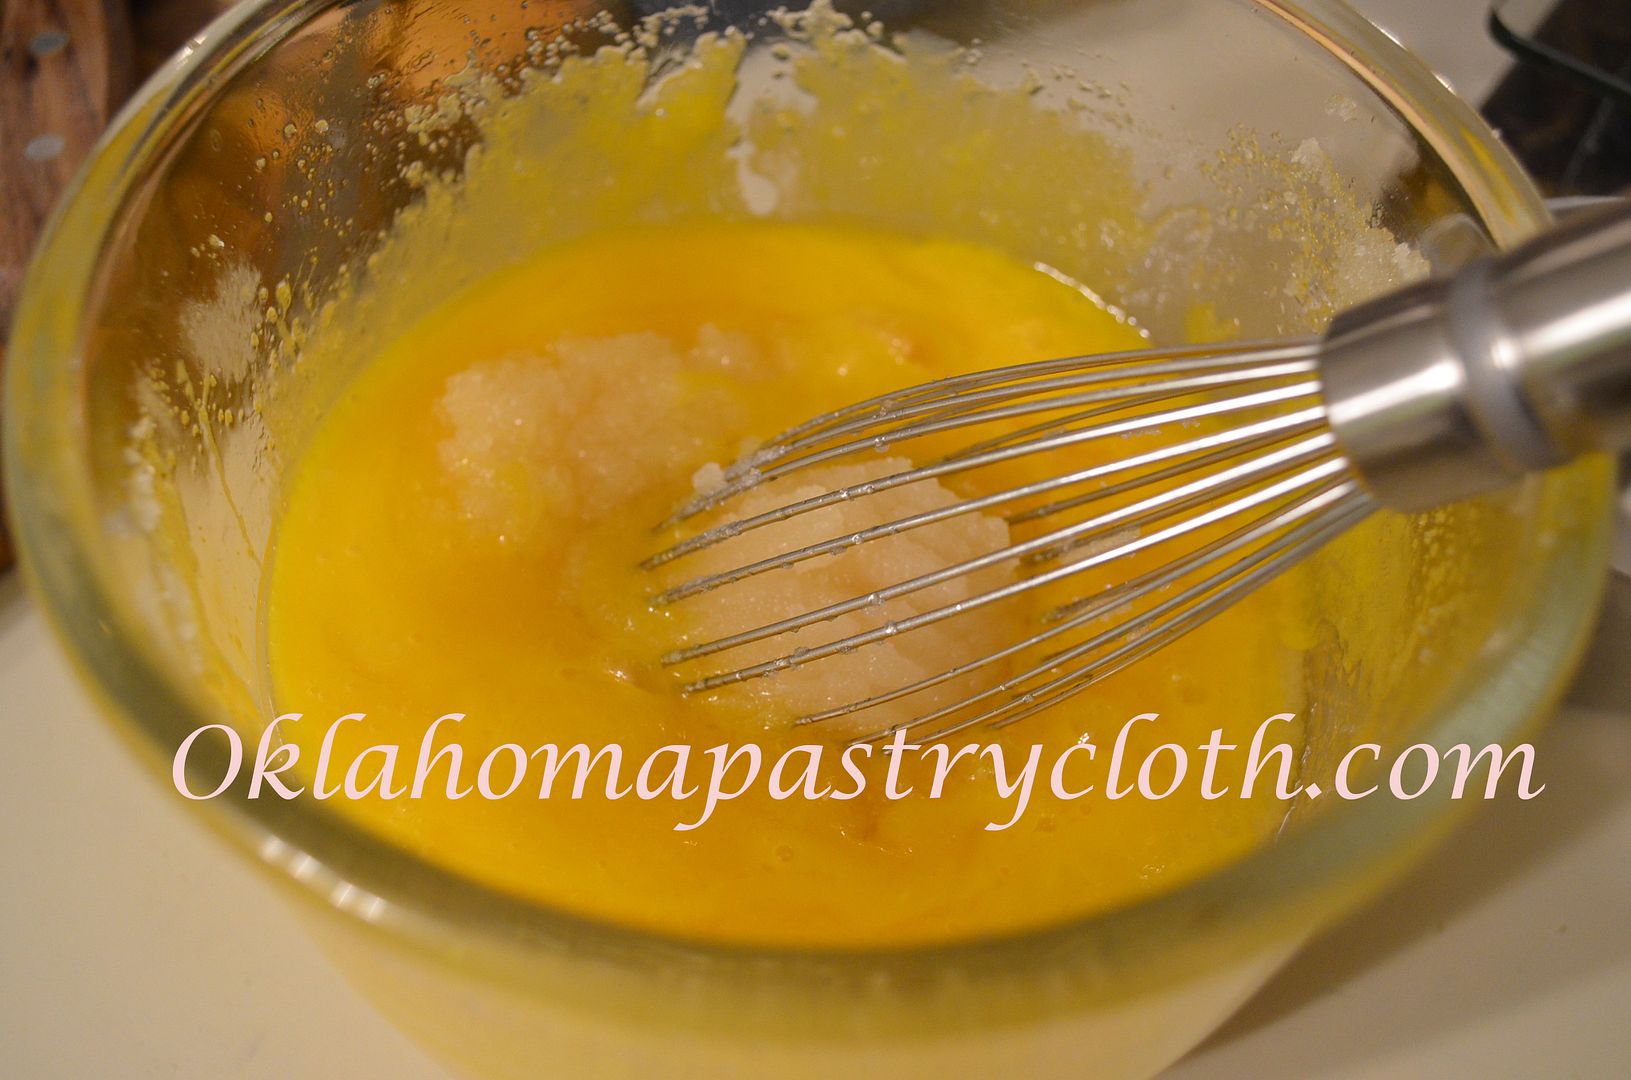 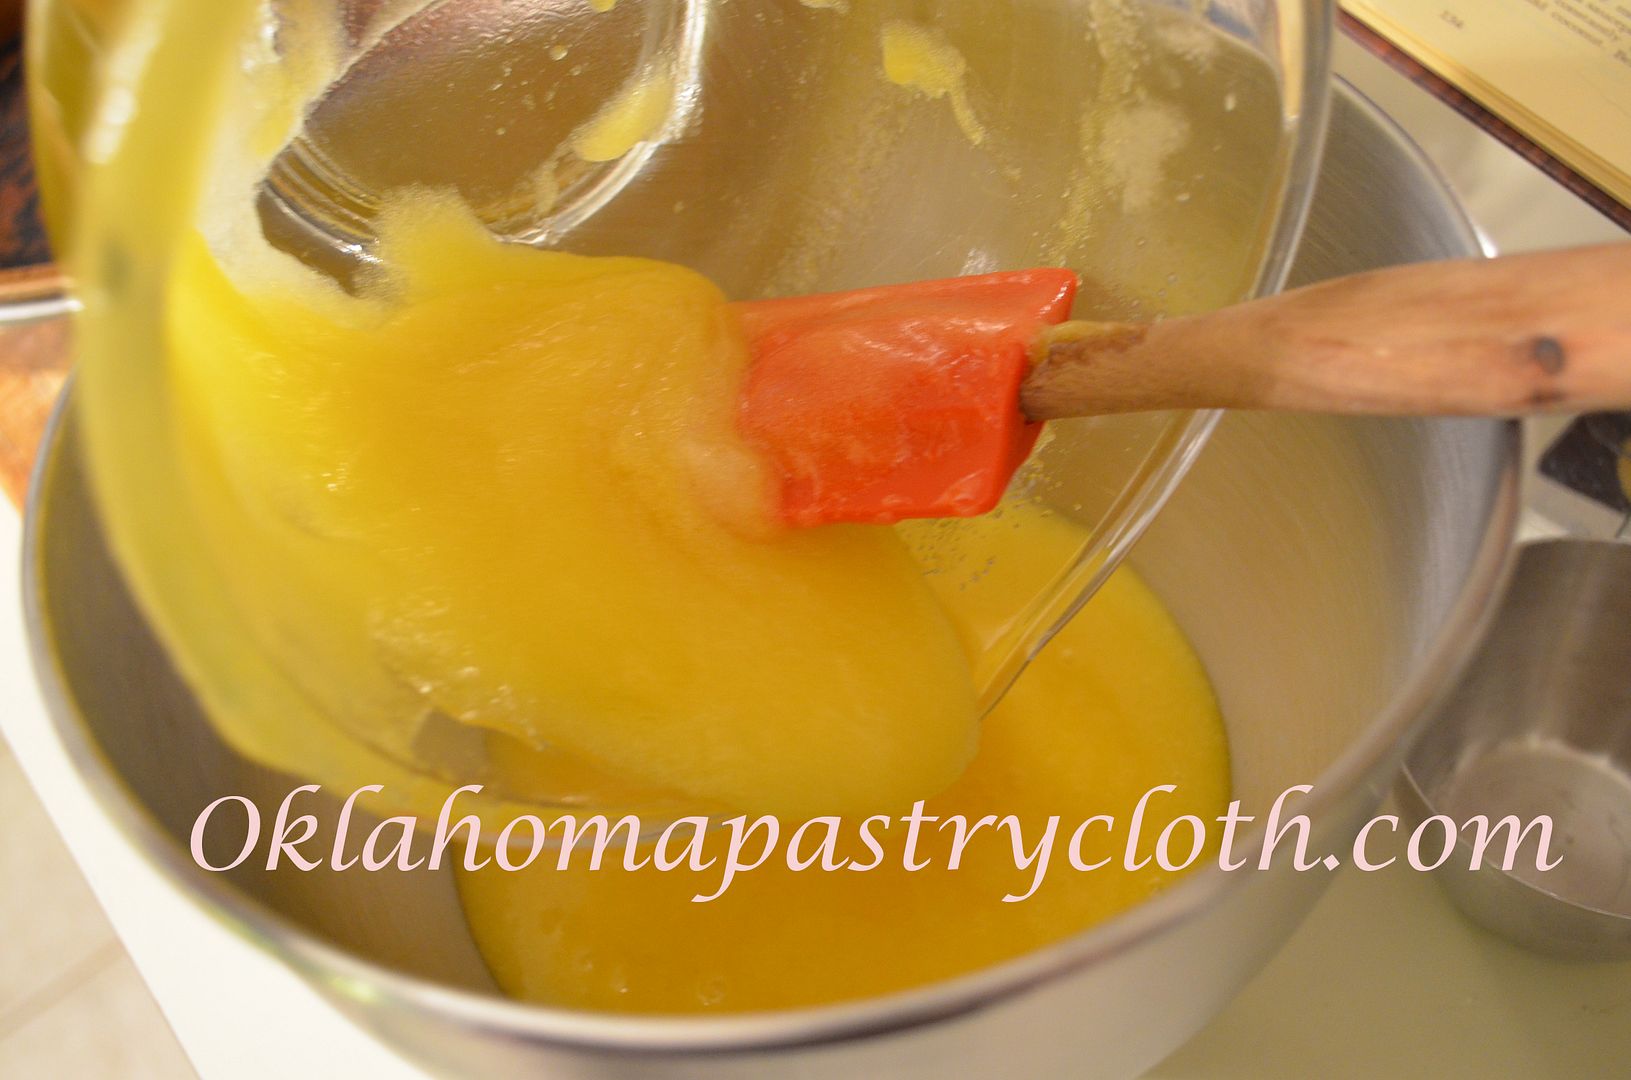  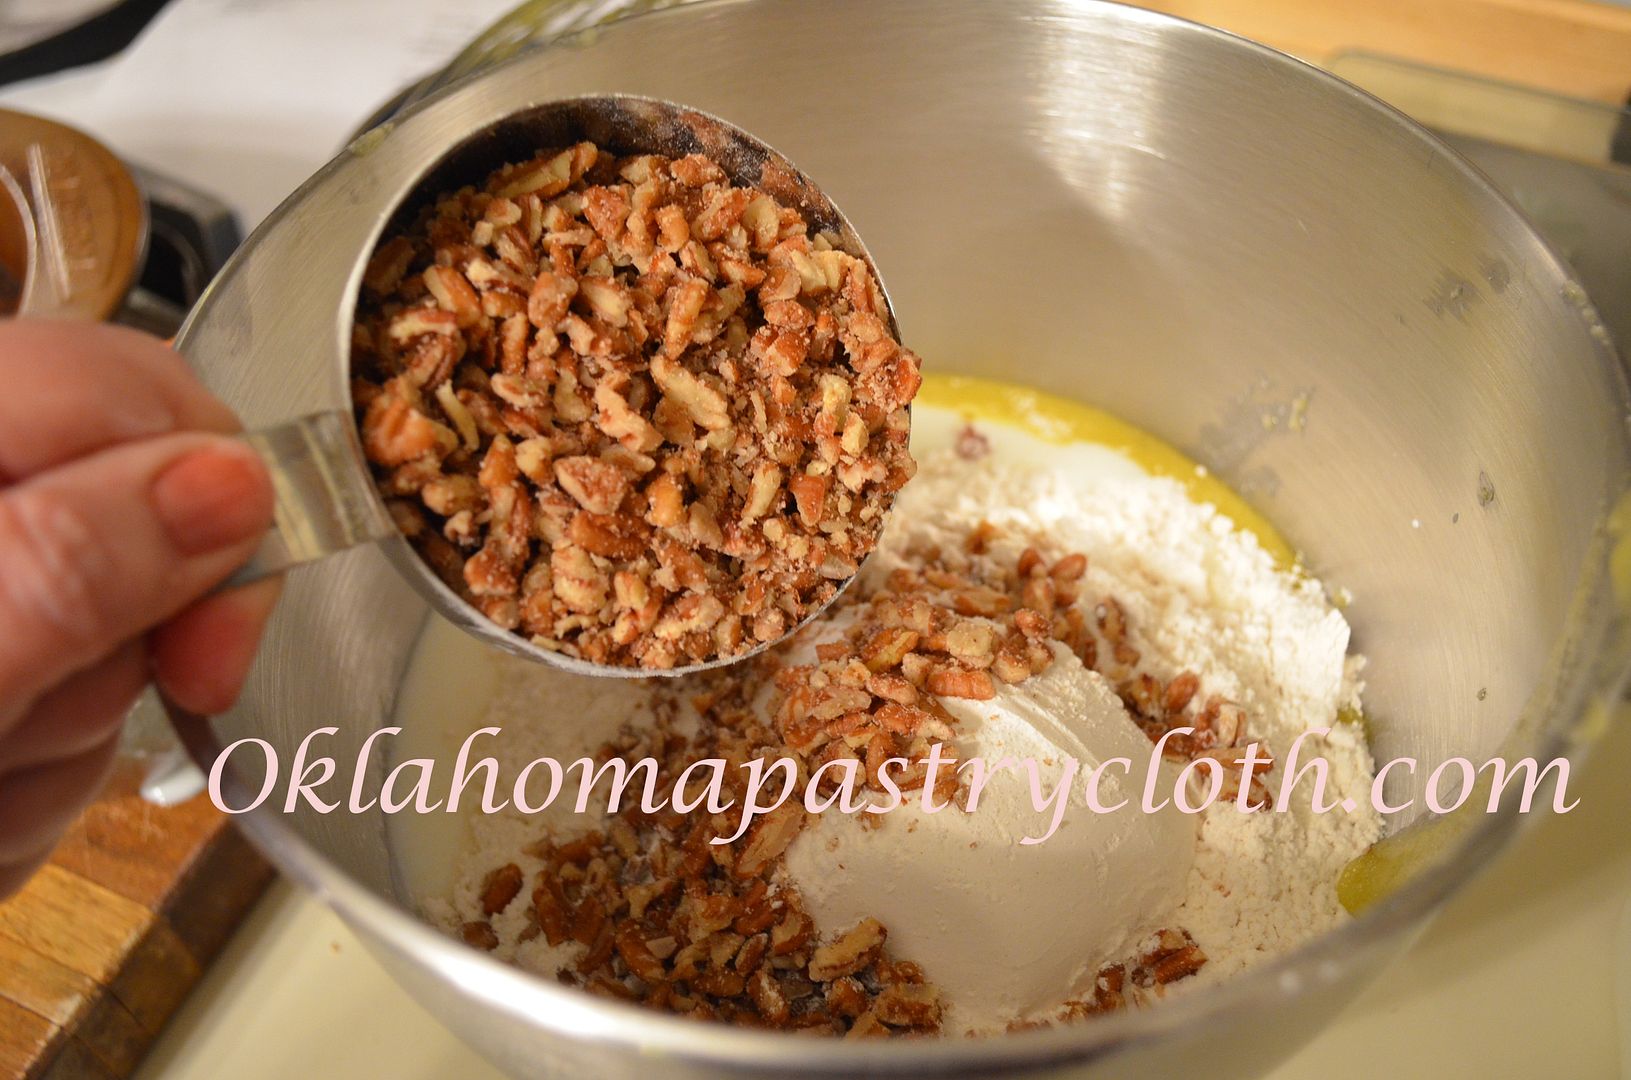 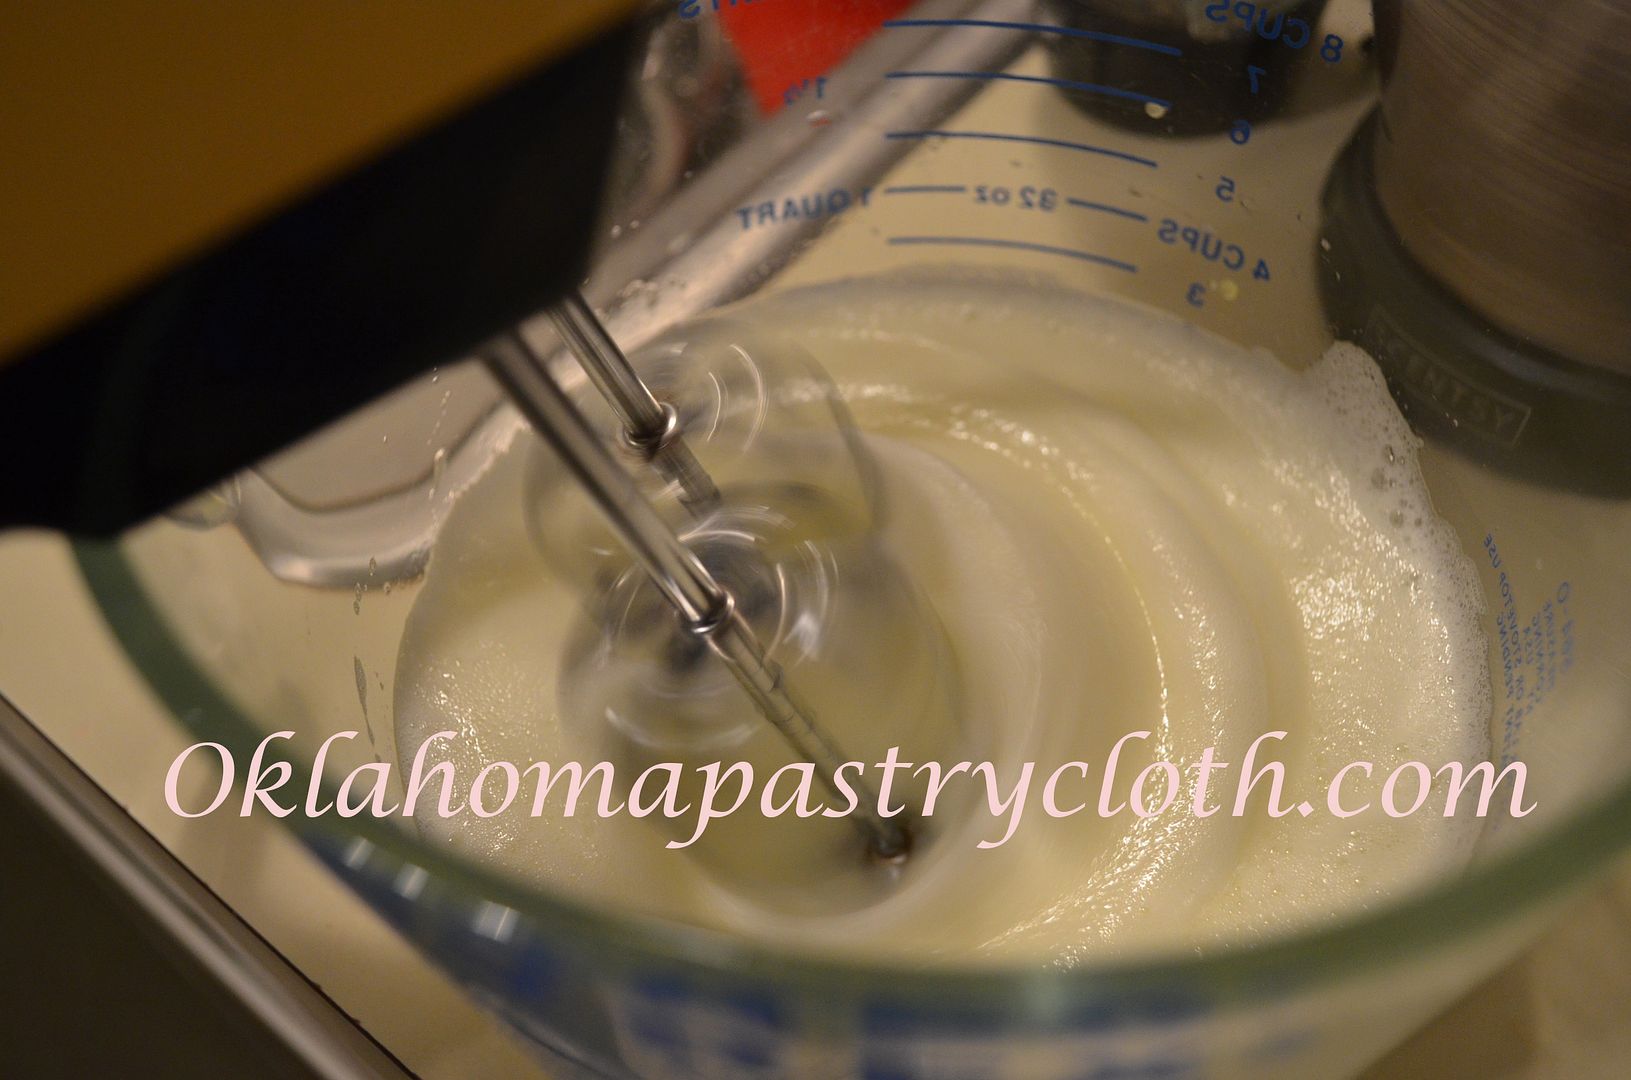  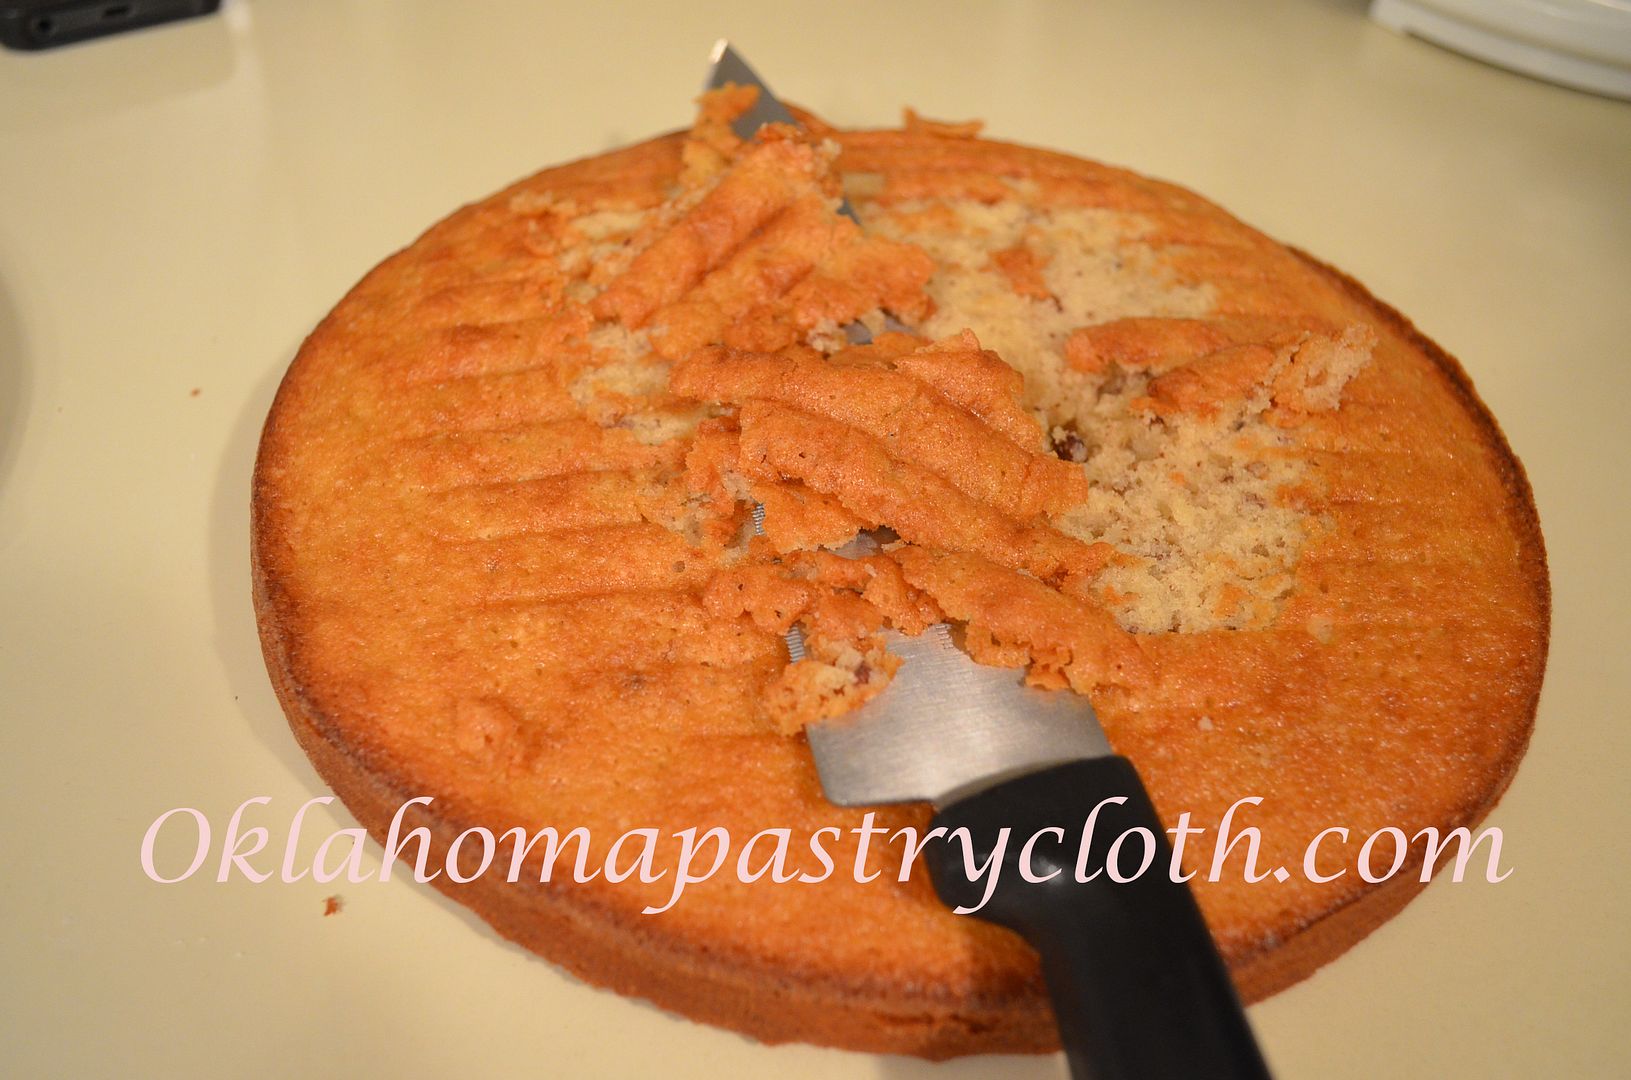     |
|
| |
|
Oklahoma Pastry Cloth™ Company on Facebook
|
|
 |
|
|
|
Shout Out
Monday, June 29th, 2015
 Heh all! Well, because of all your help, we got the votes we needed and qualified to be considered for the Mission Main Street Grant! I can’t thank you enough for all your support! We got way more votes than we needed! Now, I am long past due giving a shout out to a really amazing lady who is helping people all over the internet with her cooking channel. Hands That Cook offers all kinds of recipes, tips and demonstrations that are easy to follow. She has a wonderful knowledge of cooking skills and a heart to share them with those who wish to learn. Though she likes to remain anonymous, the videos and voice are warm and inviting and I know that you will get a lot out of them. She has a diverse following who obviously love her to pieces. Hands That Cook ordered one of our Oklahoma Pastry Cloths™ and it was certainly a pleasure working with her. She liked our product so much that she did a show about a 100 year old pie crust recipe that she uses while offering a great review of the pastry cloth. You can enjoy it here: It is so wonderful to see how our products are making life easier and pleasant in kitchens across the country and even in other countries. That is our goal!! We tried Hands That Cook’s recipe for pie crust and it was wonderful. 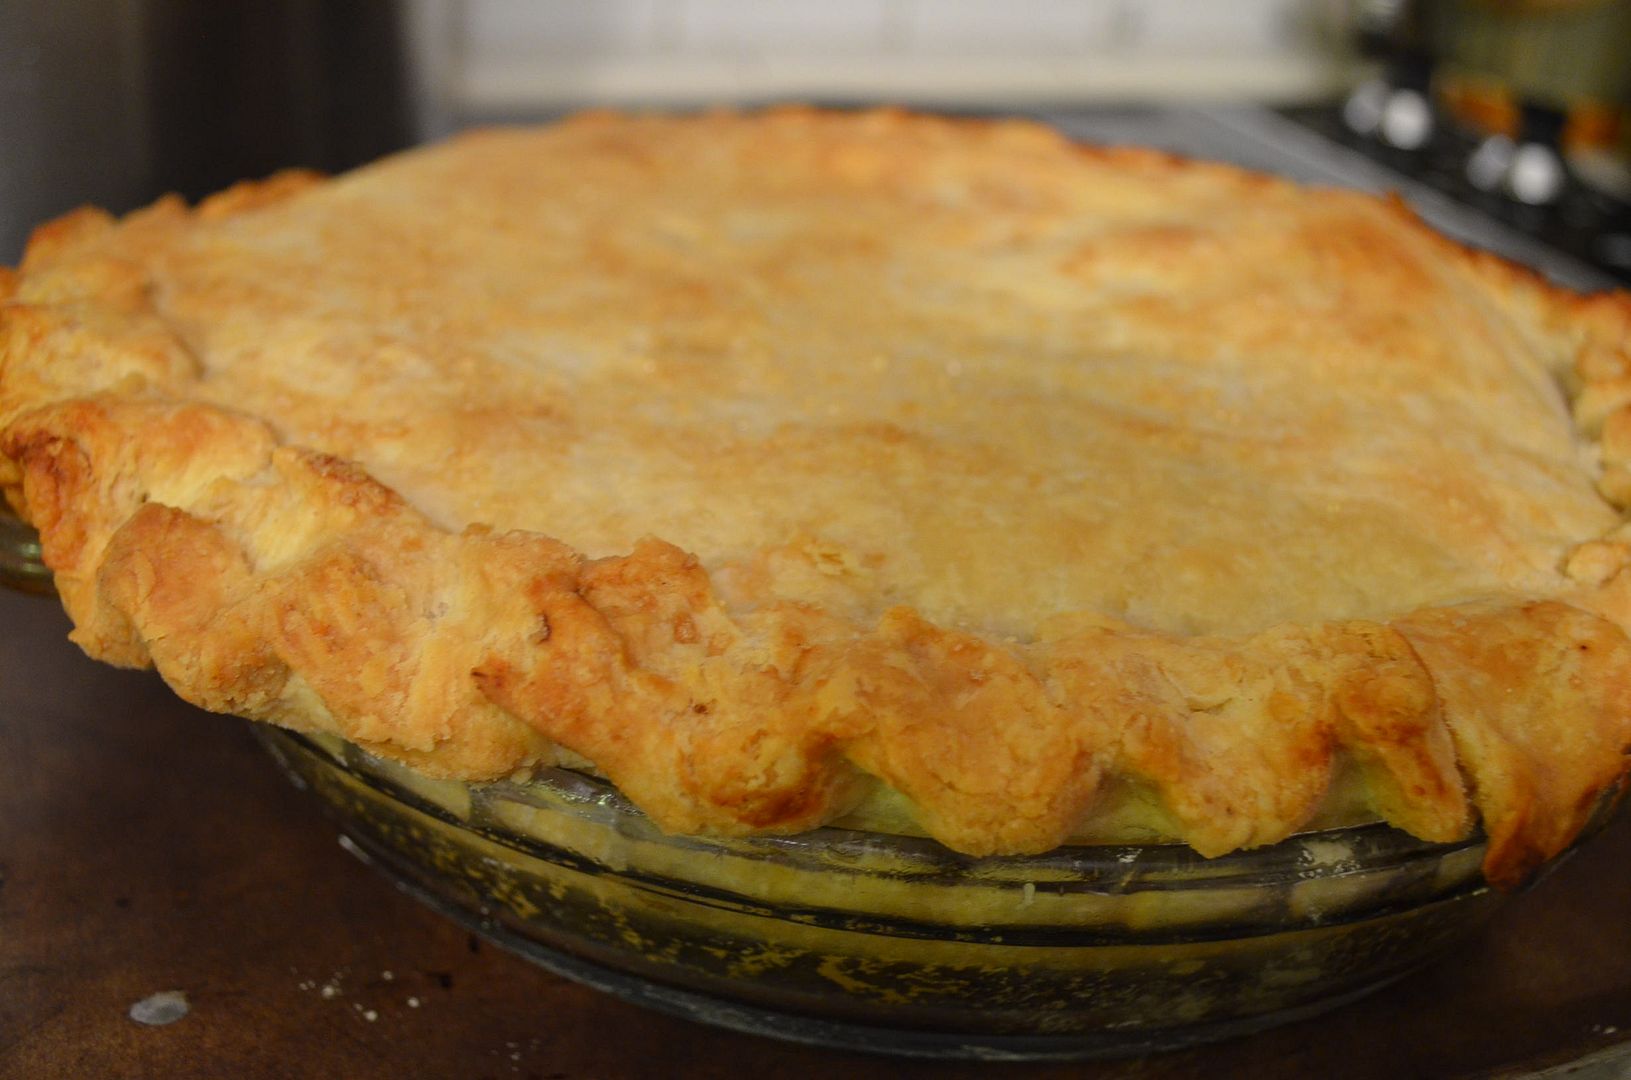 And of course it had to be an apple pie. Yummy! Thanks to Hands That Cook for a great recipe and a wonderful testimonial.  |
|
| |
|
Oklahoma Pastry Cloth™ Company on Facebook
|
|
 |
|

|
Smoked Gouda Chicken Pasta
Sunday, September 15th, 2013
   I think that all of us have to admit that this has been a strange summer, weatherwise. Thankfully, our normally three digit temps did not appear, however, three monstrous tornadoes – one right after the other – destroyed much of our local landscape. Fires and floods in other parts of the nation have wreaked all kinds of havoc and our prayers go out for those in Colorado who are struggling through some of those floods, right now, after having to endure fires. Abnormally cool temperatures up north have kept places like Alaska in igloo conditions. But now, the days are growing shorter and there is a different feeling in the air. County fairs are popping up and the sound of college football, with its background of cheering fans, dominates the television on Saturdays. Fall used to always be hard for me. No joke. It seems that everything bad that happened, occurred in the FAll. For the longest time, when that crispness in the air appeared and the tell-tale muted sunlight of autumn days rose, I would get this feeling of dread in the pit of my stomach – a heaviness of spirit if you will. But that has since passed and now the Fall is my favorite time of year with Spring my second choice. I can’t wait for Thanksgiving and I so enjoy the baking, canning and preparation that I do like a squirrel storing up nuts for the winter! I’ve included a recipe for one of those meals below. I’ve decided to give you a peek into one of those “bad” Autumns so that you might get a little picture into my ready-for-psychiatric-research psyche. Perhaps you won’t find me so strange after all. And then again, this story may make me that much more strange!! Read on. It was the end of August of 1992. I was 38 years old, skinny, full of energy and the mother of two young children. My sister and her family had invited us to Dallas, from Mt. Pleasant, TX, to join them at Six Flags Over Texas. The kids were excited. I was ready for a fun day. And it was fun…that is…until we hit the kiddie ferris wheel (emphasis here on “kiddie”). My daughter, all of 11 years old, begged me to ride with her and so I hopped beside her in a swinging chair and watched as the safety bar was lowered over our midsections. Shortly thereafter, the gears ground, the music started and we were lifted probably a whopping one and a half stories into the air. As we came to the highest point, open swing rocking and pitching, I discovered, for the first time in my life, that I am afraid of heights. And I don’t just mean “close your eyes and don’t look” afraid of heights. I mean “scream in abject terror and beg for mercy” afraid of heights. I began to hyperventilate. I started to cry. My heart raced and I gulped for air between screams emitted through clenched teeth. My daughter grabbed my arm and tried to soothe me. She looked genuinely stunned and dismayed – not embarrassed that her mother needed a straight jacket and an ambulance waiting at the foot of the ride. My family members in the crowd below, however, looked like they wanted to change their names and claim no acquaintance with the crazy woman who was unraveling on the kiddie ride. When the ride finally stopped, I fell out of the chair, onto my knees, and struggled to stand. My makeup was a mess but that was no comparison to my mental well-being. My daughter led me to find our family which had scattered in embarrassment and someone brought me a Coca-Cola to fill me with caffeine and make me crazier. I finally gathered my wits and returned to a state of calm, trying to laugh off my apparent phobia. We moved on to food and more fun. We knew not to put me on anymore rides that went more than a foot off of the ground. I know. You are thinking, “So?” I understand. But that isn’t the end of it. We continued our Six Flags experience and as darkness descended, my niece indicated that, as a last ride, she wanted to do the Splash Water Falls, a ride that sends a boat down a steep slide to hit, bow first into a deep pool of water, sending a wall of water over a walk bridge that acts as the exit for the ride. Those standing on the bridge, at just the right location, get drenched by water cascading over them. I was actually able to handle that ride and even enjoyed it as we plummeted into the water. I’m thinking that it had to do with the idea that falling into the water is safer and less painful than spatting onto concrete from the height of a ferris wheel. My children and I exited our boat and climbed to the bridge to watch my sister and niece take their turn. I pressed way against the back, concrete wall to avoid the water that would inevitably come from their trip. My daughter ran forward to the railing to get a better look. In a series of actions that could only have taken seconds, I first realized that my daughter would be soaked (and would soak the car as well, since we were leaving immediately). I then ran forward to attempt to pull her back as I called out for her to move. She moved. But I was caught in the very center of the width of the bridge. That wall of water came over the top of the structure, full force, hitting me squarely in the chest, picking me up off my feet and tossing me like a rag doll against that back concrete wall and then onto my back on the concrete walkway. All of the air was knocked out of my lungs and I gasped, looking, I am sure, like a goldfish poured out of its bowl, flopping in a huge puddle of water. There was not one inch of me that was dry. Did I mention that I had on white cotton shorts and a white cotton t-shirt? I’ll leave you to imagine the result of soaking white cotton. The guy running the ride and a number of visitors ran to help me up. I could see, “Lawsuit” written all over the poor Six Flag employee’s face. Down below, my entire family was rolling on the ground laughing so hard that they couldn’t even get up the stairs to help me. They didn’t stop laughing until they realized that they hadn’t gotten a video of the whole incident to win $10,000 on America’s Funniest Home Videos. I headed back to Mt. Pleasant, beaten, bruised and assured that my children were going to be advertising for a new, less embarrassing mother. And again, you say, “So? What’s so bad that you would hate Fall?” I’m not finished. The following week, still literally blue and smarting from my tumble and embarrassed by my fits of hysteria, I went about my normal work which included taking care of our pet raccoon. Rascal the Raccoon had shown up at our home as an unweaned baby whose mommy had been hit by a car while he was clinging to her back. We took him in and nursed him, bottle feeding him to weaning. Rascal readily accepted house training like a cat and soon had run of our home. 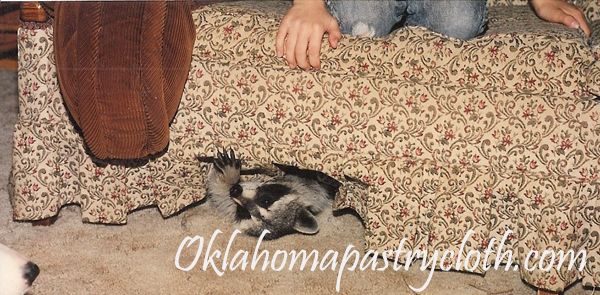 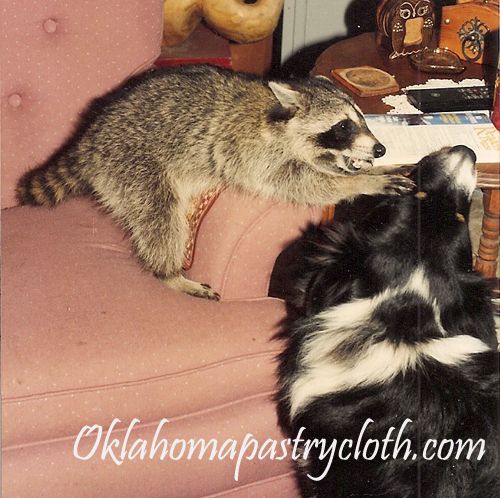 A couple of days after the trip to Texas, I let Rascal out for a stroll. He was still pretty tiny and so I watched him carefully because I did not want him climbing into one of the huge trees of Northeast Texas. Of course, the first thing that he did was head for the biggest of those trees. I called out to Rascal and walked quickly to retrieve him from the tree trunk, not seeing the large tree root in front of me. The tip of my toe clipped under that tree root and I pitched forward. I tried to catch myself on my left leg, but my leg twisted so that my foot was inward as I continued to fall forward. The sound of a large tree branch snapping echoed through the Fall air as I hit the ground and I noticed that the lower half of my left leg, about 8 inches below my knee was laying in the totally opposite direction of the rest of my leg. It wasn’t a tree branch that had snapped. It was the bones in my leg. I did what any normal person would do. I screamed and screamed for help. And I reached down and picked up the wayward portion of my leg and tried to put it in the right position. Bad idea. My poor, stoic 11 year old daughter was the only person home and she came running out to see what had happened. She quickly assessed the situation, called a neighbor and brought me two ibuprofen and a glass of water without me asking. I was too in shock to know what I needed!! My neighbors arrived and slid a cutting board under my leg, securing it by wrapping and wrapping with a horse lead rope and then slid a blanket under me. They took corners of the blanket and lifted me to a car seat where I passed out. Two surgeries and a $20,000 hospital bill later, a year and a half of physical therapy and the leftover scars and arthritis of 3 plates with 13 screws, I walked out of the physical therapist’s office one Spring, relieved that I would not be a cripple the rest of my life.  Rascal finally grew up and wandered off to find a woman Raccoon, but he left us with an unlimited list of funny stories and precious memories. He was a wild raccoon and needed to go back to his habitat. We eased him from his home life to the great outdoors and he finally did not need us anymore. So there is an example of ONE of my bad Autumns. As I have said, those memories are a distant past and now I can’t wait until I see our first scorpion – emphasis on the word SEE – because we know that Fall is just weeks away. I start getting the urge to cook heartier meals and fill the house with the smells of baking. Here is a recipe that I came up with to use our Shawnee Mills Country Gravy Mix for a hearty, lower calorie pasta meal (I’m on a diet you know) and Mr. Fix-It, my critic, gave it a two thumbs up. Ingredients: 3 tbsp. olive oil 2 tbs butter 1 lb chicken breasts cut into strips 1/2 lb ground Italian sausage or 1/2 lb ground pork mixed with salt, pepper and fennel seed 8 large shrimp, shelled 6 large mushrooms, sliced 1 – 2 tablespoons Cajun seasoning 1 pkg Shawnee Mills Country Gravy Mix or Peppered Gravy Mix prepared according to directions 1/2 to 1 cup chopped tomatoes, fresh or canned (depending on your taste) 1 tsp garlic powder 1 tsp oregano 1 tbsp. chopped red sweet pepper 1 cup smoked gouda cheese, grated 1/4 cup parmesan cheese, grated 4 cups cooked bowtie pasta  Directions: 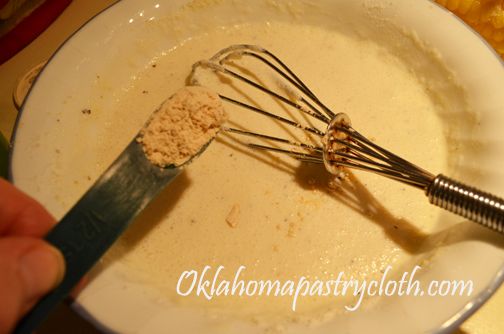 Prepare Shawnee Mills Gravy mix according to directions. As 1 1/2 cups water is heating, add tsp garlic powder and oregano to the 1/2 cup water and powdered mix.  When gravy has thickened add tomatoes 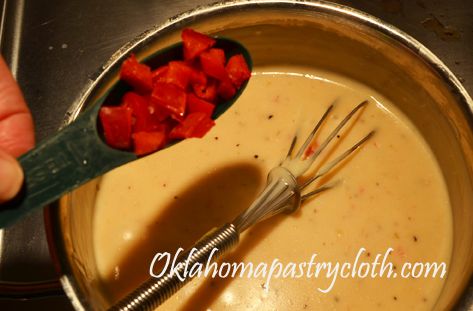 And add chopped peppers  Add gouda and parmesan cheeses. Stir until cheeses are incorporated, cover with lid and set aside onto warm eye.  Toss chicken and shrimp with Cajun seasoning. Separate chicken from shrimp. Add 2 tbsps. olive oil and 2 tbsps. butter to skillet and heat skillet to smoking. I am using a cast iron skillet here because I think it is best for a blackened meat. Put chicken into skillet and sauté until browned with black areas. Add shrimp and toss until no longer opaque. 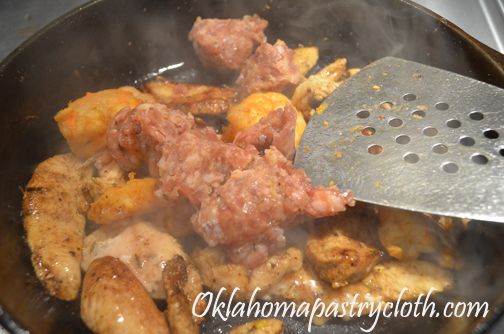 Add sausage and chop and stir until crumbles are cooked all the way through. 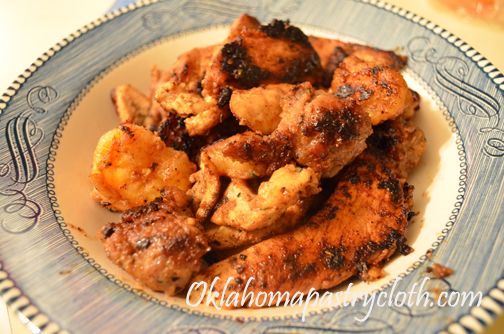 Place meats into a bowl and put into the oven that has been preheated to warm or put into a warming oven if you have one. 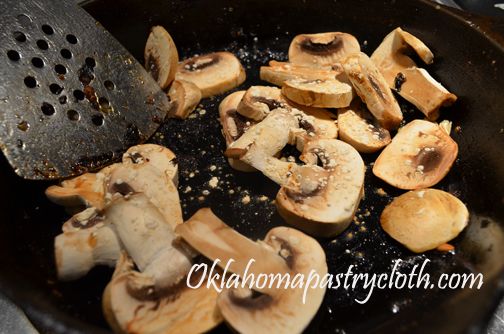 Return the skillet to the heat and add mushrooms to the skillet. Stir fry, constantly stirring. 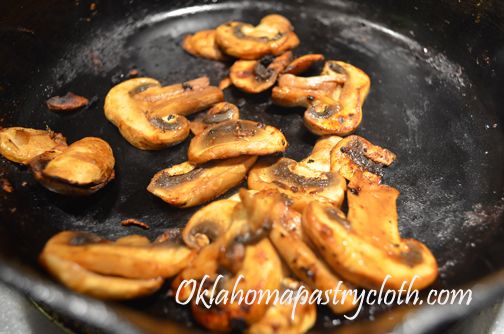 Cook mushrooms until browned and add to bowl of meats. Toss to mix.  Prepare pasta in salted boiling water with a tablespoon of olive oil added. Drain well. Stir gravy sauce and slowly add to the pasta, stirring to coat until pasta is covered according to your tastes.   Spoon pasta and sauce onto 4 plates and divide meat and mushrooms to top each plate of pasta. Drizzle leftover sauce over the meats and then garnish with grated gouda and parmesan cheese with chopped tomatoes. Serve with garlic bread and a salad. So there’s a Fall meal for you! Hope you are ready to dive into this year’s season like I am!!!  |
||||
|
Chocolate Scones
Tuesday, August 27th, 2013
 First order of business….I forgot to announce that we had a winner on the 17th of the month. We drew a name out of the hat for the Red Gold Tomato apron and Jalapeno Ketchup and reader, Jonni from Kentucky is our winner. She has been notified and responded with surprise and her address. Congratulations, Jonni!! Now, I have an admission to make. I’m on a diet. Yep, I am. I’ve been on one since March but when one has thyroid disease, a diet feels pretty much pointless. Your metabolism ceases to exist and a stalk of celery adds 10 pounds to the waistline!! Actually, LOOKING at a stalk of celery adds 10 pounds to the waistline. It’s just a little depressing. Having been one who has always loved to cook and to eat what I cook, it’s been a difficult journey over this past year and a half, but there IS a tunnel and I’m seeing a light at the end of it!! I’ve lost 17 pounds! I still have a ways to go, but that’s a real achievement for me!! And in that tunnel, there has actually been food – really good food! I have discovered that no matter what fad diet is out there – eating blue or red foods, Atkins, South Beach, HCG, low carb, high carb, low protein, high protein, juicing, you name it – the reality is that the secret to losing weight is this formula: Calories In minus Calories Out. That’s it. So the way that I track that is by a free website called SparkPeople.com. It is wonderful. It even gives me a pie chart to try to match my perfect amounts of fat, carbs and proteins per day. And I get to eat whatever I want. It is the Dave Ramsey course in calorie budgeting! I have my 1200-1300 calories to spend and it is my choice how I spend them. If I make up a recipe, I can enter the exact recipe and how many servings I get out of it. The site then figures up all of the nutritional info plus calories per serving. Then, I can put a serving into my daily budget easy as pie. Well, sorry, didn’t mean to be thinking about pie. So today, was my baking day. I always keep something sweet in the freezer for me and Mr. Fix-It to enjoy in the evening with a cup of one of our tasty teas. I usually bake some type of scone or cookie to be heated in the toaster oven. I leave 200 calories open for that possibility. This afternoon, I made my usual round of cranberry scones and still had 1/2 cup of heavy cream left. I thought, “Hmmm. I wonder what would happen if I added cocoa and chocolate chips to the basic scones recipe?” I guess you know that I had to try. I did. Yummy!! Chocolate scones. I have a feeling that High Tea in England does not include chocolate scones, but here in America, we believe in chocolate in everything!! So here is the recipe that I concocted. They are a true English scone – heavy and flaky – but have a little bit of the flavor of an American brownie. And they are 186 calories each! I stayed under my 200 calories and so I am one happy camper. So here you go. If you want detailed instructions on making scones, you can hop over to that post at English Scones. 
Ingredients: Glaze 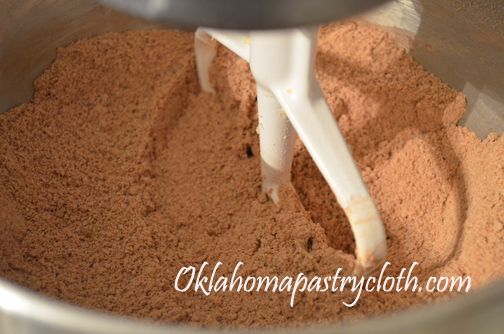 Preheat oven to 400º. In a mixing bowl, add flour, cocoa and butter that has been cut into cubes. Either by hand with a pastry cutter, or with a mixer, cut butter into the flour mixture, until the mixture is like tiny crumbs. Add sugars, salt and baking powder. Mix. Add the chocolate chips and mix. 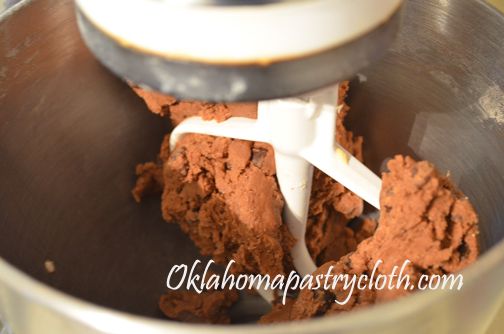 Add the cream, vanilla and egg white and mix until a very stiff dough pulls away from the sides of the bowl. Divide dough in half and put onto a floured surface – you need an Oklahoma Pastry Cloth™ here!! Pat out first half to about a 4″ circle. Cut into 8 triangles. Repeat with the second half. Place scones onto a baking sheet that has been lined with parchment paper. Mix leftover egg yolk with 2 tbsps. half and half and brush the tops of the scones with the mixture. Bake at 400º for 13 minutes or until done. While scones are baking, mix melted butter, powdered sugar and milk to make a glaze. Dip tops of scones into the glaze and place onto a cookie rack.   Serve the scones warm. I bet raspberry jam would be great with these!! This picture is of the two different scones that I made this afternoon. Oh! And the china is my grandmother’s Thomas Ivory Bavarian china, made by the Rosenthal company, that my grandfather bought in Germany during WWII – paid for with cigarettes!!  |
|
| |
|
Oklahoma Pastry Cloth™ Company on Facebook
|
|
 |
|

|
A Winner, A New Give Away and A New Recipe for Your Canned Meats!
Thursday, August 8th, 2013
 On August 1st, we drew a name out of the hat and Frankie, from Silver Spring, Maryland, won the gift certificate to the Grangeville Rose Tea Room and Emporium. The gift certificate has been mailed to her sister, who lives right here in Oklahoma City, as an early birthday present. Lucky her!! And so, another Okie will get to experience the lovely atmosphere of our newest tea room. Congratulations Frankie and sister, Liz. And thank you to all who entered the drawing. 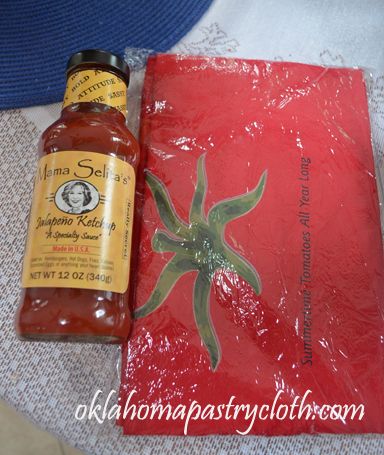  Now, we have a new giveaway. Red Gold Tomatoes, the best canned tomatoes in the world (if you can’t do your own!!) has sent me a couple of items that I thought I would give away to a lucky reader. On August 21st, we will be giving away this Red Gold Apron and a bottle of their Mama Selita’s Jalopeno Ketchup. Just comment at the blog and you will be entered. Plus, Red Gold Tomatoes is having their own celebration. I will post here exactly what my letter from them says: Now, we have a new giveaway. Red Gold Tomatoes, the best canned tomatoes in the world (if you can’t do your own!!) has sent me a couple of items that I thought I would give away to a lucky reader. On August 21st, we will be giving away this Red Gold Apron and a bottle of their Mama Selita’s Jalopeno Ketchup. Just comment at the blog and you will be entered. Plus, Red Gold Tomatoes is having their own celebration. I will post here exactly what my letter from them says:“Come join our Red Gold Summer Grillin’ Party that will run from July 24th through August 30th on Facebook — #RGParty. During this period, we will share our new RG Tomato Grillers Recipes. They are tomato-licious!…As part of this promotion, we will be giving away 1,000 Red Gold “Summertime Tomatoes All Year Long” Aprons every week via a random drawing – that’s 5,000 total winners! There will also be one grand prize winner who will win a large Big Green Egg Grill – that’s a $1,000 value. Anyone who registers for our promotion is automatically entered into both the weekly drawing and grand prize drawing. Here’sthe twist – anyone can earn additional entries into ourgrand prize drawing! For each person they refer, who opts to participate in our promotion they will earn additional entries int the grand prize drawing. Our goal is to have 150K Red Gold Facebook Fans by the end of the summer. Each week we will be releasing new recipe videos, as well as sharing summer grilling tips.” You can also find them on Pinterest at www.pinterest.com/RedGoldTomatoes And by the way, Red Gold is an Indiana based, 3rd generation Family-Owned company that has been making premium quality tomato products since 1942!! We need to support small businesses!! 🙂 Now, on to cooking….in the past, I have shown how to can meats like chicken breasts, ground beef, sausage and etc. I even can my own chili, a recipe that I am not at liberty to share because it is not my own. However, my point is that meat is an easy staple to put up for long-term storage much longer than freezer times. Many of these meats can be bought as well, canned, off of the grocery shelf, but sometimes we are at a loss what to do with them. Here, I am going to show you a quick way to make enchiladas with your canned chicken breasts, canned chili or canned roast beef. You can even use your canned cheeses and dehydrated onions, rehydrated with water. You will need for 4 people: 8 – 10 White corn tortillas (yellow corn are fine but I like the lighter texture of the white corn tortillas) Olive Oil 1 pint canned, boneless chicken breasts 1 pint canned chili or canned roast beef 1 package taco seasoning mix (I prefer Taco Bell) 1 8 oz sour cream (light is fine) Buttermilk 1 cup shredded Monterey jack cheese 1 cup shredded Cheddar Cheese (you can use your canned cheddar) 2 slices American Cheese (You can use your canned Velveeta) 1 small onion chopped 2 tbsp. chopped green pepper 1/2 tsp garlic powder salt 1 jar salsa verde 1 can red enchilada sauce (not picante sauce)  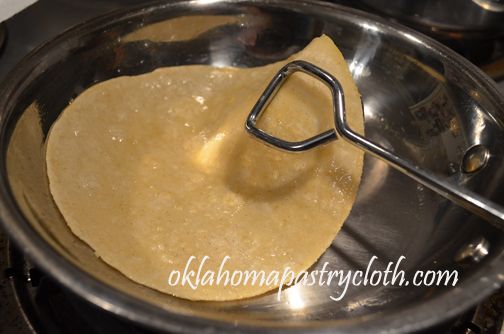 Place canned chicken breast with broth into a small sauce pan and add 1/2 pkg of taco seasoning. Stir until chicken is shredded and mixed with seasoning. Add a little water or broth if the meat is too dry. Simmer until liquid is reduced to a thick sauce. Set aside. Put 2-3 tablespoons of olive oil into a skillet and heat. Place one tortilla at a time into the hot oil and sear lightly. Turn and lift out to a paper towel to drain. Do each tortilla, placing a paper towel between each one. 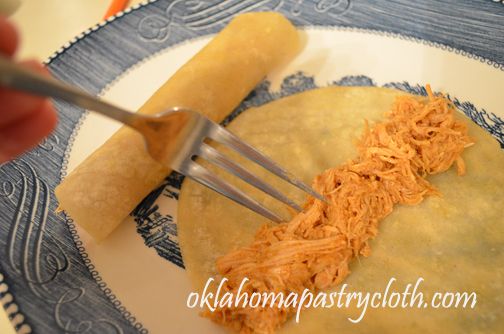 Place a line of hot, seasoned chicken mix down the center of each tortilla. Roll tightly and place on a microwaveable platter, seam side down. Repeat until desired number of chicken enchiladas is achieved.  In a bowl, add sour cream, chopped onions, chopped green peppers, garlic powder, 1/2 cup Monterey jack cheese and salt to taste. Stir and add just enough buttermilk to make a nice, thick sauce. Spread the sour cream sauce over the chicken enchiladas, evenly.  Spoon salsa verde down the center of the enchiladas. 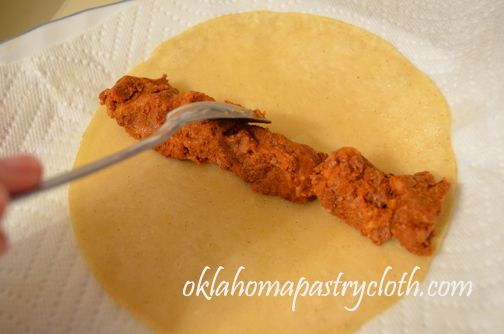 Now, with remaining tortillas, (here I am just making two for the two of us but you can make more) we will make beef enchiladas. If using canned beef, do the same as with the chicken breasts and place into a pan with the broth and 1/2 pkg of taco seasoning, simmering until hot and liquid is reduced. If using your canned chili, heat it first, cooking it down to very thick and then spoon onto the tortillas. Roll the tortillas tightly and place onto the platter with seam side down.  Slice the American cheese into strips and lay the strips down the tops of the enchiladas. Sprinkle with a mixture of the cheddar and Monterey jack cheeses and then spoon red enchilada sauce over the top of the cheese.  Microwave the enchiladas a length of time according to your microwave’s power level (you can carefully cover these with foil, making the foil stand up away from the enchiladas and heat in the oven) I usually microwave about 2 minutes or until the cheese is melted and sour cream sauce is hot. Remove from the microwave and sprinkle a mixture of cheddar and Monterey jack cheeses over the chicken enchiladas.  Serve with Mexican rice and refried beans and you’ll think you are at a restaurant!  |
|
| |
|
Oklahoma Pastry Cloth™ Company on Facebook
|
|
 |
|

|
Flat Earth Travelers and Cooking With Children
Friday, May 3rd, 2013
  Ha! I bet you thought that I am going to educate you on people who refuse to accept the fact that this earth on which we live is a three dimensional sphere! Nope. I’m going to talk about travelers who are flat! Really, really flat. Well, yes…I know. I have been remiss in posting over the past few weeks. But we have been up to our elbows in soap…200 pounds of the stuff. We are preparing for the Central Oklahoma Lavender and Herb Festival at the farm of Country Cottage Primatives on June 1st. If you would like to have a lovely day of classes, vendors and lavender picking, set aside this day and make your way to this beautiful place. Look for our canopy and be sure to introduce yourselves!! Oh! And we did have our April drawing and Janet Black of Weatherford, Oklahoma was the winner of the canning tool set. Thank you for all of the entries. Stay tuned for the next give away. I have been working on this post for two days. That’s ridiculous. But I had it nearly finished yesterday, hit ‘save draft’ and instead of saving my draft, it got wiped out!! All of it!! There was some glitch that I have not figured out. It happened again this morning. I hit save again and it said, “You do not have permission to edit this document” and, “kerplooey!” everything was gone. I came very close to losing my normally pretty even temper with a shoe through the computer screen. But I didn’t and so third time is charm. But back to Flat People…Facebook is awesome. There were so many people about whom I have wondered over the years, having lost touch with them for as many as 45 years. Facebook has put me in touch with those wonderful people, letting me see what they look like, what they are doing, what accomplishments they’ve made, their families and it has given me a chance to rekindle old relationships. One of those people, a former high school friend and classmate, Carol, contacted me and told me about a geography project in which her 8 year old granddaughter, Ali, was participating. The students were sending a paper doll, drawn by each student, out to as many people as they could find to be photographed at locations that would introduce the students to new and wonderful places. The doll’s name is Flat Stacy. Mr. Fix-It and I volunteered to take Flat Stacy on our 2000 mile trip recently. It meant that we would stop along the way and take pictures of Flat Stacy in front of places of interest that we thought would be useful to the class. Now, there is nothing like watching the looks on people’s faces as a gray haired woman happily slaps a laminated, cut-out paper person that has been created by an 8 year old, up against some landmark to then step back and shoot pictures with a pretty nice camera. I figure that they wrote me off as some demented older person. But there WAS one place where a couple of young, college-age girls bounced up to ask, “That’s one of those flat people projects, isn’t it?! We did that when we were in school!” They hadn’t been out of school long enough to forget those kinds of things!! I do wonder, though, if they thought that I was somehow still in the third grade!! Mr. Fix-It joined into the project with gusto. Normally, ready to drive without stopping until bladders are screaming for mercy, he would see a sign and say, “Heh! That looks like a good place for a Flat Stacy picture!” and we would detour from our designated route to take in a site, complete with pictures to prove it. I just love that man. Anyhow, I thought that I would share with you just a few of the many places that we visited on Flat Stacy’s behalf. And Carol also sent me a recipe, to try, that her children, grandchildren and their friends brag about and can’t wait to eat when they are at her home. My granddaughter and I had a cooking day and tried these delicious treats so the recipe is posted below.  We stopped in Tupelo, Mississippi to visit the birthplace of Elvis Presley. Very impressive. Flat Stacy had her picture made with the “King” in front of the Tupelo City Hall.  Flat Stacy looked for the checkered flag at Talladega International Speedway in Alabama. I looked for Ricky Bobby.  In Newnan, Georgia, we found Flat Stacy’s store – or, at least it SAID it was her store! She was kinda dwarfed by the structure.  Outside of Wilmore, Kentucky, Flat Stacy had her picture made at Shaker Town, in front of a rock fence that was built before the Civil War.  Our little, long-haired dachshund, Ellie, was Flat Stacy’s traveling companion. Unfortunately, Ellie wasn’t feeling very good on this trip and when we got back and her to the vet, we were sad to find out that she is suffering from congestive heart failure. She is too young for that – just 8 years old. We are treating her with natural remedies and prescription medication to help her quality of life. We want to keep her around for a long time because she is such a joy in our life! 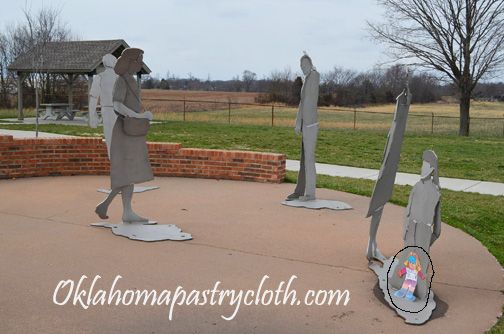 Near Mitchellville, Tennessee, Mr. Fix-It spotted these flat people who were just like Flat Stacy! In doing the research to find out about this sculpture, I found that the state of Tennessee has commissioned artists to do sculptures for each of the welcome stations. It just so happens that this one of the flat people was done by my former drawing professor at MTSU, Phillip Vanderweg! Small world.  Of course, we had to get a picture of Flat Stacy in Oklahoma and what better place than in front of the only working oil well in the United States that is located on the grounds of a capitol building. Our beautiful capitol building in Oklahoma City is in the background. Those are just a few of the pictures that we took. What a fun way to make a trip! And according to Carol, Flat Stacy went as far as Afghanistan for Ali! Here is Carol’s great cookie recipe for you to try. They are light, crisp and buttery.  1 cup butter 1 cup oil (I used coconut oil) 1 cup powdered sugar 1 cup granulated sugar 2 eggs, well beaten 4-5 cups flour 1 tsp. salt 1 tsp. soda 1 tsp. cream of tartar 1 tsp. vanilla 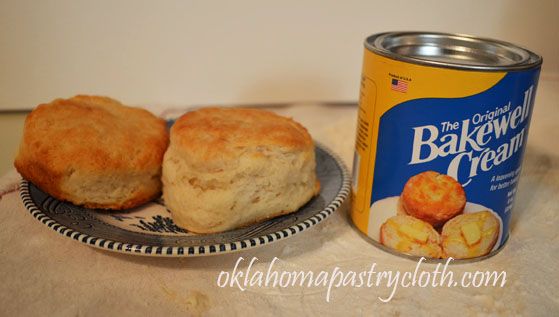 Now would be a good time to introduce our newest product: Bakewell Cream. I was actually introduced to Bakewell Cream way back in the 70’s in Maine but had not used it since because it is not available around here. Now I can have it!! Yay. It is the most wonderful baking Cream of Tartar that makes the most incredible biscuits. I have tossed baking powder and use the Bakewell Cream with soda and oh my….You can find it at our shopping page. 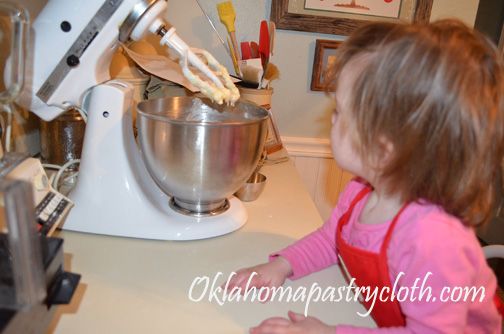 My granddaughter, Miss Peachy Pie, got her first cooking lesson, complete with her own “Li’l Cook” apron.” Typically, the batter wound up in her hair. Directions: Cream butter and oil with sugar and eggs. Sift flour, salt, soda and cream of tartar. Stir into creamed mixture, add vanilla and mix well. 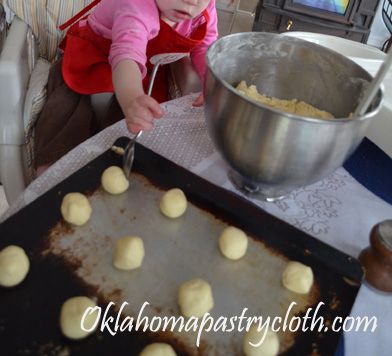 My granddaughter “helped” put the dough balls on the baking sheet. If you are wondering why I cut faces in pictures – after the photo of my mother got stolen and used for unsavory purposes, I have ceased to show the faces that can be photoshopped and misused! Place small balls of dough on cookie sheet. Flatten each with a small flat bottom glass dipped in sugar. Bake at 350 degrees for 10 minutes. (Do not grease pan!)  Yep, they are TAAASTY! Miss Peachy Pie loved them.  |
|
| |
|
Oklahoma Pastry Cloth™ Company on Facebook
|
|
 |
|
|
|
Yogurt In A Jam
Tuesday, March 19th, 2013
 
Ingredients: 1/3 cup butter 3 large eggs 1 cup live culture yogurt 1 tsp soda 1 tsp ground allspice 1 tsp ground cloves 1 tsp ground cinnamon 1 tsp ground ginger 1 cup of your favorite berry jam (I used strawberry) 1 cup chopped pecans 1 Duncan Hines Moist Deluxe white cake mix Lemon Curd from Recipe (Best if made ahead of time and chilled) Icing: 1-8oz pkg cream cheese 1 stick of butter (cream together) Beat in 1 lb box of powdered sugar 1 tsp vanilla 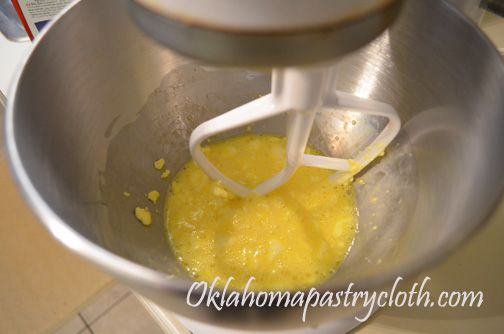 Cream the butter with a mixer and add eggs. Beat until smooth. 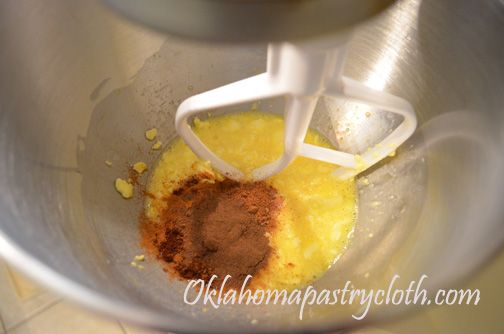 Add spices and blend well 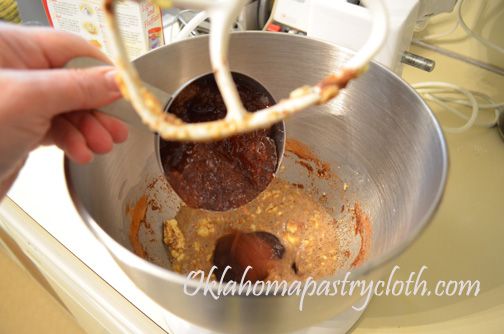 Add jam and continue to beat  Add yogurt. Cream together with other ingredients 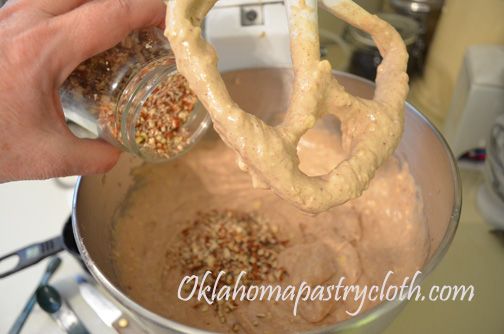 Add box of cake mix and beat well until smooth. Stir in nuts. Pour batter into cupcake papers that are supported in muffin tins or pour into a greased and floured 9 x 13 sheet cake pan. Bake at 350º for 20 – 25 minutes or until a knife or toothpick comes out clean. 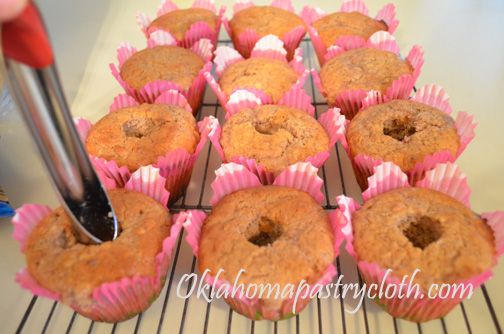 While the cupcakes are warm, using a scoop or apple corer, core out a hole in the middle of each cupcake 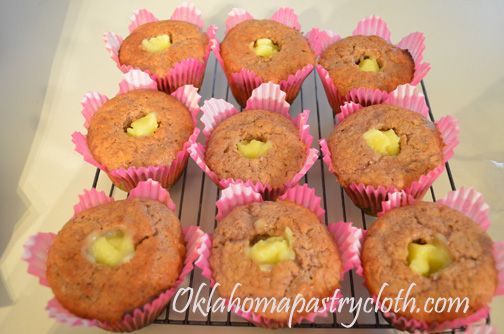 Fill each hole with lemon curd that has been made from the linked recipe. Place in the refrigerator or a cool, dry place. Make Butter Cream Cheese Icing 
 |
|
| |
|
Oklahoma Pastry Cloth™ Company on Facebook
|
|
 |
|
|
|
I Am Woman!!
Thursday, February 7th, 2013
 Don’t forget to leave a comment to enter the Valentine’s Day Giveaway! Winner will be chosen on Monday, Feb. 11, for a basket of Prairie Blessings Soaps, handmade right here at the Oklahoma Pastry Cloth™ digs. 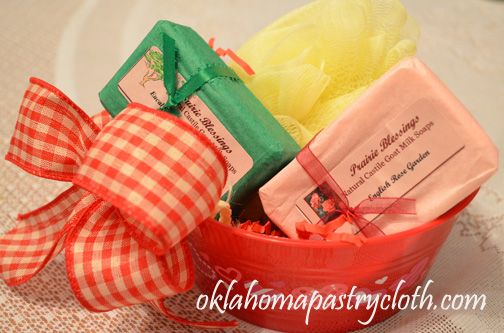 It was time to go to the chiropractor – a part of my week to which I aways look forward. I feel soooo good after a visit to Dr. Ryan and so it is no effort to make the long drive to his office. But I got into my car – my relatively new car – and turned on the key to absolutely no sound at all. No click. No whir. No nothing. The battery was dead. Why was the battery dead? Because there just has been no battery invented, to my knowledge, that stays charged when the dumb driver leaves the key turned to auxillary for a couple of days. Of course, Mr. Fix-It wasn’t here. In fact, he wasn’t even in the near city. He was two hours away. I called him on his cell phone and he asked what all men ask: “Why is the battery dead?” And I actually thought about spinning a yarn of an alien spaceship that landed in the front yard and sent out weird electronic waves that killed every battery in the area…”I KNOW dear. That’s just crazy isn’t it? I wouldn’t have believed it if I hadn’t seen it with my own eyes!!” But I didn’t. I told him the truth and took my lumps of typical male explanations on how I must be more careful and observant about taking the key out of the ignition. Which I should. We discussed my options, including an attempt, on my part, to roll the car onto the driveway next to my son-in-law’s sporty Monte Carlo that is visiting us on vacation due to a blown head gasket (I’m pretty sure that’s worse than a dead battery) – problem being, that the Monte Carlo’s hood is the equivalent of a slab of granite and can only be lifted by a pair of Olympic weightlifting champions. My fate was sealed to pedestrianism, 40 miles from the doctor’s office and 25 miles from any semblance of civilization. My friend pointed out that I could call the insurance company and make use of the ‘roadside assistance plan’ for which we pay. She was so logical in her reasoning, “It’s what you pay good money for!” However, I was experiencing a twinge of that sin that has brought down complete societies in one, fell swoop…..Pride. I did not want to have to drag some poor schlub all the way out to the boonies for a 5 minute job required by a stupid female who doesn’t pay attention. Now, there is nothing more inventive or creative than a woman in trouble. If the government would just put a group of women in a room and tell them that the national debt will cause chocolate to become nonexistent by the end of the year, within two weeks, those women would have the debt paid off, the credit card cut up and Washington, D.C. employees eating mashed potato sandwiches from sack lunches. So when I discovered a car battery sitting on a work bench, my little brain began to form a plan. While the Monte Carlo hood is granite, a car battery is a close second in weight. Those suckers are heavy….and dirty…and oily. I donned a full apron to protect my clothes, which added a floral accent to my situation, and tried to lift the square box. It did not budge. I quickly figured out that one must emit that same “arrrhhhh” that weightlifters’ grunt at the point of assuming full impact of a heavy object in order to make it move. I did so, and lifted the battery into my arms, struggling on buckling legs to transport it in front of my little Nissan Versa. Realizing that I could not hold the battery and bend over to place it on the floor, without dropping it and sending acid all over me and my pretty, floral apron, I looked for a “stand” on which to place it. Fortunately, there was a stack of boxes of canning jars and so this acted as my table on which to place the battery. Next, came the job of opening the hood and as I had never done that to this particular car, I had to get a flashlight and then use the engineering skills that I don’t have, to figure out how-in-the-world the latch worked. Of course, it couldn’t be just a simple latch. No. It had to be one that had multiple levers that acted in concert with the movement of the main clamp, which had to be pressed in a direction that made absolutely no sense. Finally, getting the hood up, I couldn’t find that little stick thingy that holds the hood in place. I searched everywhere, with the blood draining out of my arms while I held the hood above my head to keep it from slamming down on my body for someone to discover the hideous picture of a car that had eaten its owner. That engineering skill, that I don’t have, whispered to me to find the hole in the hood and then trace that directly below to the frame where the stick had to be in order to fit into the hole. I searched and searched on the hood for that recepticle and probably looked directly at the little stick thingy, clamped across the hood, at least a dozen times. It finally screamed at me, “I’m right here, stupid!!!” and I managed to support the hood. Then came the scariest part: Electricity. I had the jumper cables ready, and I knew that black went to black and red to red and that black is negative and red is positive which is soooo confusing since in the business world, black is positive and red is negative (just try to run a bank account in the red and convince your bank that’s a positive thing – well – yeah – the government does that). I carefully placed the clamps on the posts of the two batteries, gritting my teeth in expectation that I was about to arc weld the frame of my car to every steel component of the motor. Surprisingly, there wasn’t even a spark and when I turned the key in the ignition, the car started!!! I did my best imitation of a “goal post dance” and wanted to growl like Tool Time Tim. Yessss! I might as well have invented the automobile with the sense of achievement I felt. And speaking of a sense of achievement. I discovered something rather wonderful this week. Most of you are probably not as ancient as I, and probably don’t remember Dannon’s Fruit On The Bottom Yogurt. That was a staple for me throughout my college years. I would go to the student union cafeteria and load up on cups of Dannon Apricot and keep that in my little frig for late nights at the Art Barn or studying for a test. But Dannon Fruit In the Bottom Yogurt went away. There was something about that yogurt with the tart chunks of apricot and the lumps of yogurt that burst in your mouth between smooth and creamy spoonfuls. Anyway, the other day, in making yogurt, a brilliant idea hit me. I have tons of apricot jam made from the bounty of Sir Flying Ace’s apricot tree. I put a couple of tablespoons of that jam into the bottom of my yogurt cups. Then, in my pan of warmed milk, I added vanilla and stevia to flavor the milk and then did my usual adding a little warmed milk to the starter, pouring that mixture back into the milk. I poured the milk and starter mixture over the jam into the cups and placed the cups in my yogurt maker. Oh my gosh!!!! When cooled in the frig and then gently mixed to bring the fruit up from the bottom, that yogurt tasted exactly like that which I ate in college. It is wonderful. I have now tried it with homemade strawberry and blueberry jams as well. 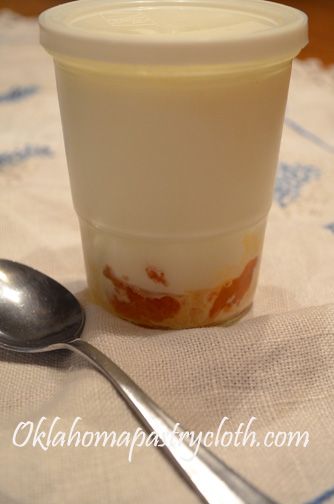 But to beat everything, I was out of buttermilk the other day and on a whim, decided to use that yogurt instead, for a batch of pancakes for Mr. Fix-It. I sustituted exactly the same amount of the fruit yogurt for the amount of buttermilk I would have used. Mr. Fix-It has said that he wants me to make pancakes that way from now on. They were amazing. So here is my recipe. I am sure that you can use just plain yogurt the same way, but that fruit really made some wonderful flapjacks!! One note: The yogurt must be live culture. The blended yogurts and those with additives won’t work. Ingredients: 1 large egg 1 1/4 cup yogurt 1/2 tsp soda 1 1/4 cups sifted flour 1/2 tsp vanilla 2 tbsp melted butter 1 tsp baking powder 1/2 tsp salt chopped pecans (optional) Printable Recipe Sift together flour, baking powder and salt and set aside. In a mixing bowl with a whisk, beat together egg and yogurt until smooth. Add baking soda and mix. Add flour mixture and stir until smooth. Add vanilla and butter. If batter is too thick, add enough water to give it the consistency of hot pudding.  Pour batter onto a hot, well-oiled griddle, heating to around 350º. Sprinkle with chopped pecans. Cook until brown and turn to cook the other side.  Serve with butter and syrup. Good eatin’!!!  |
|
| |
|
Oklahoma Pastry Cloth™ Company on Facebook
|
|
 |
|
|
|
Double The Fun and Chicken
Saturday, January 26th, 2013
 Hi all. Haven’t been able to stand writing much lately. Writer’s block has reared its ugly head and then another issue just gave me more excuses. Most of you know that I have Graves and Hashimoto’s Diseases with the accompanying Thyroid Eye Disease (also known as TED). Lately, focusing on a computer screen for any amount of time has not been fun. I’ve tried. Best intentions and all that kinda thing. My eyes throb, burn and tear up and then, everybody wants to know what I’m upset about and what should send me into tears. Of course, assuring, “nothing,” doesn’t cut it and pretty soon, discussions of Prozac and other drugs of comotosity (is that a word?) become whispers behind my back where my “mom’s eye in the back of my head” is also throbbing, burning and tearing up. I then win the day and all involved relax as I pile ice onto my face, over a sleep mask, and I lay down on the couch to listen to the clickity clack of the Wheel of Fortune wheel. Ya know, something gets lost in that show when one can’t see the board and can only hear the ‘dings’ of the letters turning and the squeals of the contestants. Just not much brain stimulation there. And there’s no use looking because with the occassional double vision of TED, when a contestant buys a vowel, two show up side-by-side along with double consonents and the board looks like Russian! Last night, I asked Mr. Fix-It if he noticed the firelike flames of the headlights of oncoming traffic. He looked sideways at me like I was crazy and said that there were no firelike flames. Huh. January is Thyroid Disease Awareness Month. Now, a year ago, I would have giggled and said, “Are you kidding? They have a month dedicated to the thyroid, of which nobody cares? Sheesh.” But things sure do change when you become one of the stories told by the countless number of people in all parts of the world who have been struck with these really aggravating autoimmune diseases. All of a sudden, you get this primal urge to wear a ribbon or get pledges and walk or something. You try all kinds of natural remedies and keep a journal of what works and what doesn’t work. I have to say that I have discovered that my Rosemary/Peppermint with Sage soap seems to sooth my painful eyes and keeps them from being so red. That’s pretty cool. Literally. But suffice it to say that one feels a new empathy for people who are struggling with diseases that are not necessarily life threatening but that are life altering. I went into Walmart awhile back and the checker was peering with difficulty at the price of my item. One eye was droopy and the other was terribly swollen and watery. I knew immediately that she had TED and I felt such a pain for her having to stand there, trying to see what wasn’t going to be easily seen. I wanted to just grab her to take her to a recliner for an ice pack and relief. I have been blessed. My eyes are not that bad yet. It is very possible that my day will come or it may not, but God has been gracious in allowing me just enough discomfort to keep me humble and not so serious a case so that it keeps me grateful. “For when I am weak, then I am strong.” (II Corinthians 12:10) But I’m still kind of impatient about sitting in front of a computer screen!! 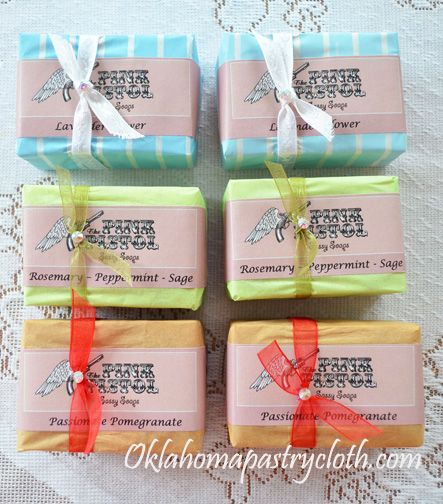 Many things have been happening over the past month…pretty exciting things, in fact. We have the privilege of welcoming Eric and Denyce and their wonderful site Breadtopia.com. They have decided to carry the Oklahoma Pastry Cloth™ at their Iowa business. Be sure to hop over and check out their site and their great baking blog. You will learn a lot! Then, the gift store, The Pink Pistol, recently opened in Tishomingo, Oklahoma by country music singer Miranda Lambert, is carrying our soaps packaged especially for them. Privately labeled for The Pink Pistol, the soaps have swarovski crystals centered on the ribbon that ties around the package of pastel tissue paper for a tidy gift with ‘bling’! We have been humming here, producing like Lucy and Ethel in the chocolate bon bon factory and just as organized!! (note my sarcasm) So please accept my apology for the long absence. A combination of writer’s block, eye problems and sheer burnout have plagued this blogger granny. I’m thinking of getting a bottle of Vitameatavegamin. In the interim, reader Lacey from Texas, sent a recipe that Mr. Fix-It and I really liked. It is very easy and very tasty and REALLY fast. The recipe actually calls for chicken thighs with the bone in, but since we especially like white meat, I used boneless chicken breasts, cut into chunks. I think that next time, I will cut the breasts into strips but you can use any part of the chicken you like!! Thank you, Lacey, for a new recipe! 1 1/2 lbs chicken thighs or boneless breasts 1/2 cup Dijon mustard 1/4 cup Maple syrup 1 Tablespoon Rice/rice wine vinegar Fresh rosemary Salt and pepper Line a baking dish with aluminum foil and preheat oven to 450º  In a bowl, mix mustard, maple syrup and vinegar until creamy. 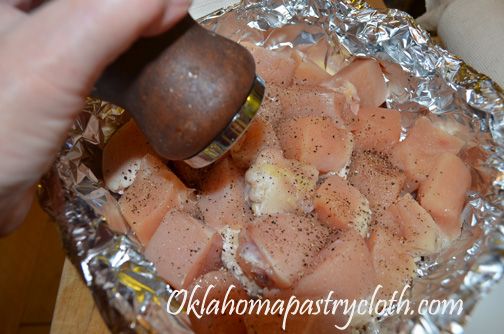 Place chicken pieces into foil lined casserole dish and salt and pepper chicken 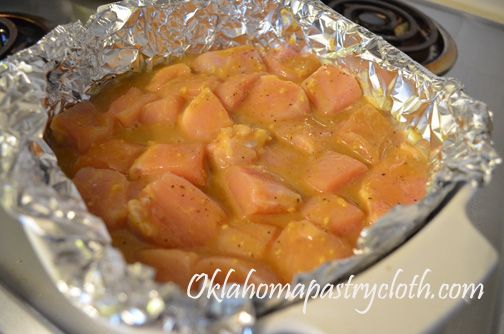 Pour the sauce mixture over the chicken and turn pieces to dredge in the sauce.  Bake at 450º for 40 minutes, basting with the sauce halfway through the cooking. For breast strips, it may not take 40 minutes until done. 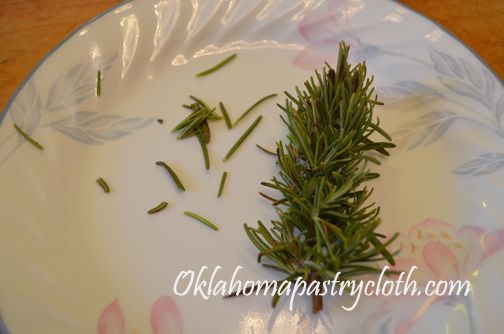 Remove the chicken from the oven and allow to cool for 5 minutes. Serve portions, spooning sauce over the meat and sprinkling fresh rosemary leaves liberally over the pieces. This is an important addition!! 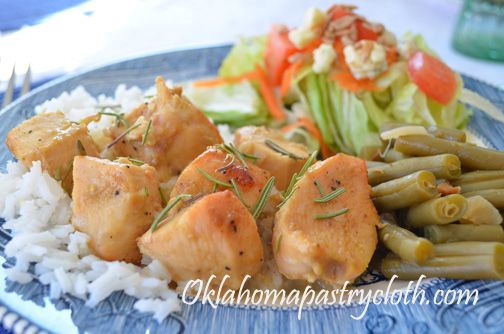 I served the chicken over rice – but heh – that’s just me. We eat so much rice, we should invest in a rice paddy!! Enjoy!!  |
|
| |
|
Oklahoma Pastry Cloth™ Company on Facebook
|
|
 |
|
|
|


 Homestead Revival
 Paratus Familia
 Rural Revolution