 December 1st, my granddaughter turned 1 year old and she got a tea party deluxe. Her mom pinked everything up, made banners and lots of tasty finger food, with beautiful cupcakes filled with lemon curd. It was a lovely day with friends and relatives. My contribution was open-faced, cucumber sandwiches and I thought I’d share those with you today. You can substitute any of your favorite sandwich spreads for this recipe – tuna or chicken salad, ham salad, pimento cheese, etc. I just think these sandwiches are so fresh tasting. The secret to the prettiest sandwiches is the shape of your bread. You can make a large loaf of bread and cut shapes out with cookie cutters, or you can bake bread in bread tubes and come out with crusty shapes that are pretty and tasty. Or, you can purchase honey whole wheat bread and use cookie cutters on that. Here, I used my standard bread recipe and doubled the amount of honey in it. Also, I added a whole egg. I apologize for the lack of photos in this recipe. It is one of the many earliest posts that lost all photos and I am slowly restoring each post. I will get to the bread post eventually!! But the recipe and instructions are there. This bread recipe, after baked, can be frozen and that is what I will be doing with my tubes of bread to hold them for Christmas day. I will thaw them and slice them and then add different toppings for a lovely assortment of open-faced sandwiches. You can find bread tubes on Ebay.com or Amazon.com or Pamperedchef.com or in any kitchen shop. Of course, you can use mini loaf pans too. 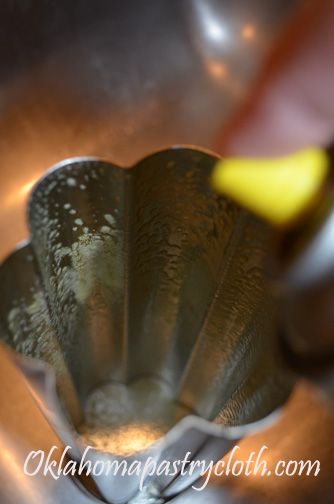 First, spray mini loaf pans or bread tubes, with one end cap attached, with spray olive oil, making sure that all areas are covered. 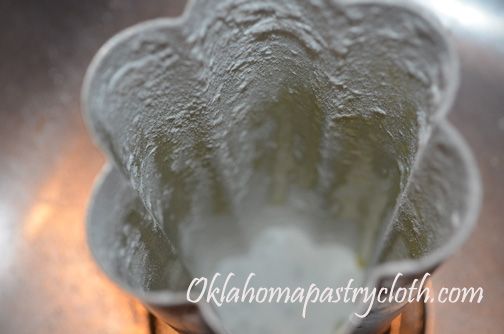 Flour the pans generously so that all surfaces are floured. 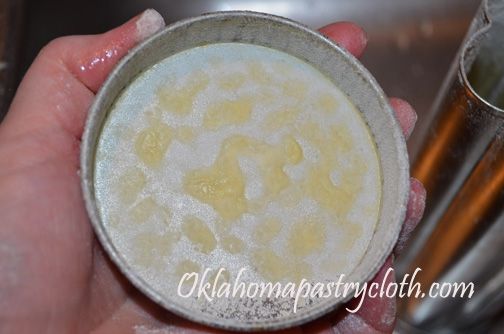 Oil and flour the other end cap to the bread tubes. 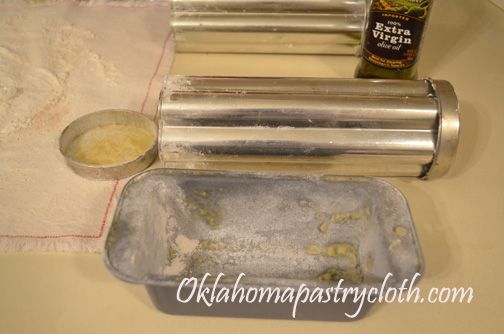 Here are two flower shaped bread tubes and a mini loaf pan prepared. 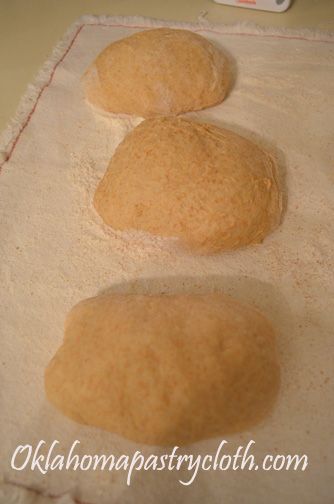 After making the bread dough, divide it into two or three sections, depending on the size of your pans. You may notice that the sections are on an Oklahoma Pastry Cloth™, except I got in a hurry and didn’t notice that I floured it upside down!! The pastry cloth will work on the right side or the wrong side. 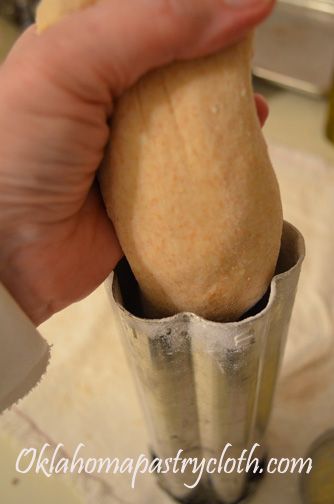 Roll the sections to fit inside of the tubes, or shape for loaves and place into pans 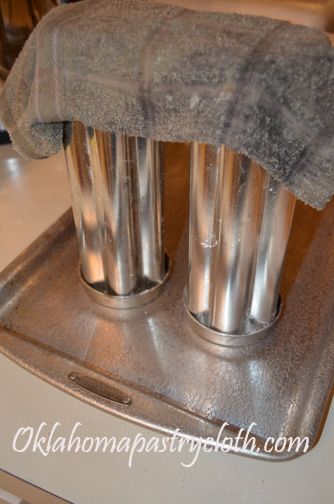 Place the bread tubes upright onto a baking sheet and cover with a warm, wet towel. Allow to rise in a warm place. I turn my oven on to 150º, let it heat up and then turn the oven off, placing the dough into the warmed oven. 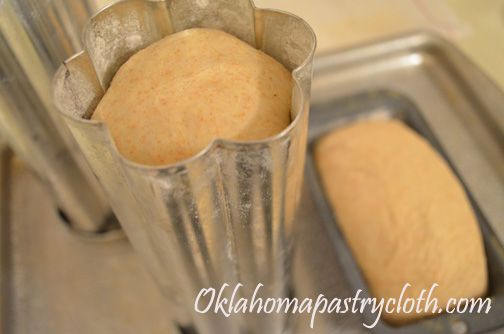 When the dough rises nearly to the top of the tube, it is ready to bake. 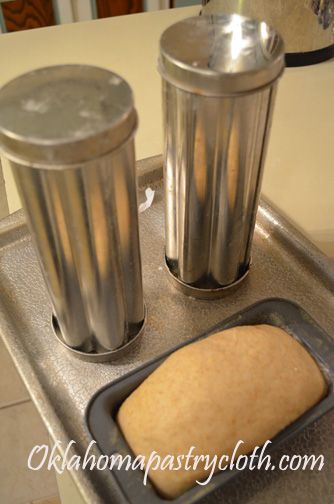 Preheat the oven to 350º and place the other end caps that have been oiled and floured, onto the bread tubes. Bake for twice the length of time normally used for a loaf of bread. The dough takes longer to bake in the bread tubes than in a standard loaf pan. In this case, I baked the bread in the mini loaf pans for 20 minutes and that in the tubes for 40 minutes. 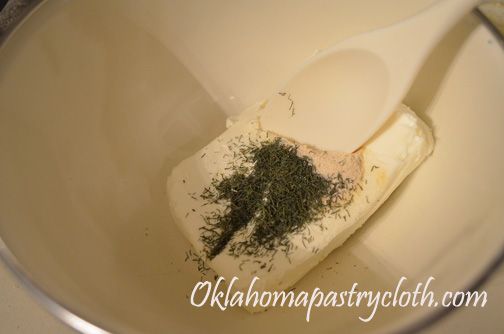 In the meantime, for cucumber sandwiches, you will need: Ingredients: 1 8 oz package softened creamed cheese 1/4 tsp garlic powder Salt to taste 1/2 tsp dried dill cucumber slices sliced olives for garnishing Place the first four of these ingredients into a mixing bowl. 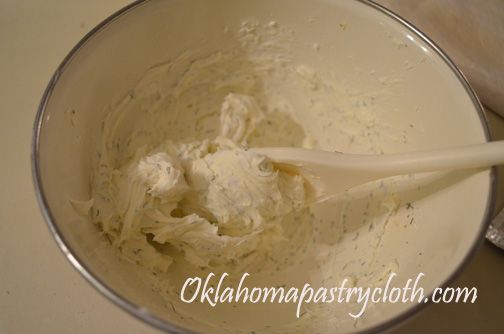 Mix the cheese and spices until well-blended. You can use a wooden spoon or small hand mixer  When the bread comes out of the oven, allow it to cool until you can handle the metal bread tubes. Remove the end caps and using a butter knife, carefully loosen any edges of bread dough. Push the bread out of the tube and allow it to continue cooling on a rack. If making mini loaves, lift the loaves out of the pans. 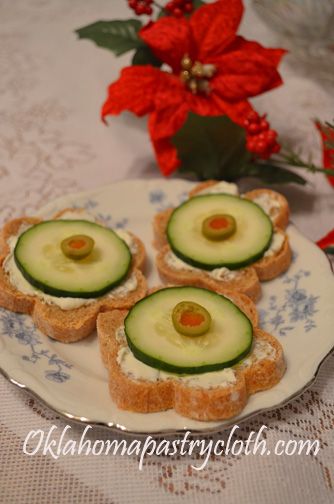 Using a serrated knife, slice the loaves of bread about 1/4″ thick and spread cream cheese mixture onto each slice. Place a slice of cucumber on top of the cheese and garnish with a slice of olive. Aren’t they pretty? And they taste good too!!  |
|
| |
|
Oklahoma Pastry Cloth™ Company on Facebook
|
|
 |
|
|
|
Archive for the ‘Entertaining Ideas on the Cheap’ Category
Finger Food Never Looked So Pretty!
Friday, December 21st, 2012
The “Toity” Without The “Hoity”!
Friday, December 14th, 2012
  Just 5 days to go!! Don’t forget to comment to enter this month’s giveaway for the treats pictured above. Just in time for Christmas: Shortbread cookie mix and a set of cookie cutters to make a cookie Christmas tree!! I told you in my last post that I would put up some “finger food” ideas for the holiday entertaining season and this is the next in that list. Hope you can use it!! A long time ago, an employer took me and friends to a restaurant in Knoxville, Tennessee. It was quite an experience for a younger person who didn’t have two pennies to rub together. There were no prices on the menu and so I have no idea how much the meal cost. However, I’ll bet that the bill would be considered astronomical even today! Appetizers were ordered first and I chowed down on the Crab Louis on crackers. I had never had caviar and made a pig of myself. As has always been my habit, I took mental notes of the tastes and the ingredients as the flavors slid over my taste buds. I have no clue what I had for dinner and dessert. I just remember the appetizers! And of course, when I went back to the real world of the lowly, young wife of a farmer, I experimented until I created that appetizer to use for my own entertainment occassions. It may seem like a bit of work, but the neat thing is that you can make the sauce days ahead of time and just keep it in the frig where the longer it sits, the more the flavors combine. You can cook the crab ahead of time or you can use frozen claw meat or lump crab meat. Assembling the treat just takes a matter of minutes so it’s all in the planning! You will impress your guests and they will think that you are really posh. Do we use that word anymore??? For a lighter version, you can use light mayonnaise and the low-fat half and half. And if you think that I spent a bunch of money on caviar, think again! Shhhhhhhh. It was on the top shelf at Walmart with the canned oysters, canned shrimp and canned tuna!! That means that anyone can serve the “Toity” without it being so “Hoity”!! Ingredients: Louis Sauce: 1/2 cup mayonnaise 2 Tbsp heavy cream (or half and half) 2 Tbsp Heinz Chili Sauce 1 tsp Worcestershire sauce 1/4 tsp shredded, fresh horseradish 2 Tbsp finely chopped green pepper 2 Tbsp finely chopped green onion 1 Tbsp freshly squeezed lemon juice Other Ingredients: 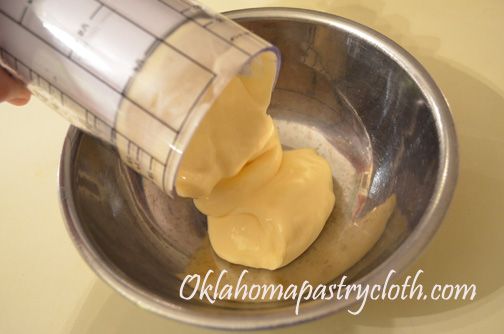 In a small mixing bowl, add mayonnaise 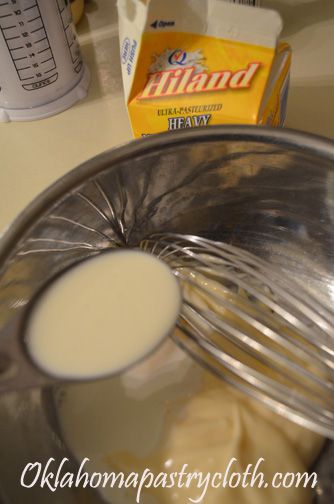 Add cream 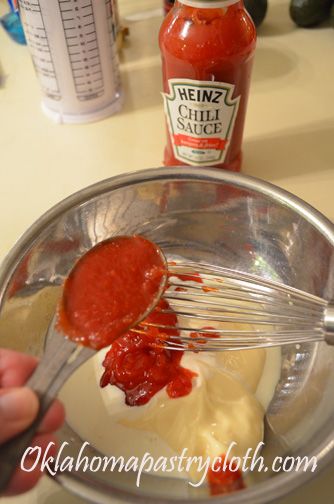 And chili sauce, worcestershire sauce and horseradish 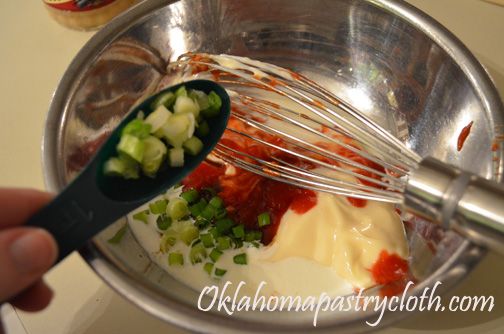 Add chopped green pepper and green onions 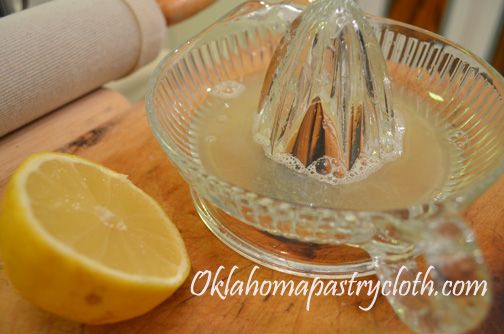 Pour in 1 Tbsp lemon juice 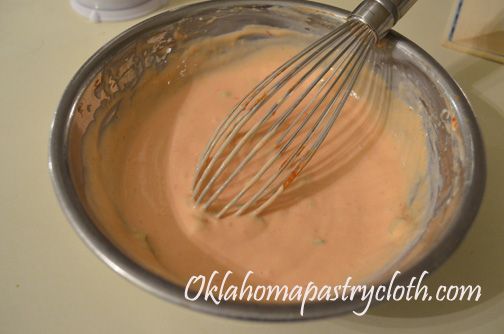 Mix all ingredients together until sauce is smooth. Place in the refrigerator to cool. May be made several days ahead of time. This sauce is very good as a substitute for tartar sauce with fried or baked fish or shrimp.  Steam enough crab to make one cup of meat when cracked. For a quicker preparation, frozen lump or claw meat is acceptable too. 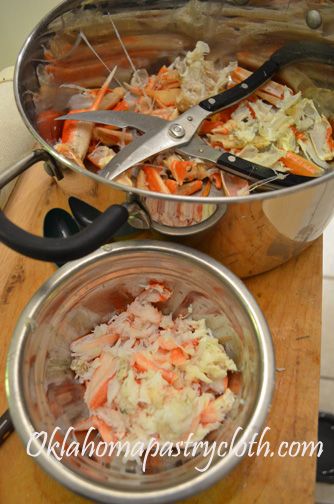 Shell the crab using kitchen shears and a nut pick. 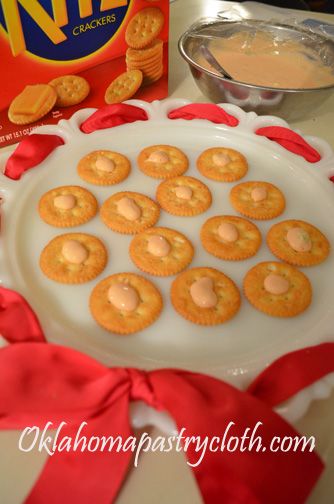 Place crackers on a plate and put a small dollop of sauce in the center of each cracker. 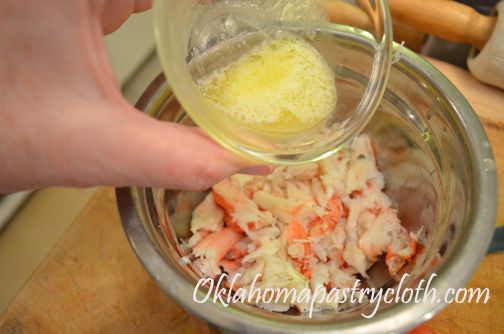 Toss one tablespoon melted butter with the crab 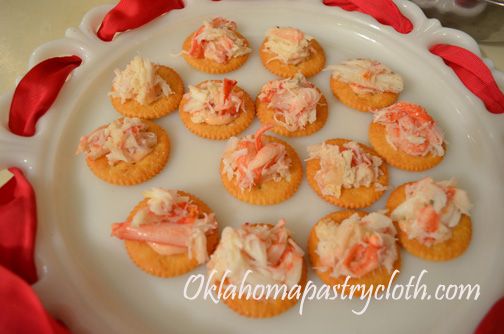 Put a mound of crab onto the cracker and into the sauce.  Place another small dollop of sauce on top of the mound of crab 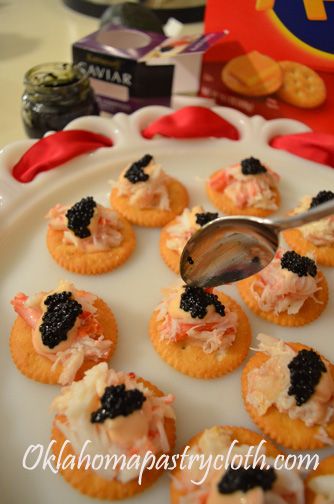 Add a small mound of caviar onto the sauce. 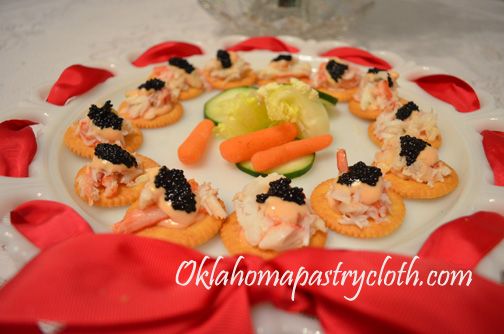 And there you have it. Tasty appetizers!!  |
|
| |
|
Oklahoma Pastry Cloth™ Company on Facebook
|
|
 |
|
|
|
Makin’ Smoothies
Friday, October 15th, 2010
|
|
|
As a homemaker, there is nothing more fun than getting inventive, inspired by some tidbit of food leftover and useless for anything major. When a great concoction is created and the family smacks their lips in appreciation, the homemaker feels that all is right with the world. Such was the case tonight as I noticed a fruit fly winging its way around and around a lone banana left ripening on the counter top. It was pretty ripe and would have been useful for banana bread had it been one of three bananas, but alas, it was alone. What does one do with one banana in a short time? What else? Make a smoothie. Smoothies are so easy and quick. And they are great at any time of the year. They are also healthy, especially when made with yogurt. Any fruit combination can be used and any yogurt flavor can be used. I use frozen fruit as much as possible to make it colder and thicker. My favorite is as follows and used that lone banana: 1 banana 1 thick slice of fresh pineapple, frozen 1 cup frozen, sliced strawberries 1 tbsp frozen orange juice concentrate 1/2 cup vanilla yogurt 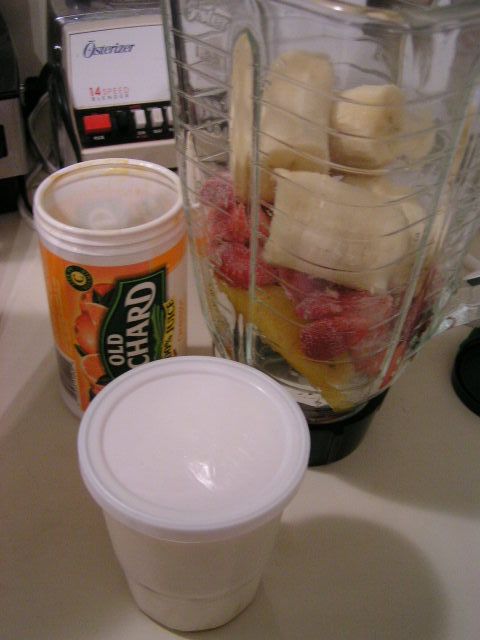 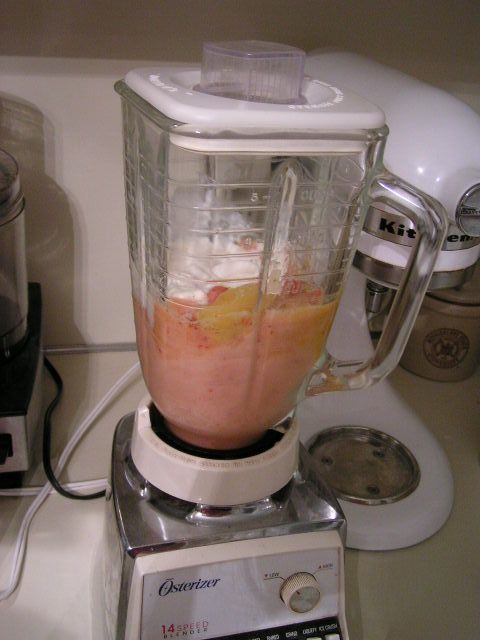  |
|
Oklahoma Pastry Cloth™ Company on Facebook
|
Strawberry Yogurt Parfaits
Friday, May 21st, 2010
 |
|
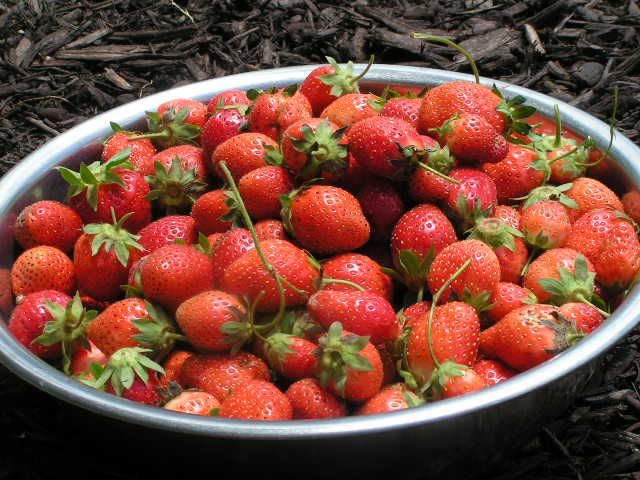
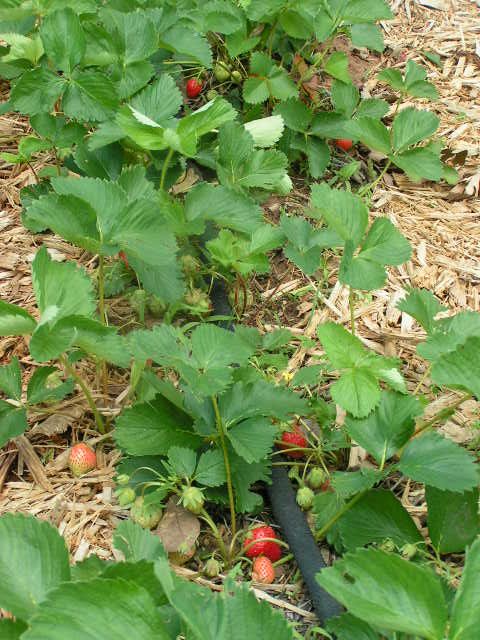
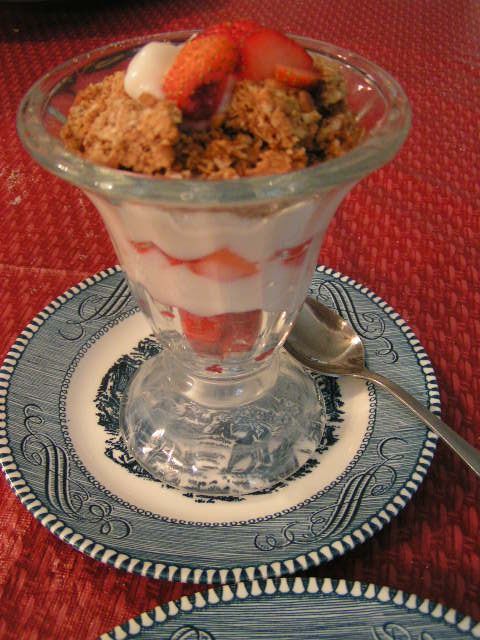
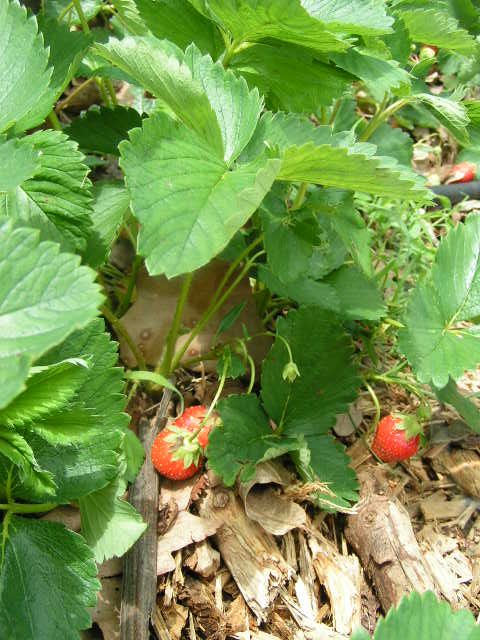
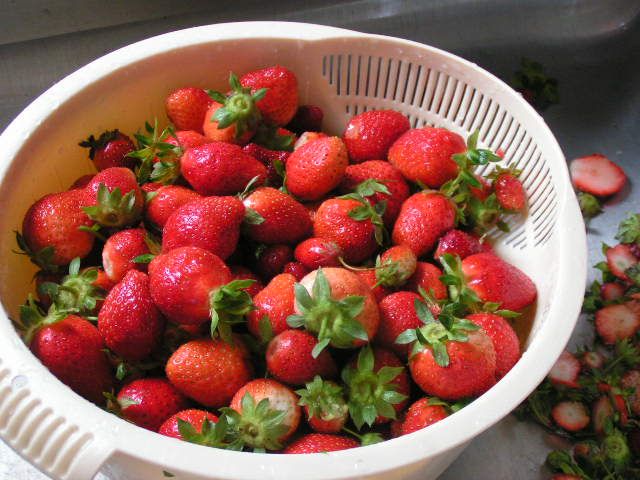
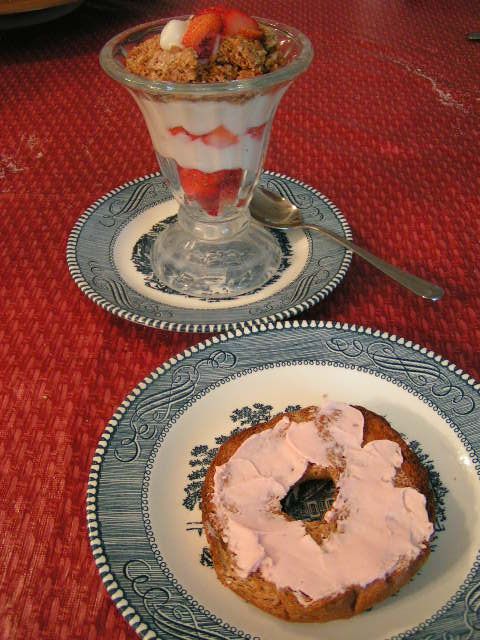
The sun is shining and the Oklahoma Pastry Cloth™ Company’s world is absolutely gorgeous. This morning’s haul of strawberries completed one of my favorite breakfast treats – strawberry-yogurt parfaits. They are gorgeous for light desserts and brunch when entertaining. We have had a bumper crop of strawberries this year and it is so fun to find the red fruits peeping from under their green canopies like ruby gems hidden from would be thieves – slugs, turtles and birds. These lucious fruits have been plump and juicy; the products of an unusually cool Spring. |
 |
|
Of course, what comes with a great crop of strawberries is strawberry shortcake, strawberry smoothies, strawberry topped cheesecake and strawberry muffins with homemade strawberry jam. Freezing and drying strawberries also gives the opportunity to enjoy these treats in the winter too. And then, there is the strawberry-yogurt parfait. Ours are made with homemade yogurt, homemade granola and freshpicked strawberries. You can do any variation that you like, but I thought that I would explain how I put ours together and I suppose I should throw in how to make yogurt too! For the parfaits, I use ice cream cups that you can get cheaply at any discount store, including Walmart and Dollar Tree. For each cup, I layer a total of 1/2 cup of sweetened strawberries and 1/2 cup of yogurt. Crumbled granola goes on top. If you don’t make homemade granola, the Nature’s Valley granola bar works great when broken in the package and then sprinkled on top. You can garnish with a strawberry, mint leaves or anything else your creative mind can concoct. |
 |
|
Yogurt is very simple to make. I use a Salton Yogurt maker that I’ve had for years. You can find them online and I know that there are always some on ebay. Mine is the Cosmopolitan style and holds five 8 oz jars. However, if you do not have access to a yogurt maker, you can use your oven just as easily. You will need an oven thermometer to double-check your oven temp. You will also need a candy/jelly thermometer to place in the milk as you heat it and cool it. The following are the ingredients to gather together: 4 cups of milk (I use skim for nonfat yogurt) 1/2 cup instant nonfat milk 3 tablespoons plain, unsweetened yogurt vanilla sweetener like sugar, splenda or stevia 5 – 8 oz jelly jars used for canning 5 rings and lids Place the jelly jars onto a cookie sheet. Preheat oven to 110º. You can test the temperature with an oven thermometer. Place the milk and powdered milk into a saucepan and whisk until powdered milk is well dissolved. Continue stirring as you heat the milk to 180º. Do not bring the milk to a boil because you are just scalding it. At this point, some people cool the milk down quickly in a pan of ice water but I just let mine cool slowly until it reaches 110º. When the milk has cooled sufficiently, you can add sweetener and vanilla to your taste, or if you would like to have a variety of flavored and unflavored jars, you can add 1 tbsp sugar, 1/2 tbsp splenda or 1/4 tsp stevia to each of the jars that you wish to sweeten, and then put 1/4 tsp of vanilla as well. You will stir these once you put the milk into them. Back to the milk…it has now cooled to 110º. In a glass jar or cup, place 3 tbsp yogurt and pour in about 1/3 cup of the warm milk. Stir with a plastic spoon until nice and smooth. There may be some small lumps. Pour this back into the pot of warmed milk and stir to incorporate throughout. Now you can pour the milk into each of the jelly jars. Place a lid and a ring over each jar and tighten. You can reuse the rings and lids for each new batch of yogurt, because you are not sealing the jars, just protecting them from contamination. Place the cookie sheet supporting the jars into the oven and leave overnight or for 8-10 hours for tasty and tangy yogurt. Remove from the oven and place in the refrigerator. |
 |
 |
 |
|
Leave Comments below |
|
Oklahoma Pastry Cloth™ Company on Facebook
|
Wedding Flowers Can Be Cheap!!
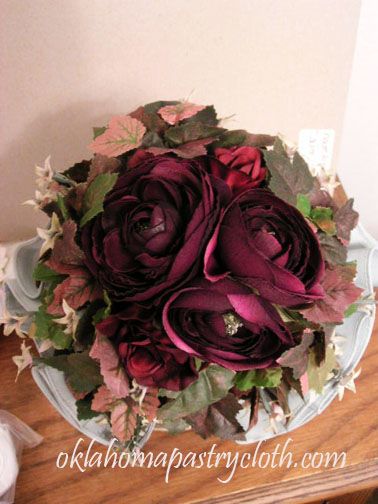
Wednesday, June 3rd, 2009“June is bustin’ out all over” and it is the wedding month of wedding months! The economic situations of the day are putting the kabosh on wedding budgets everywhere and more brides and mothers-of-the brides are choosing to do much of the preparation themselves. As with the previous posting, I thought that I would share with you another idea that I used in our daughter’s wedding – a pretty and inexpensive nosegay that is gorgeous for the wedding attendants. The nosegay is simple and really fun to see go together and can even be done at a “Nosegay Party” with the attendants each making their own. I used the following with silk flowers but real ones will work as well. Use floral wire to keep the stems of real flowers rigid. For each bouquet plan on:
• 3 larger round flowers like peonies, open roses, cabbage roses, etc. in one wedding color
• 2 identical flowers but smaller
• Bunch ivy in any color you wish
• Bunch small flowers like honeysuckle, stephanotis, baby’s breath, etc.
• Floral tape
• Satin in second wedding color
• Ribbon in matching or complement color
• Hot glue gun
• Wire cutters
Directions: Cut the stems on the flowers to the length that is appropriate for an attendant to hold in two hands, one hand over the other, about 7- 8 inches long. Wrap the three larger flowers tightly together with floral tape, pulling the tape as you wrap, to make it stick to itself. You don’t have to wrap all of the way down the stems, but just enough to make them tight and thin. Add the two small flowers on two sides of the group and wrap them tightly. Divide the bunch of smallest flowers and work stems in one or two at a time, wrapping as you go and turning until the larger flowers are cushioned under small flowers. Do the same with the ivy, nestling it beneath and around the flowers as a nest. Finish group by wrapping all stems together as one “handle”.
Cut two circles, with a diameter 2-3″ more than twice the length of the nosegay “handle”. With right sides together, sew circles together with a ¼ inch seam. Leave enough unsewn area to turn. Turn to right sides and press. Press under remaining seam and topstitch around the perimeter of the circle, leaving a ¼ inch edge. Place a drop of hot-glue in the center of the circle and hold the tip end of the bouquet “handle” onto the glue until it sets. Pull the circle up around the base of the bouquet and tie with matching ribbon around the base of the bouquet at the top of the handle. Straighten cloth around so that it evenly undulates around the base of the bouquet. Using a hot-glue gun, strategically glue the cloth to the underside of the bouquet. When dry, tie ribbons of matching and coordinating colors over the first ribbon, using one or two to make a bow and then let the rest drop about 12-14”, staggered so that they will float against the dress as the attendant walks down the aisle. These bouquets are lightweight and can be used in a circle with handles pointing in and one bouquet in the center, for a lovely floral arrangement at one of the serving tables during the reception!!
A Centerpiece To Dazzle Any Guest
Saturday, May 16th, 2009Wedding season is on its way and having been the mother-of-the-bride last year, I know the stress and frazzles that go into planning a wedding. In these tough economic times, money is a real issue and so I thought that I would share some of the ideas that helped me in planning.
For the bride and mother-of-the-bride, who wish to really budget carefully, beauty and elegance does not have to be forfeited. A lovely sit-down reception can still be had for pennies if one is careful. Just as an example, I’d like to share an idea for a centerpiece that I designed and used. Guests complemented us on the table decorations and thought that we had spent much more than we did.
First, if you have a Hobby Lobby or a Michael’s near you, that helps! Their coupons in the paper or online are a lifesaver for the planning bride. My relationship with the clerks grew to a first-name-basis! My coupon use became a joke for them and they laughed when they saw me coming. I am certain that I saw them making signs to each other indicating that I was crazy. I wasn’t crazy – I was just cheap! For example, for our 25 reception tables, my centerpiece required a silver charger. That meant twenty-five silver chargers at $1.87 each. As I said, I am cheap – ok, thrify to sound better – and so everytime that I went into town, I stopped at Hobby Lobby and purchased one charger with one 40% off coupon. What would have cost me a total of $46.75, came to $28. Doing that for nearly everything that I purchased at Hobby Lobby wound up saving me a fortune. I printed coupons off of the internet and used them religiously. The centerpiece that I describe below, cost $5.67 each to make.
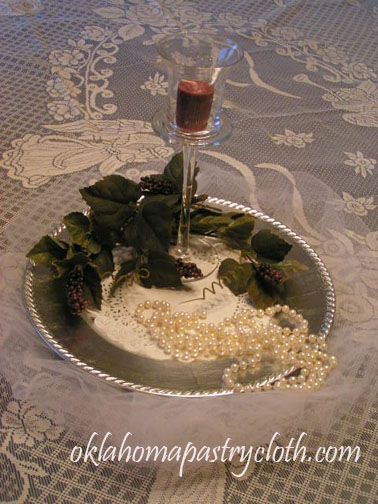
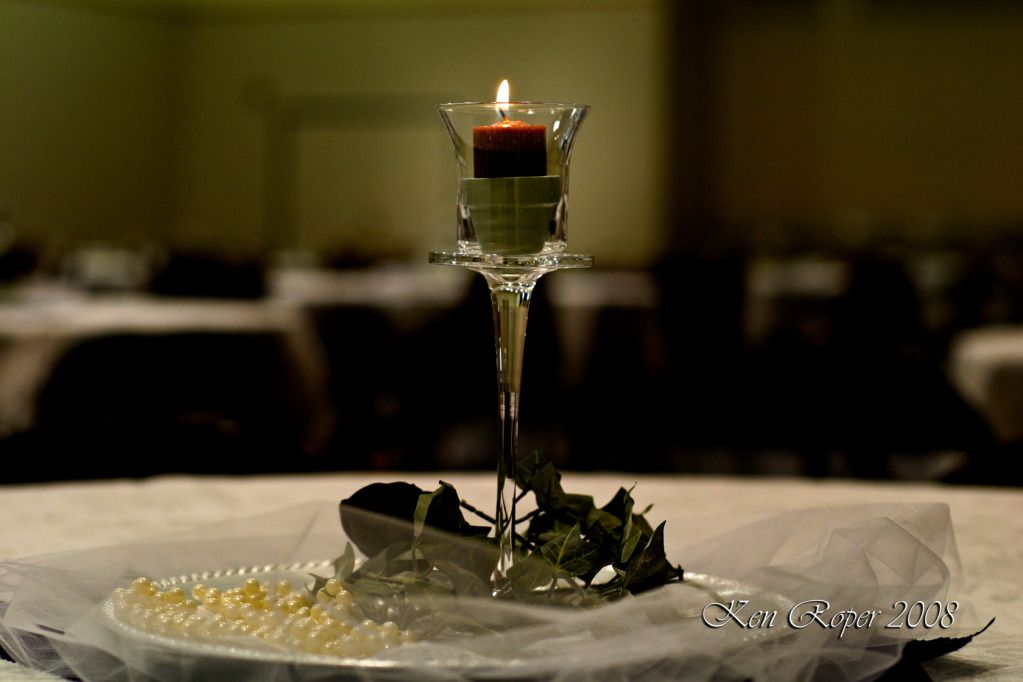
The following are the items for a lovely centerpiece.
-Tulle in either white or a coordinating wedding color
-One colored charger per table (silver, gold, red, black,etc at Hobby Lobby)
-1 paper doily per table (Dollar Store)
-One tall votive candle holder per table (Hobby Lobby)
-3 feet of pearl garland per table (Hobby Lobby)
-1 piece of ivy per table (Michael’s)
-1 coordingating flower or grapes or other accent piece (Michael’s)
-1 miniature flower pot per table, spraypainted the same color as the candles to be used (Michael’s)
-1 votive candle in coordinating color (Michael’s)
optional: large cloth napkin of a coordinating color
For each table, place a large square of doubled tulle in the center and turn edges under to form a loose, puffy circle. If using white tulle or if you wish to use two wedding colors, place large napkin of a coordinating color in center of table and place tulle on top of napkin. Place charger in center of tulle. Place doily in center of charger. Put tall votive candle holder onto the charger and to the right of center. Put a candle into the minature flower pot and put both into the candle holder. The flower pot makes it easier to clean the candle holder of candle remnants. Lay ivy around the base of the candle holder and around top edge of charger. Place flower or grapes or other accent piece to the left of the candle holder and in front, nestled in the ivy. Pile the pearl garland in the center right of the charger and drape it over the edge and onto the tulle or let spill to the table. Light the candle and take pictures!! Below are photos that you can click to enlarge. Good luck!

 Homestead Revival
 Paratus Familia
 Rural Revolution