 The Ranch, But…..   The beauty of living in Oklahoma is all of the different kinds of foods found across the state. Meals are impacted by the influences of the early pioneer and by the German influence and the Polish influence and the Swedish influence and the Italian influence and the Native American influence and, of course, the Mexican influence. No matter, where you go in the state, depending on the early settlers’ cultural background of the area , the foods are sensational and different. When talking restaurant foods influenced by the Latino culture we have Mexican, Tex/Mex, New Mexico/Mex and American/Mex but “At Home Mex” is a favorite at our home! And since breakfast is our favorite meal, I think that I need to share my own version of Ranch Style Eggs, also known as Huevos Rancheros. They are gooey, cheesy, luscious eggs that will start your day off with a bang or can make you a hit at a potluck brunch with friends. Since our tomatoes are still producing, I use my fresh tomatoes. However, you can use canned tomatoes and they are just as good. The recipe makes three eggs but you can double or triple the recipe into a larger casserole dish and do just fine. Ingredients:
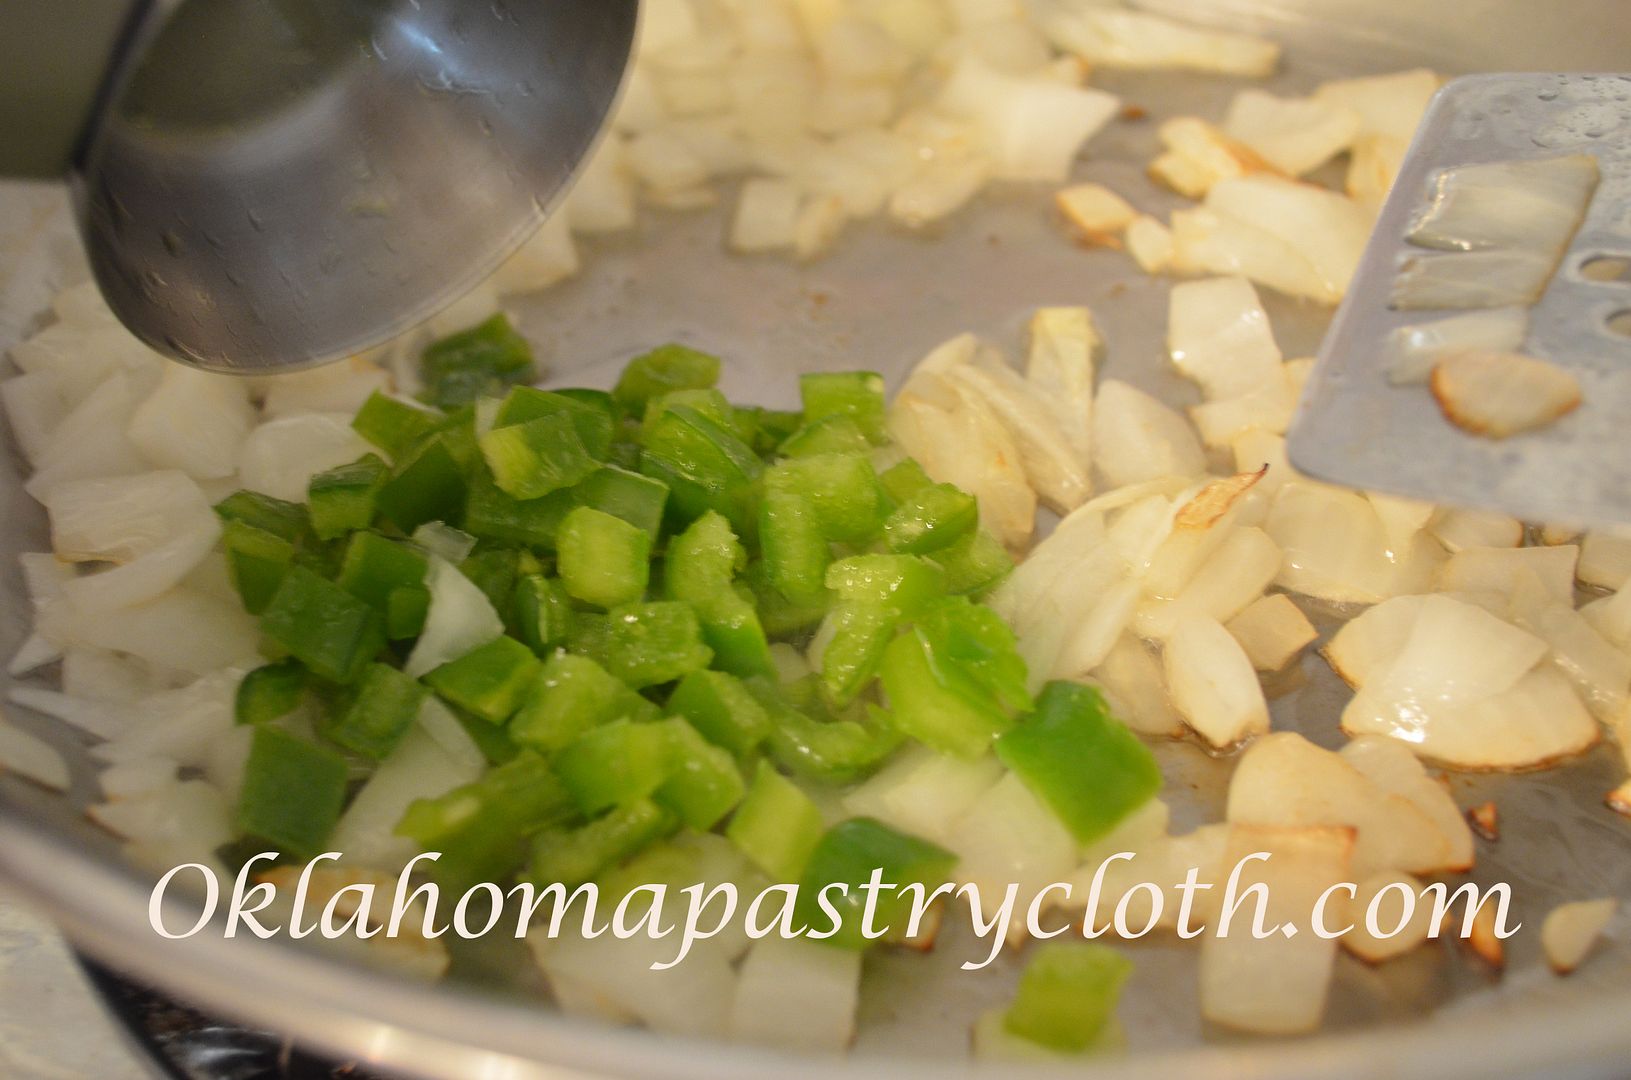 Saute onions in 1 tbsp olive oil with 1 tbsp melted butter until onions are just clear. Add green peppers and saute. 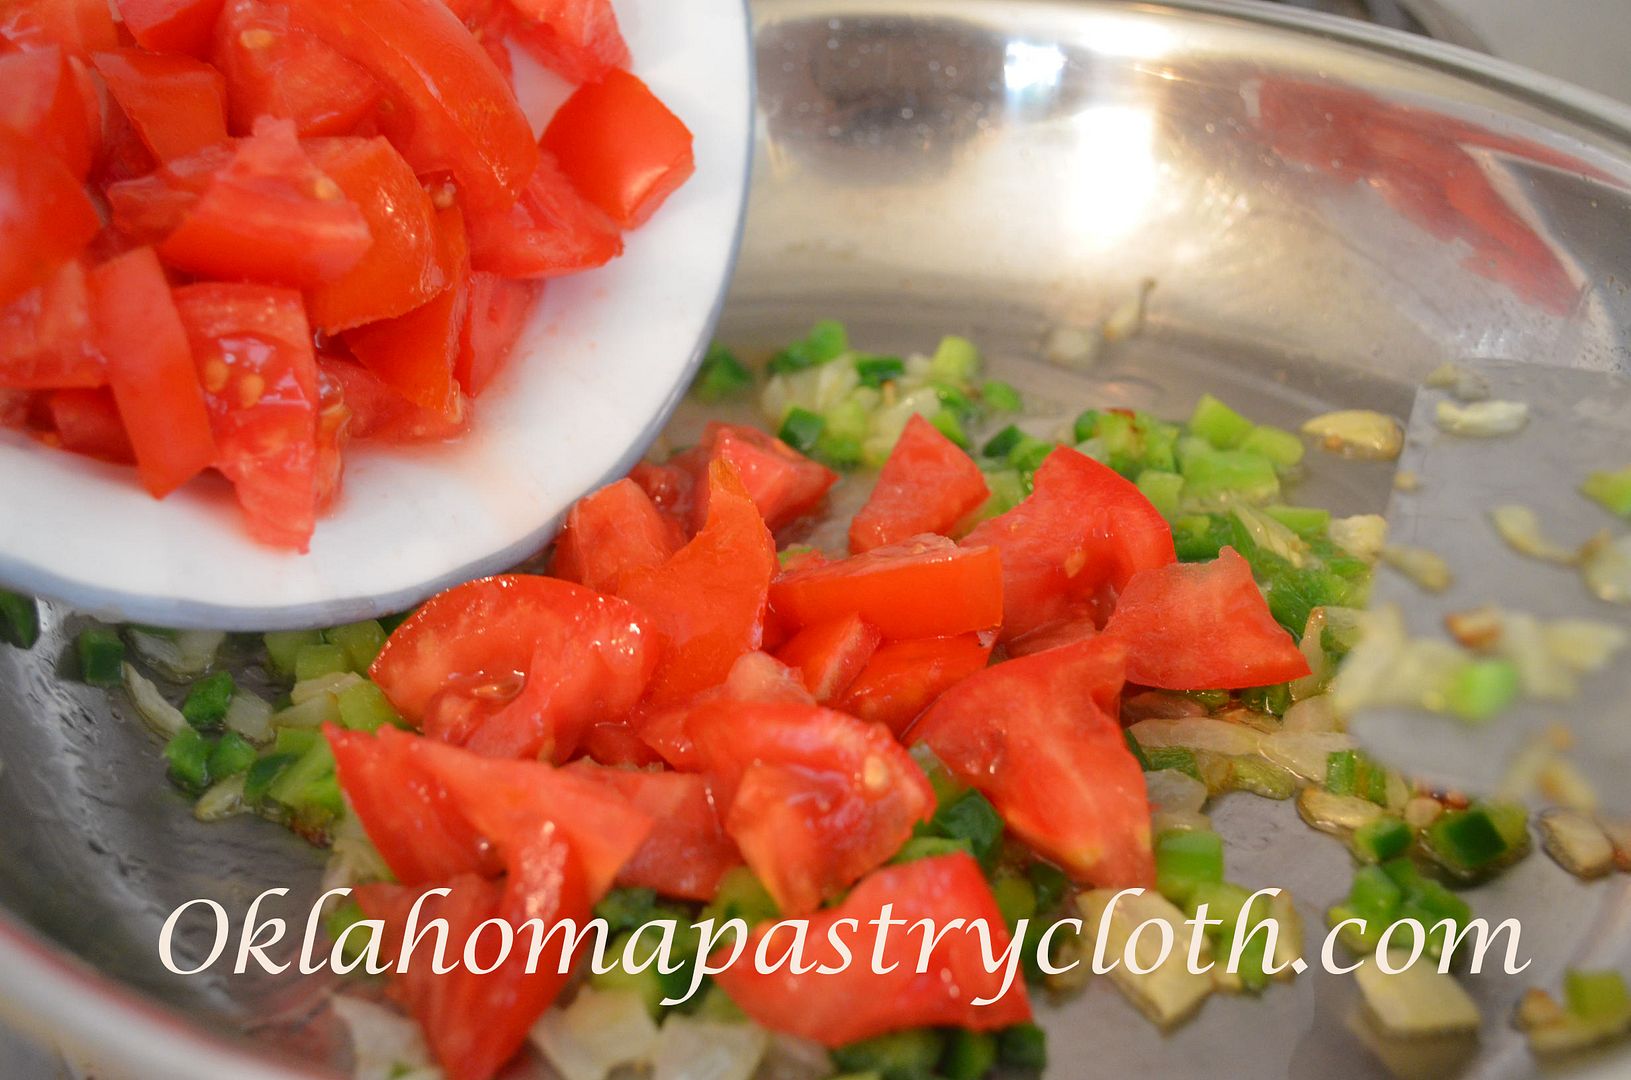 Add either diced fresh tomatoes  or add canned tomatoes. Stir and simmer.  Add soda and stir. A foam will form and just stir it down. The purpose of the soda is to cut the acid and any bitterness of the tomatoes. Add all of the spices and stir. Cook down until thick – about 20 minutes. 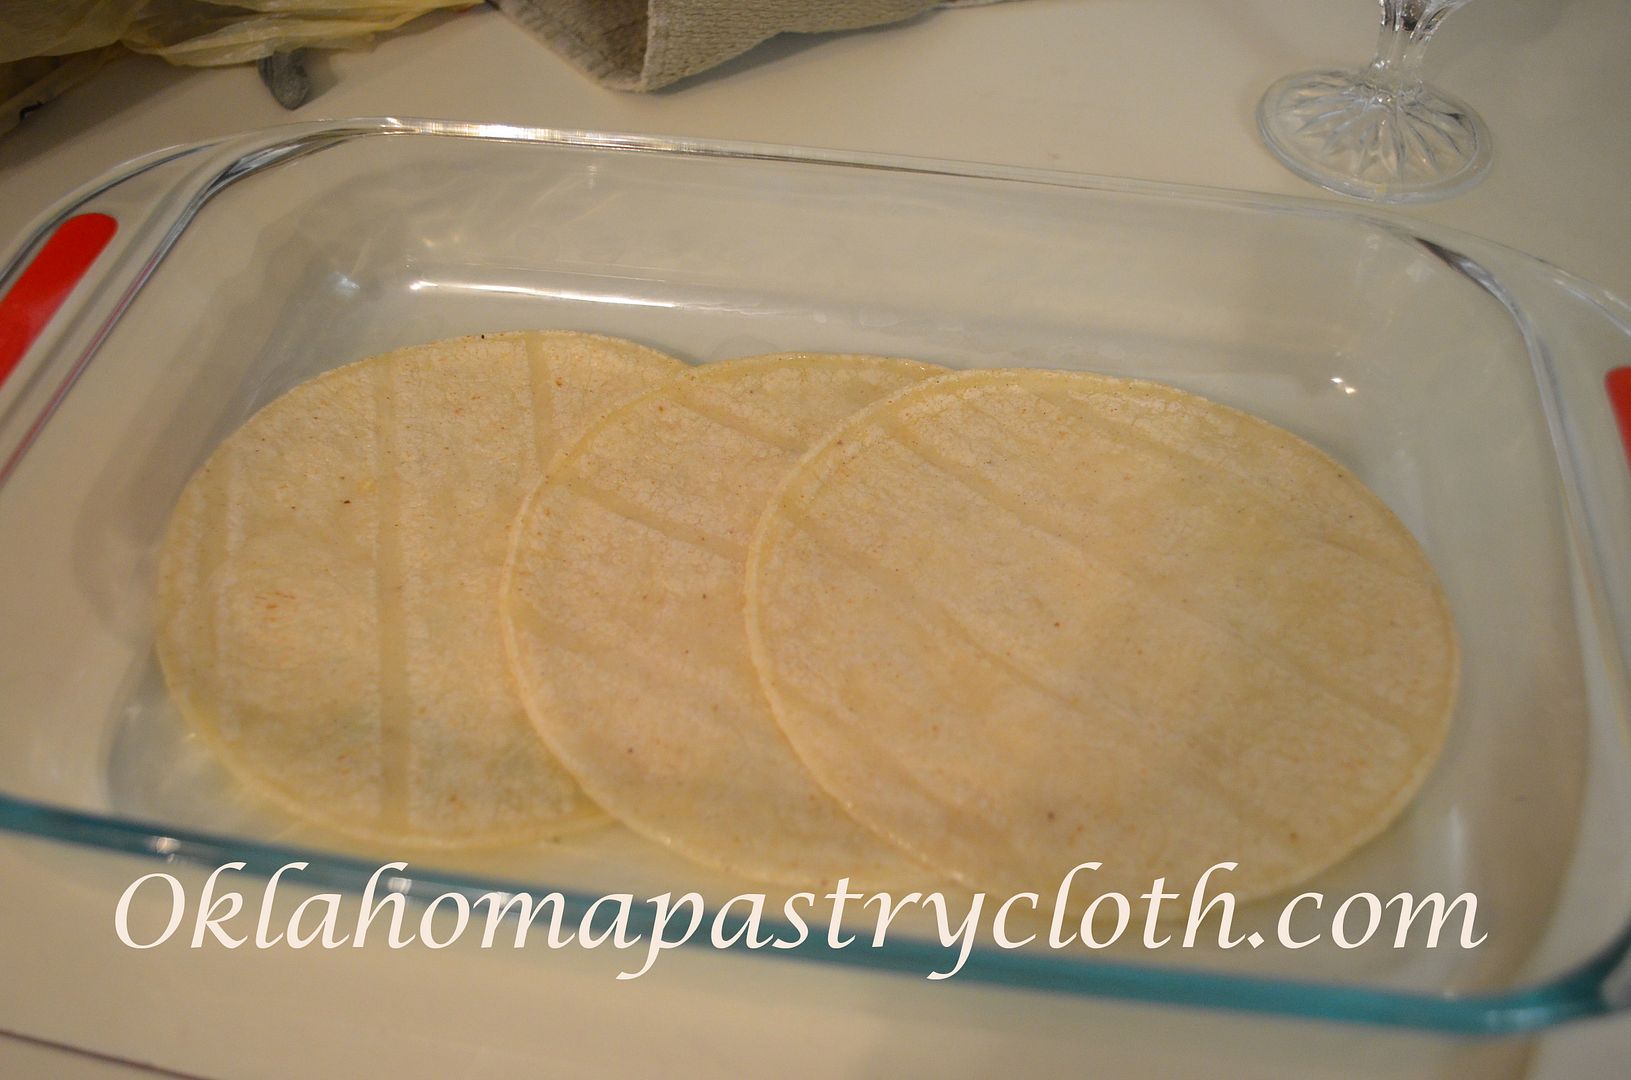 While the tomatoes are simmering, brush tortillas on both sides with olive oil and place into a casserole dish, overlapping to fit. 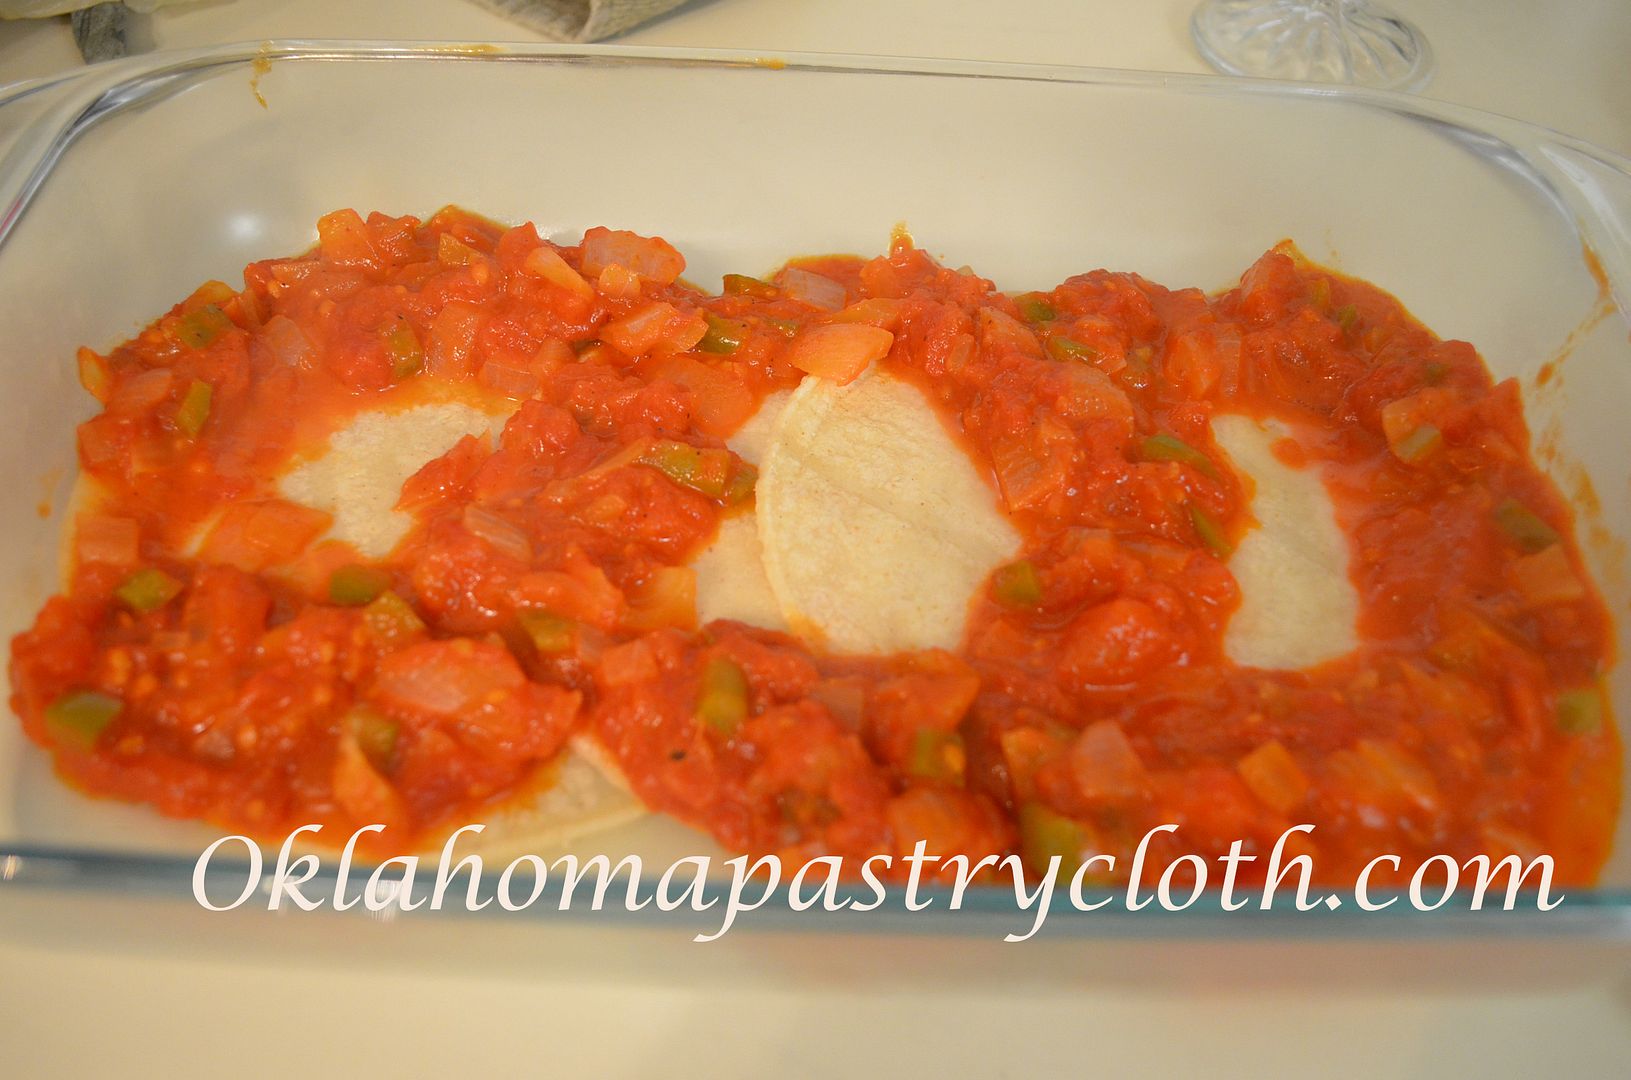 Evenly distribute the tomato mixture around the tortillas, leaving a well in the center of each tortilla. Make sure that the tomatoes form a circular barrier for the eggs that you will be adding. 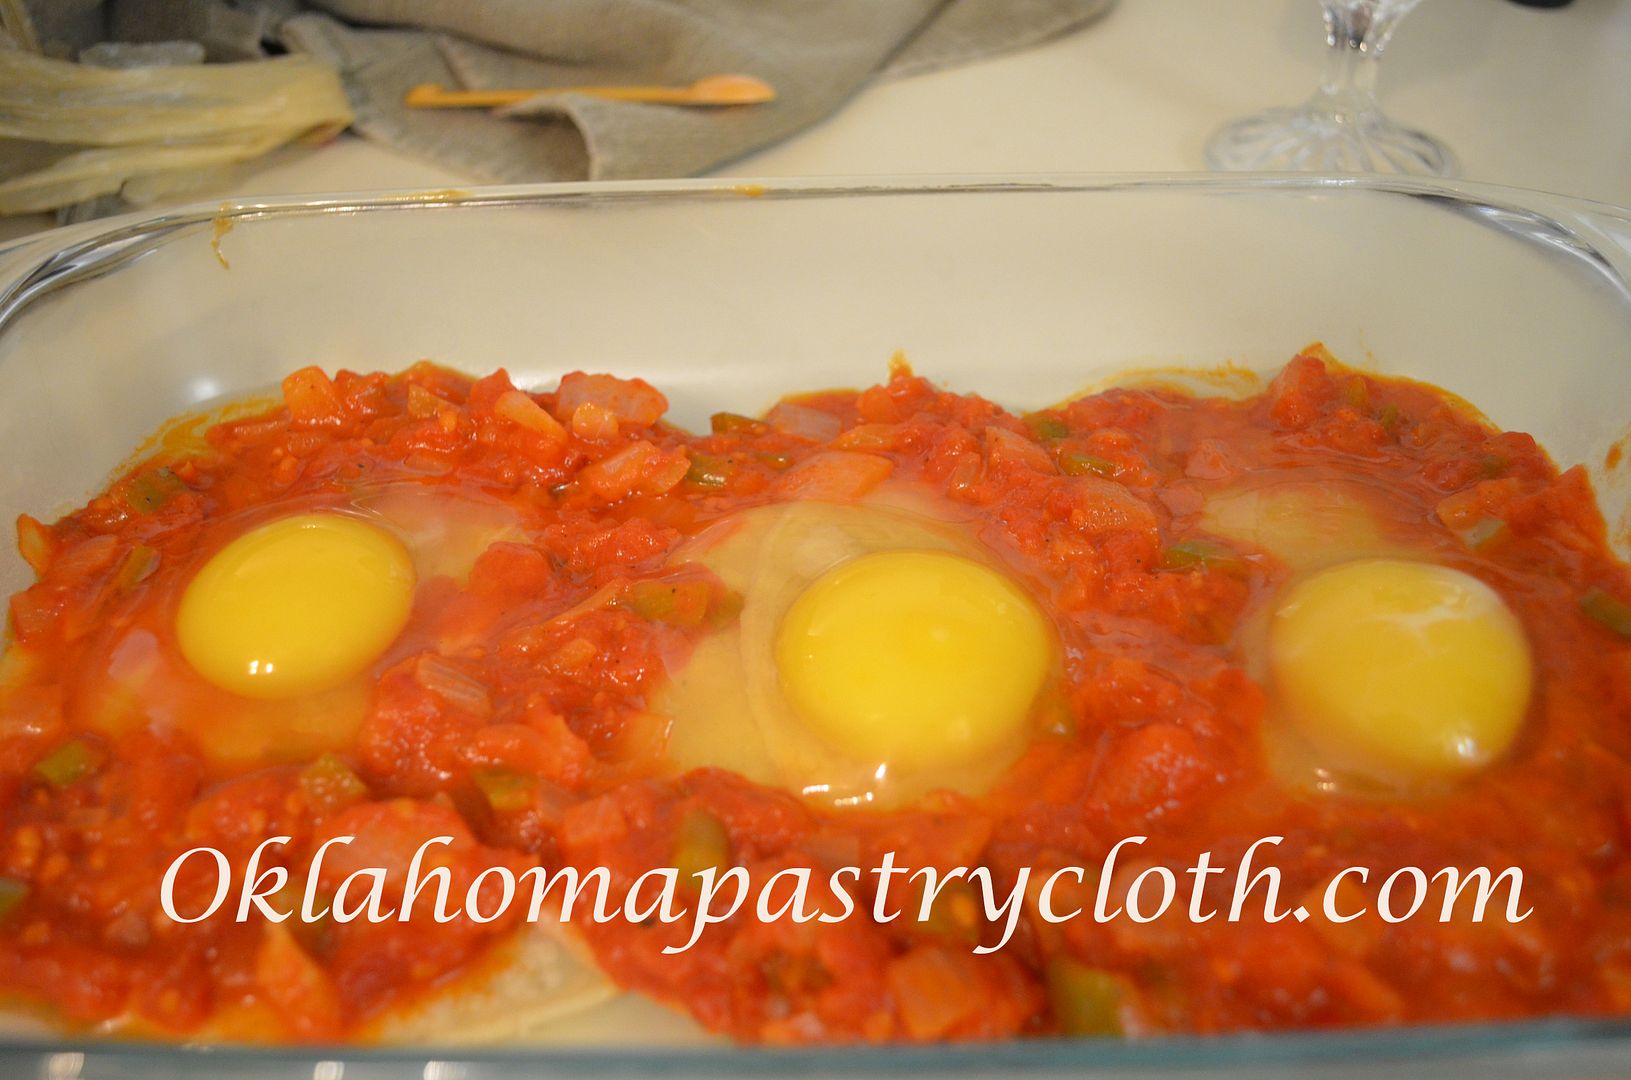 Break eggs, one at a time and gently into the center of each tomato well. 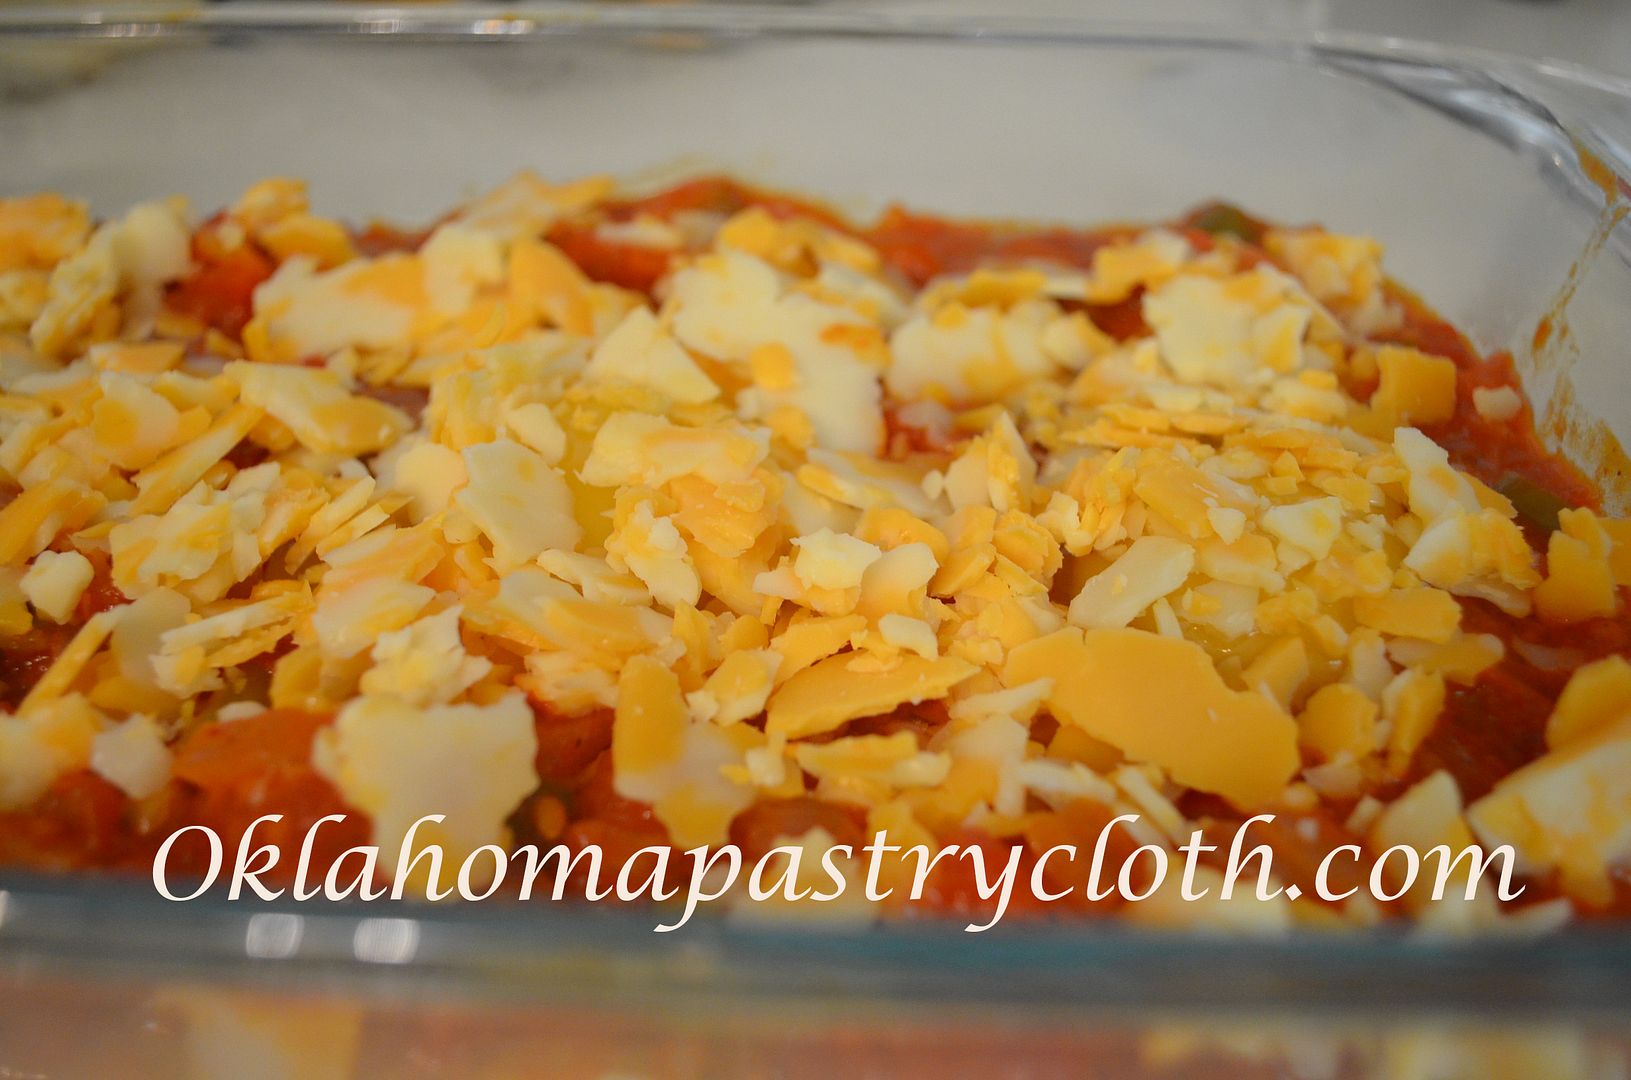 Cover the eggs and tomatoes with cheese. I am using crumbled cheese here, but you can use sliced or shredded cheese as well. Bake in a 400º oven for 10 to 20 minutes, depending on how firm you like your eggs.  Serve hot with sausage, bacon or ham.  |
|
| |
|
Oklahoma Pastry Cloth™ Company on Facebook
|
|
 |
Posts Tagged ‘tomatoes’
Ranch Style Eggs
Monday, August 14th, 2017
Ham and Egg Tostadas
Tuesday, July 21st, 2015
 Last week, I shared with you the fact that, though one can think that one has all things under control, the reality usually rears its ugly head and one finds out that one has NOTHING under control! My dad used to tell about a professor at the University of Kentucky, back in the 1950s, who used to quip that as soon as you think you have control over anything, just take a big rock, hold it over your foot, drop it and then WILL it to stop. That will cure you of that illusion. BUT….I also have been taught to make lemonade out of lemons, or in this case, ham and egg tostadas out of ham that I didn’t get to serve! We love these breakfast yummies and the ham that I had to can after the disaster at our son’s rehearsal dinner has come in really handy! They are wonderful for a brunch as well and look so pretty on the plate. 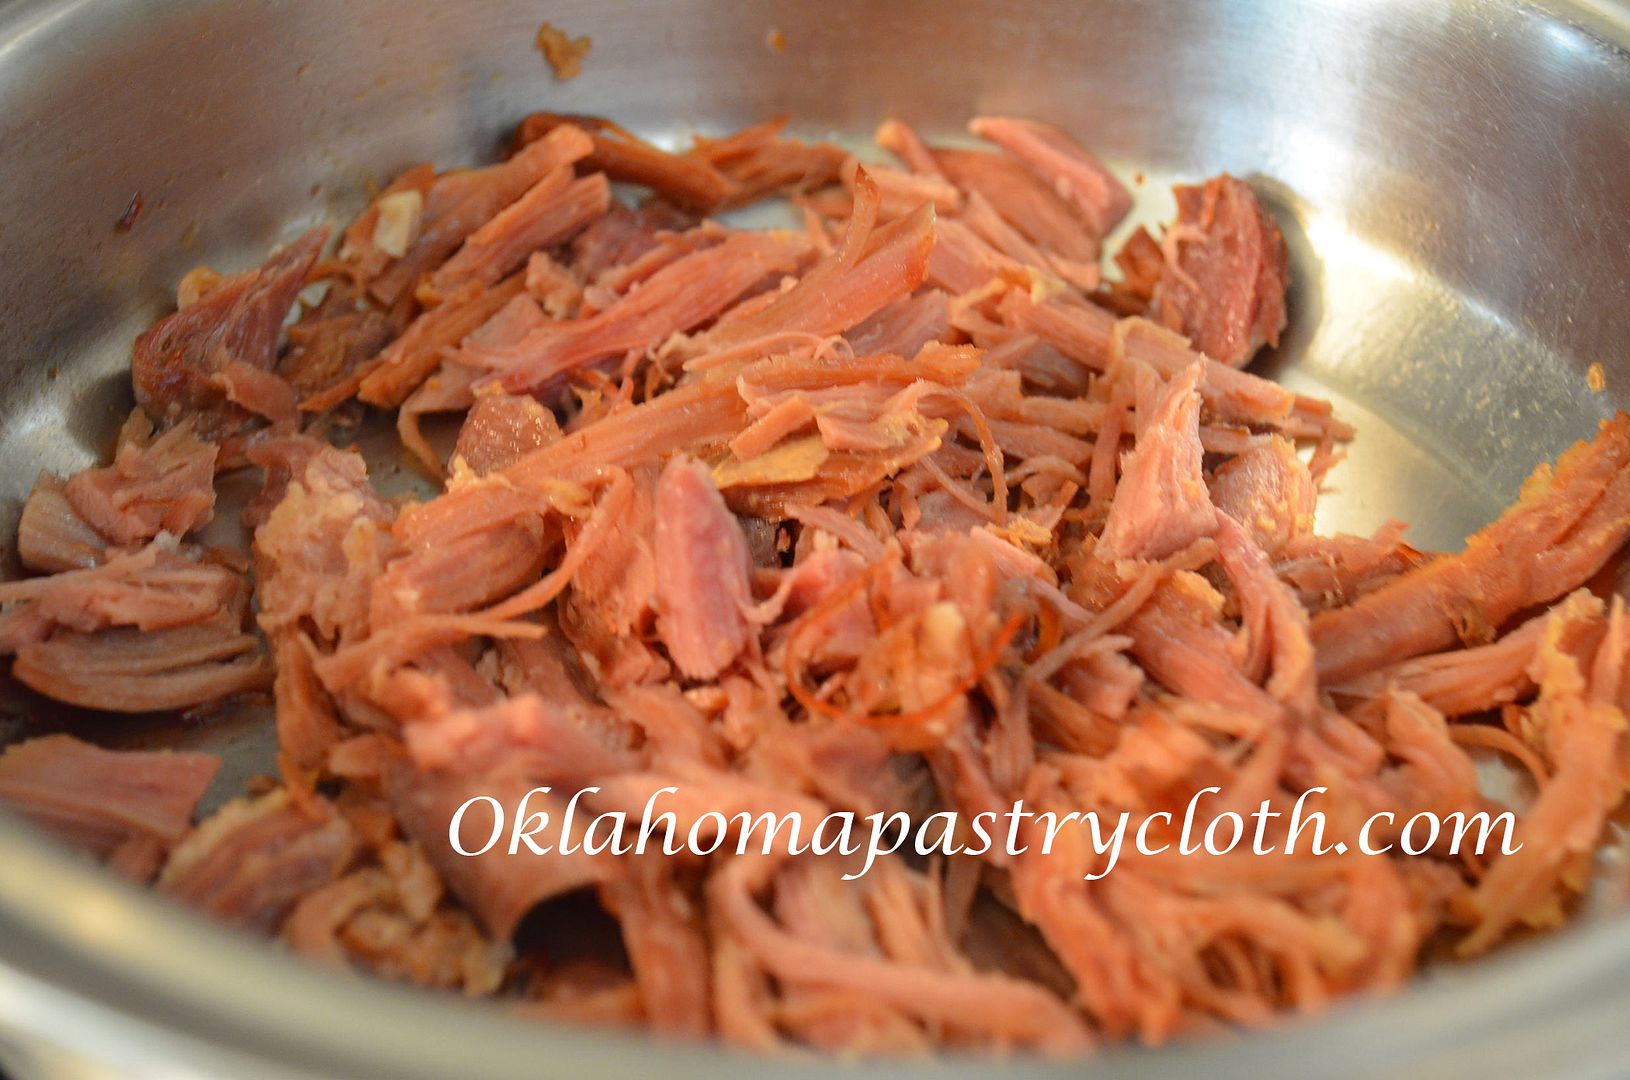 Home canned ham is wonderful for this breakfast treat, but you can used any kind of ham you like. It just needs to be shredded or chopped. Toss 1/2 cup of ham, per person, into a hot skillet that has been wiped or sprayed with a little olive oil and toss until thoroughly heated. Remove ham to a bowl or plate and place in a slightly warmed oven.  Ingredients:  Add a tbsp. of butter and a tbsp. of olive oil to the skillet and heat until butter is melted. 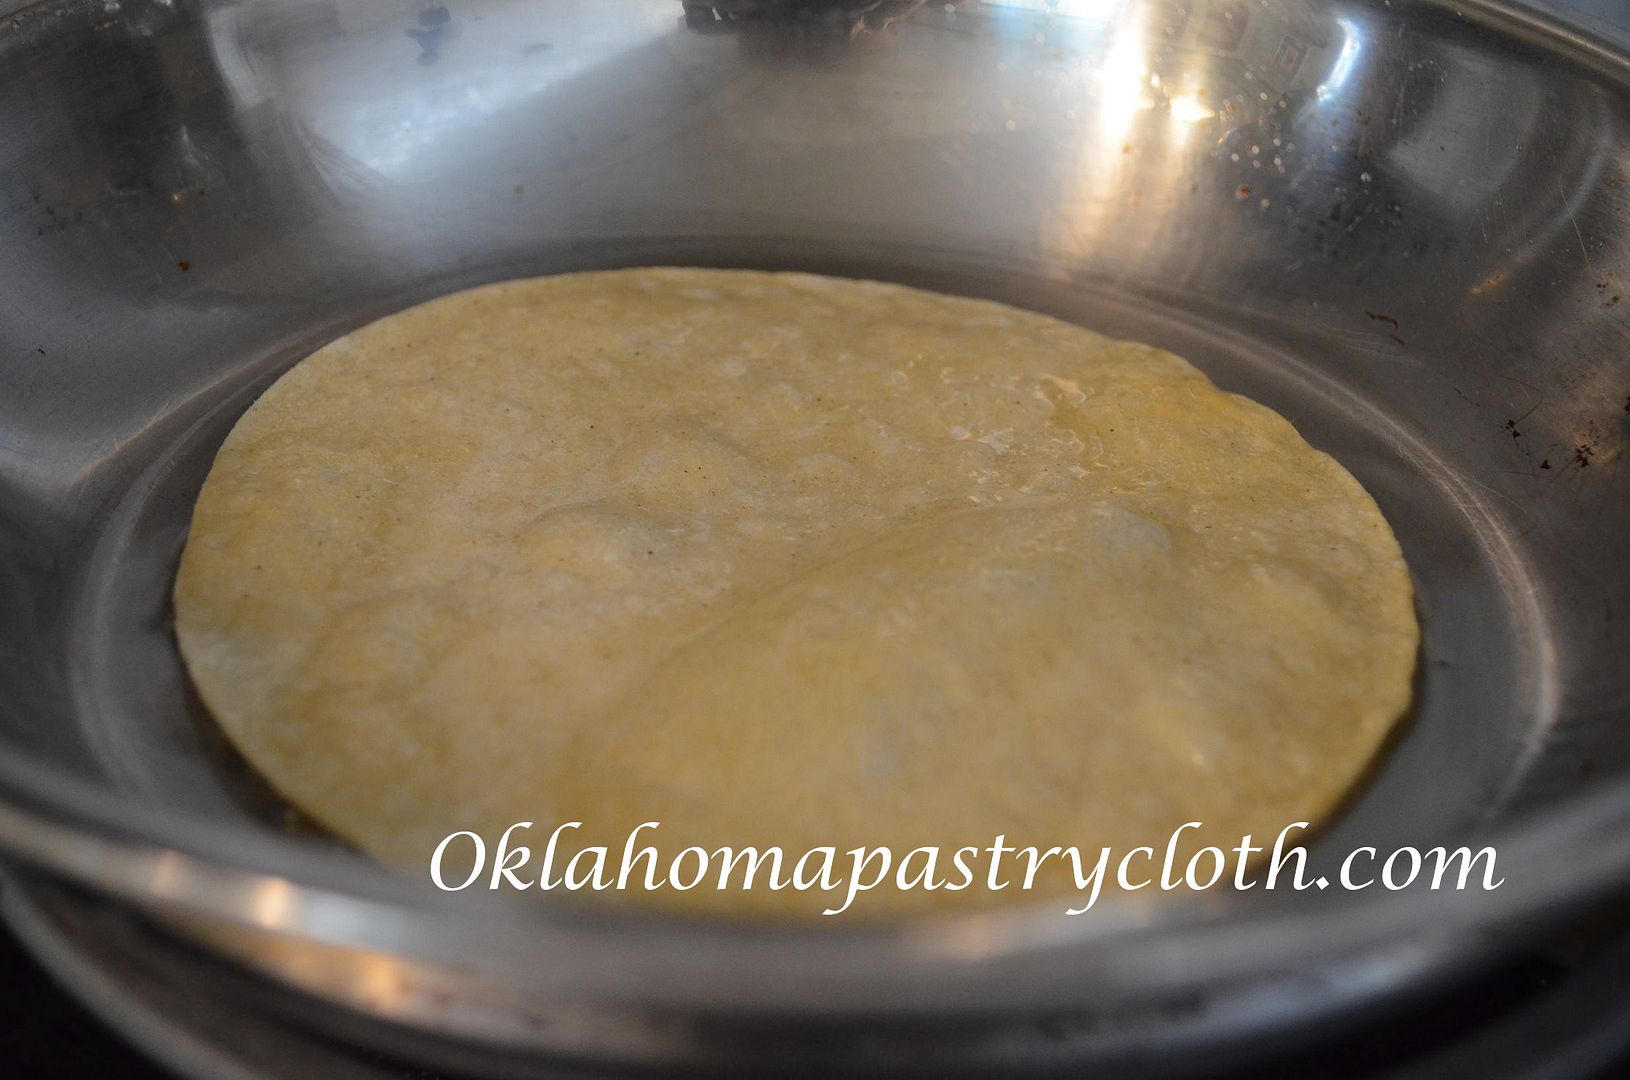 Prepare one corn tortilla per person and place into hot oil for about 30 seconds. Quickly flip and allow to cook until puffy places start appearing. Pick up with tongs and transfer to a paper towel and pat to remove excess oil. Repeat until all tortillas are cooked. You want the tortillas to be tender, not crispy. Add more oil and butter as needed. Stack on a plate and place into the warmed oven as well. 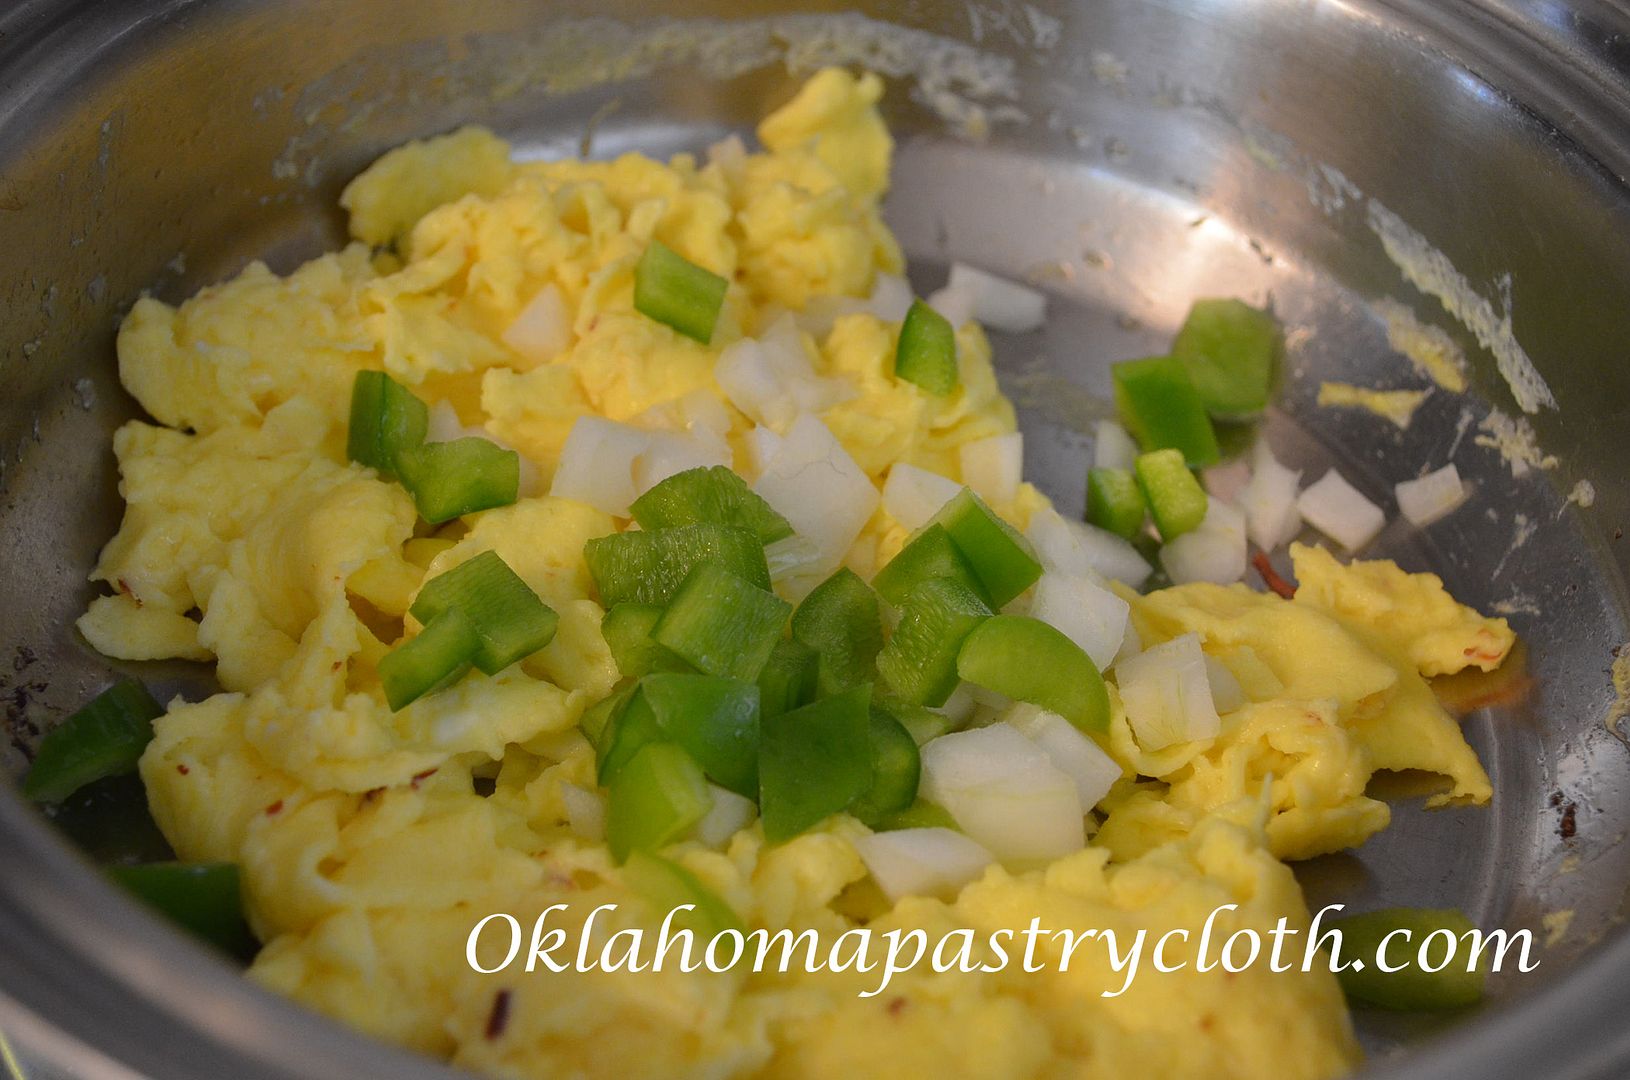 In a bowl, add one to two eggs per person with 1 tbsp. of milk per egg. Add a dash of salt and pepper and whisk until well-scrambled. In the skillet that is still hot and has the remaining oil and butter in it, add eggs and stir to cook. When about half-cooked, add onions and green peppers. Continue stirring and tossing to scramble the eggs.   On each plate, place one tortilla in the center and top with 1/2 cup of ham. Add eggs, onions and green peppers on top of the ham. Sprinkle shredded cheddar or Monterey jack cheese over the surface of the eggs. If the cheese doesn’t melt right away, microwave for a few seconds to melt it. Add freshly chopped tomatoes and picante sauce. Garnish with fresh cilantro and sour cream or guacamole if desired.  |
|
| |
|
Oklahoma Pastry Cloth™ Company on Facebook
|
|
 |
|
|
|
Fresh Tomatoes For Scrumptious Spaghetti Sauce
Saturday, August 9th, 2014
   To celebrate the venerable tomato and to support our favorite tomato packagers, Red Gold Tomatoes, and along with out favorite chili creators, Willis Chili Seasoning, we are having a giveaway that will make your mouth water. The winner will receive a can of Red Gold tomato sauce, a package of Willis Chili Seasoning and a lovely Red Gold Tomato apron to wear while making chili. I know it is summer, but we eat chili all year round and it is one of our summer favorites. So leave a comment below and on following posts and your name will automatically go into the drawing that will be held on August 20th. Good luck! Grandchildren are such a blessing!! They remind us of our younger days, teach us patience and understanding and give us hours of laughs and stories to tell for years. I have a friend who quips, “If I’d known having grandchildren would be so much fun, I’d have just skipped the kids and gone straight to the grandkids!” I won’t go THAT far, but I do love my granddaughter and her antics. Her name is Claire and she is 2 1/2 years old of mischief, curiosity, brains and snuggles. She has Mr. Fix-It (An-Daddy) wrapped around her little finger and the other ones too. She says, “Sit”, pointing to the floor and he sits immediately to play trains. Yep, trains. She is obsessed with trains – all trains – but Thomas The Train is her favorite. She will play for hours watching Thomas go ’round and ’round the track and I will spend days trying to get the stupid song out of my head!! ♪♪ They’re two, they’re four, they’re six, they’re eight….. ♪♪ And then, there was the other day, while spending the day with us, that Claire asked if she could take Thomas to bed with her for her nap. Thomas was evidently sleepy too. I said, “Of course!” and tucked them both into bed, with every pillow that I could find in the house put around her on that big bed so that she would not roll off. I tickled Claire with our routine, “Night, Night. Sleep tight. Don’t let the bedbugs bite” and shut the door to the bedroom.  It wasn’t very long before I heard my granddaughter wimper, then cry out and then, offer a long, pitiful wail. Quickly opening the door, I found the munchkin sitting in the middle of the bed with head down and Thomas the Train hanging from her head. It didn’t take me a second to figure out what had happened. I’m not totally dense. She had put the toy in her hair and turned it on. The wheels wrapped her hair around the axles and it was not a pretty sight! 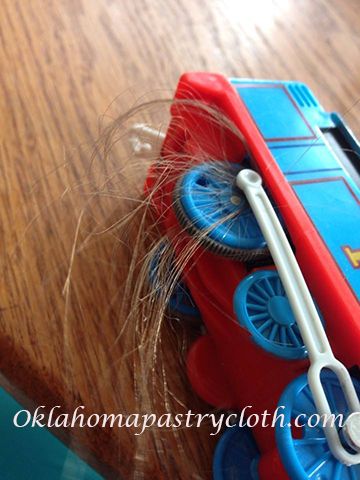 I did NOT want to send my little precious home to her mother with a big chunk of hair cut out of her head and so I diligently pulled one hair at a time out of the train but eventually, hair got pulled and broken. Claire was amazingly still and did not make a peep. When I finally removed the toy she flatly proclaimed, “Thomas bite me.” Yep, he sure did! And as a result, Thomas would not run because of all of the hair wrapped into the wheels. But not to worry. Thomas has been saved. It took Mr. Fix-It and me working in concert to perform the delicate hair removal. A scalpel, fine tweezers and a screwdriver did the trick. I wiped Mr. Fix-It’s forehead and closed. And Thomas is now running around his little track. ♪♪…”Shunting trucks and pulling freight..red and green and brown and blue. They’re a really useful crew…♪♪ Claire has another favorite and that is Veggie Tales with Bob the Tomato. The other day, we went to the garden to pick veggies and she got so excited at the first large tomato that she spotted. “Bob!” she squealed and picked it, carrying it around lovingly, as if it were going to break out into the Veggie Tales song (which is also stuck in my head). We gathered many tomatoes and went in to make her other favorite thing, and mine, – spaghetti. Below is my recipe as taught to me by Marilina, a college student from Italy, who lived with us for a summer way back when I was in high school. It really is good! I promise. Don’t forget to leave a comment to enter the giveaway! Ingredients 12 tomatoes or 24 roma tomatoes 2 tbsp olive oil ½ cup chopped celery ½ cup chopped onion ½ cup chopped green pepper 5 cloves garlic crushed or chopped ½ tsp fennel seed 1 tbsp dried oregano or 2 tbsp. fresh oregano 1 tsp thyme 1 tbsp fresh basil or 1 tsp dried ¼ tsp black pepper 1 cube chicken bouillon ¼ tsp soda Sprigs of fresh parsley chopped ¼ cup fresh parmesan ½ lb Johnsonville Sweet Italian sausage or homemade Italian Sausage ** 2 tsp corn starch mixed with 2 tsp water. Directions 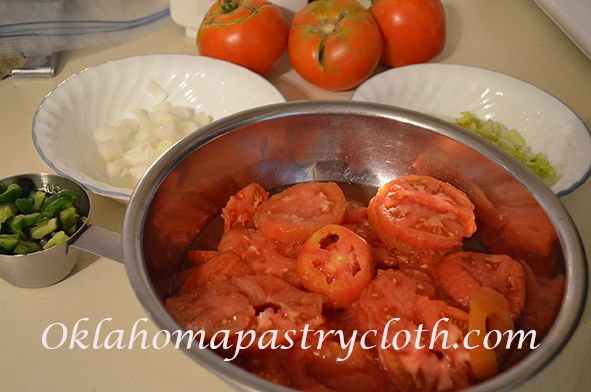 Drop tomatoes into boiling water just until the skins split on about half of them. Drain and drop into ice water until tomatoes are cooled. Skin and slice. 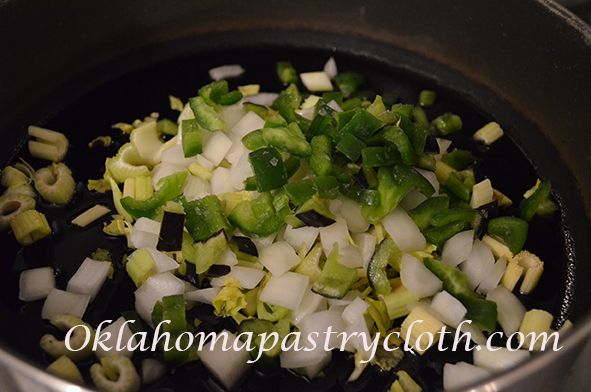 Brown meat in a sauce pan and place into a bowl to set aside. Saute onions, celery and peppers in olive oil until tender. 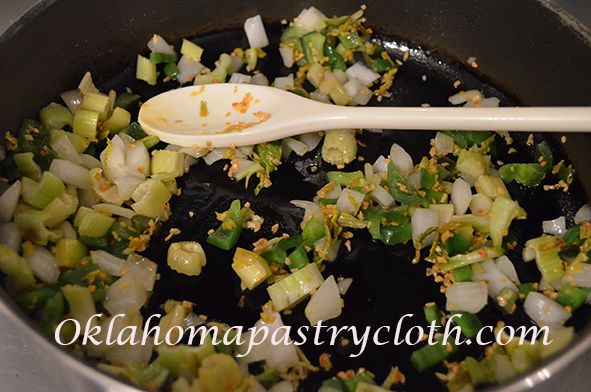 Add garlic and toss to release the flavor. 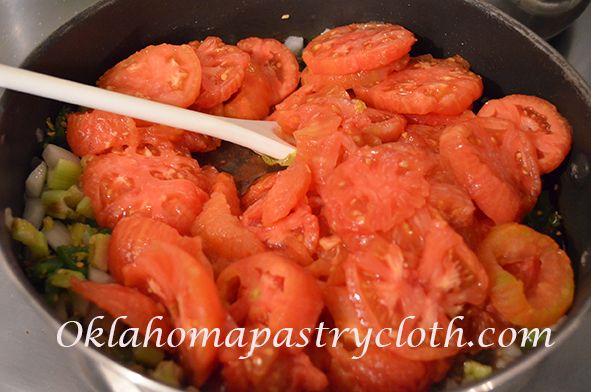 Add tomatoes and cover to cook for 15 minutes. 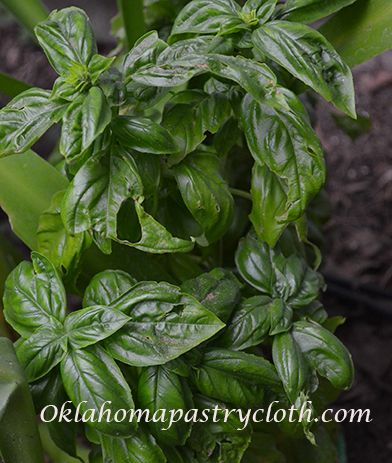 Add seasonings, basil, thyme, parsley, oregano and fennel seed. Stir. We love our herb garden with two different kinds of fresh basil (green and purple), thyme, parsley, rosemary, sage, oregano, spearmint and peppermint. The fresh herbs really make the spaghetti sauce spectacular.  Add soda. Stir. It will bubble up and fizz. Just stir into the sauce.  Add bouillon and parmesan and stir. Allow to simmer for 10 minutes uncovered. 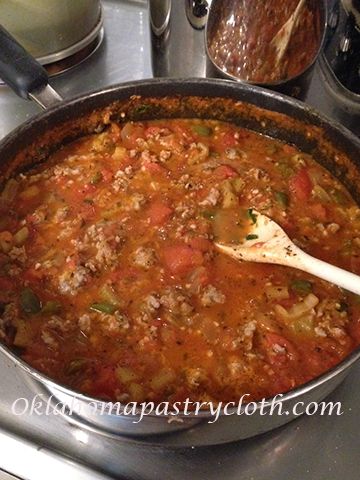 Add meat and simmer 30 more minutes. Thicken with corn starch mixture or, if you like thinner sauce, skip this step. You can also allow this to simmer for several hours to reduce and thicken, stirring occasionally and making all ingredients become a uniform sauce, but I am giving you a quick meal alternative.   Serve over pasta and garnish with fresh, grated parmesan cheese and fresh parsley.  |
|
| |
|
Oklahoma Pastry Cloth™ Company on Facebook
|
|
 |
|

|
You Say Tomato; I say To-mah-to
Wednesday, July 29th, 2009
Many years ago, when I was in high school, my family, on their way to a summer in Maine, stopped to visit The Brotherhood of Christians also known as The Bruderhof, in Rifton, New York. At that time, any visitor joined in with the work that was the life sustaining neccessity required of every member of the community. The community produced and processed its own food, had its own school, and had a toy factory that manufactured very special and well-made wooden toys. The atmosphere was pleasant, friendly and quiet, but my sisters and I – looking forward to proms, graduation and meeting friends at the mall – were unsure about this way of life that was so alien to us. We were city girls who had no concept of being shut away from the world.
I truthfully have just scattered memories of the time spent at this community of The Bruderhof. Men and women dressed in the same style of dress, small apartments and a huge community ‘mess hall’ where all shared a meal at noon – a dish that we dubbed ‘Community Casserole’ that was a delicious combination of sauteed onions, celery, ground beef and rice, tea time, my father returning from a day in the toy factory all covered in sawdust and a farm of livestock and gardens that fascinated me, comprise the main of my recollections. However, spending a day peeling tomatoes for ketchup production stands out the most in my memory. I had never seen so many tomatoes in one place and I had never experienced peeling blanched tomatoes; skins slipping off of not-quite-soft whole tomatoes, juice running between fingers, across palms and down the forearm to drip, elbow as a spigot, onto the floor, into the lap or by happenstance into the bowl. To me, it was hillarious that I was even doing it and it has since become a family laugh. I’m pleased to remember that I threw myself into the work with gusto and considered that I was playing an important role in the continuing existence of this group of people…ok…so I’m pleased to remember it that way, but I’m pretty sure that I was not all that altruistic or enthusiastic.
It was the copper kettles that form my vision of the day the most. In the large room where we worked, a huge copper kettle over flames contained boiling water into which fresh tomatoes were dropped for an instant and then retrieved to put into ice water. These cooled tomatoes were transferred to us, peelings split and curling, ready for our knives to help continue the process of removing the skins and cores. The naked tomatoes were then sent to other large copper kettles where they were boiled down with spices and vinegar to make ketchup. It was my introduction to “canning” and left an indelible impression of heat, moisture and the overpowering smell of warm tomatoes. Those sensations revisit me every year as I now produce my own tomato products from the juicy, red jewels gathered from my garden. Who knew back then, that this city girl was a farm girl at heart?!
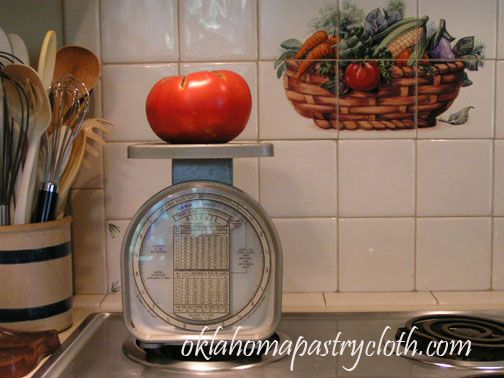
And so, with this post, I thought that I would invite you into my kitchen for a quick lesson on canning tomatoes. I have had a bumper crop this year with several “pounders” or larger, with an average size of nearly 3/4 pounds per tomato. I have had no hornworms or aphids and the typical fungus prone to Oklahoma seems to be in check. Blossom-end rot appeared at first, but was nipped in the bud (pun intended) by a healthy dose of lime and I have had no need for any kind of pest control at all. What a great year! I feel pressed to make use of every garden gift, wasting nothing, realizing that in Oklahoma next year may be a total bust!
Canning Quartered Tomatoes
Step 1: Wash fresh, firm tomatoes and leave whole. Bring water to a boil in a large stockpot and drop in tomatoes until full. Allow water to return to a boil, but watch for tomatoes as skins begin to split. Remove those tomatoes one by one and drop into iced water.

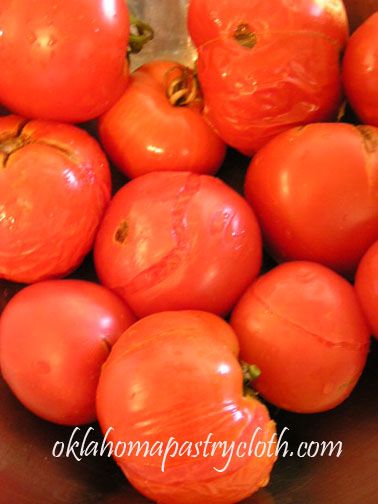
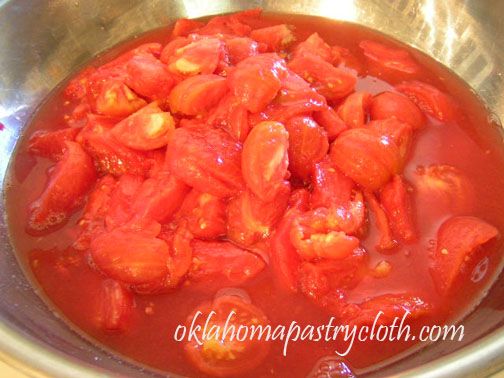
Step 2: In order to catch extra juice, over a large bowl remove the top center of each tomato with stem and lift peel off of the fruit. Place refuse into a second bowl. Quarter the tomatoes and place into the large bowl.
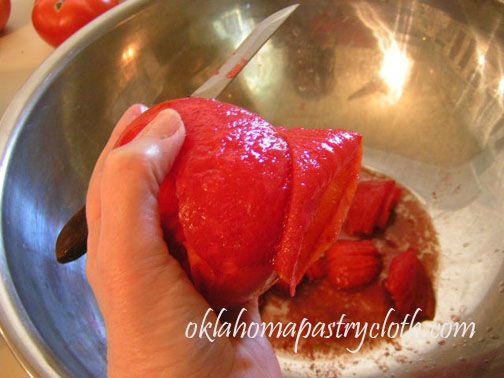
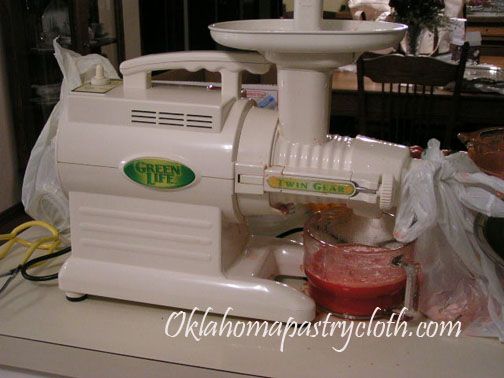
You can also juice the tomatoes and can just the juice if you like. My GreenLife Juicer makes quick work of the tomatoes.
Step 3: Place tomatoes and juice into canning jars to within 1/2″ of the top of the jar. Add 1/2 tsp. canning or uniodized salt to each pint or 1 tsp to each quart. Use a knife to gently move around the inside perimeter of the jar to remove any air bubbles.
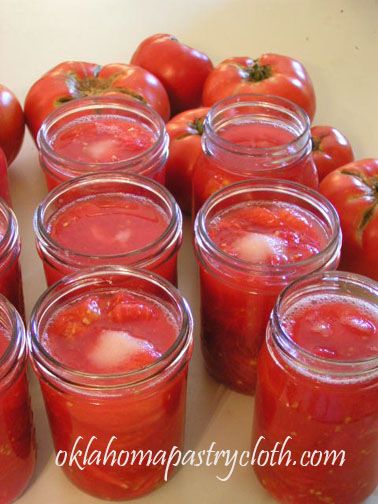
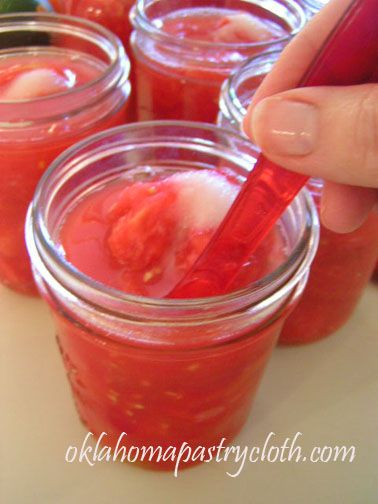
Step 4: With a damp cloth, wipe the tops of the jars to remove any juice, salt or pulp. Using lids that have been boiled and then kept warm in the water, place lids and rings onto jars and tighten, but not too tight.
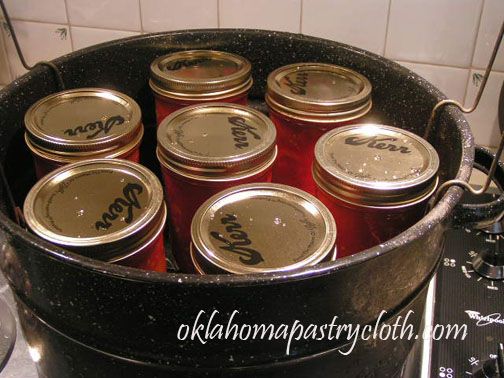
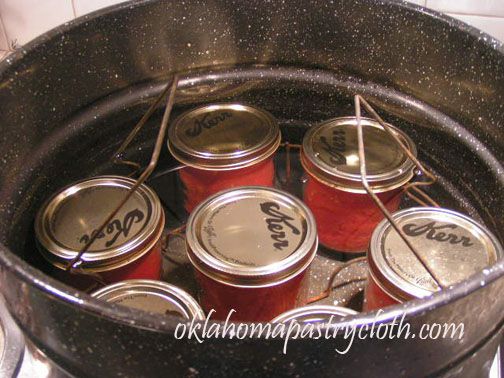
Step 5: Because tomatoes are so acidic, they do not have to be pressure-canned like green beans and other low acid foods. The process used to can tomatoes is called ‘waterbath canning’ and is much less time consuming. A waterbath canner is simply a stainless or enameled large stock pot with a rack. Fill the canner about halfway with cool water and balance the rack on the top edge of the pot out of the water. The rack has handles that help to accomplish this. Place the jars into the rack and, when full, lower the rack of jars into the water. If the water level is not one inch over the tops of the jars, add more water. Bring the water to a boil and at the point of boiling, set a timer for 10 minutes. When the timer sounds, turn off the heat and using tongs to catch the handles and oven mits to protect hands, carefully lift the rack out of the boiling water and replace onto the top edge of the canner.
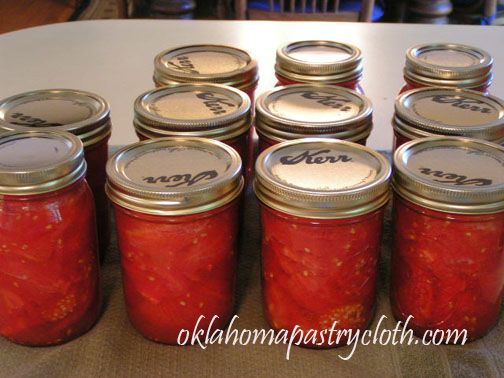
Step 6: Using canning tongs, remove jars from rack and place onto a kitchen towel on a counter to cool. Listen for the pingy pop that indicates that the vacuum has completed. Make sure that when the jars are cooled that the lids are flat with no give. If a lid has a bump in the center and pops when pressed, the jar did not seal and must be refrigerated or used immediately. Store vacuumed jars in pantry.

 Homestead Revival
 Paratus Familia
 Rural Revolution