 It’s nearly February and time to start thinking about hearts and flowers and smelling good because you took a bath. It’s hard to have a Valentine if you aren’t clean and you don’t smell good. So I am going to help you out in that department. For our Valentine’s Day Giveaway, the winner will receive a heart decorated basket with a shower scrubby and choice of two 4oz Prairie Blessings soaps. Yep. The winner gets to choose whichever soaps desired. Of course, the winner can use this as a gift for his or her Valentine to make THEM smell good!! Our soaps are made right here by our hands (and with stainless pots and stuff) of hand rendered pure tallow, olive oil, coconut oil and infused with pure, steam-distilled essential oils, organic herbs and spices, fragrance oils and flower petals. Just leave a comment below and at any following posts until February 11th when the winner will be chosen. Good luck to everybody! (And if you don’t win, you can still purchase the soaps so you can smell good too.) 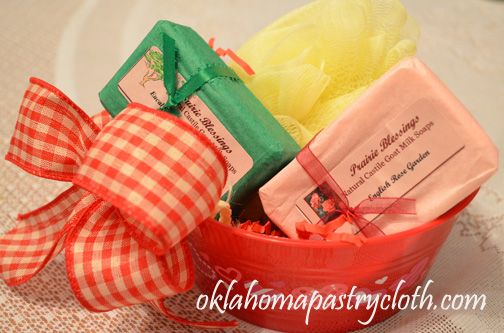  |
|
| |
|
Oklahoma Pastry Cloth™ Company on Facebook
|
|
 |
|
|
|
Posts Tagged ‘gift’
Enter The Valentine’s Day Giveaway!!
Thursday, January 31st, 2013
Craft Corner: Stretching a Buck
Monday, February 28th, 2011
  I thought that I would take a little break from cooking and canning and share something fun that I like to do for bridal showers, graduations, weddings and birthdays. Spring is a comin’ and that means all kinds of those things! I am sure that some of you have seen these roses made, but I like to add a little zing to the presentation. The roses are quite simple to make and it is so fun to see the look on the recipient’s face upon receiving a bouquet of “money roses.” And it LOOKS expensive!! All you need to make the roses is: ~Crisp, new bills in whatever denomination you choose (I use dollar bills – yes, I’m cheap but I can make more flowers!) ~Floral wire ~Floral tape ~Leaves from silk flowers ~Glue Dots 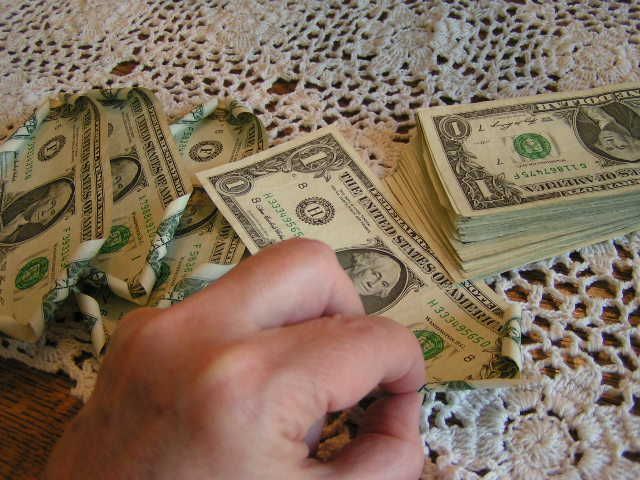 Choose which side of the bills that you want to be facing up and determine how many roses you will be making. You will be using three or four bills per rose. I usually do $20 into 5 roses. Prepare to make the center petals for each flower. Using a toothpick, roll the corners of the bills, that will be the centers, around the toothpick and roll until you have rolled past halfway of the short end of the bill. Repeat this process on all four corners. I do the center piece in two different ways: Either using it with the corners rolled toward the inside or with the corners rolled to the outside. I just judge which way will look better for what I want to do. You will see what I mean later. 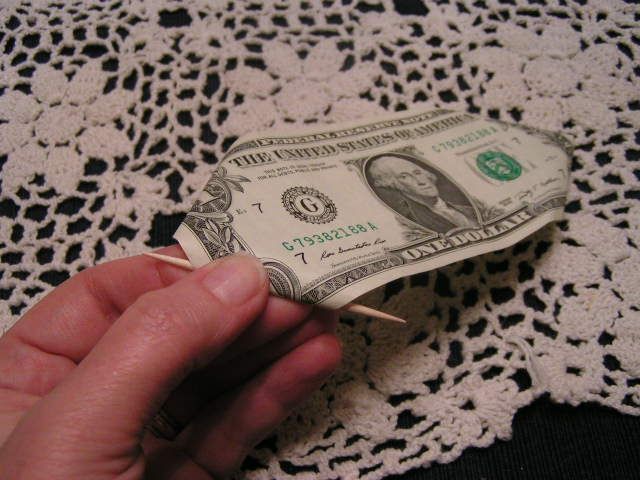 Roll all of the rest of the bills with the corners rolled under, away from the the top. 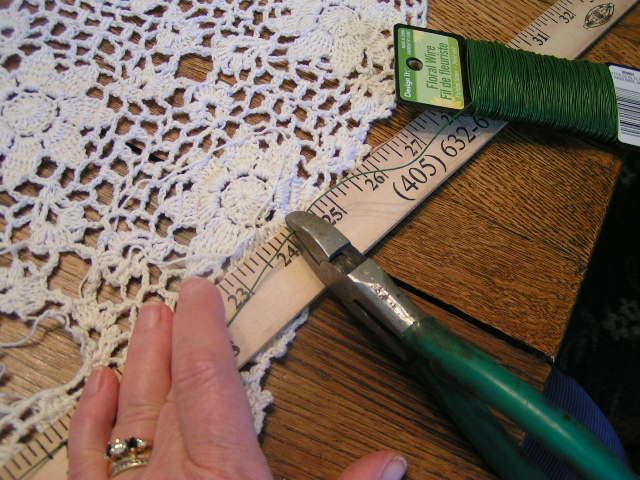 For each bill, cut a piece of floral wire about 24″ long and fold in half 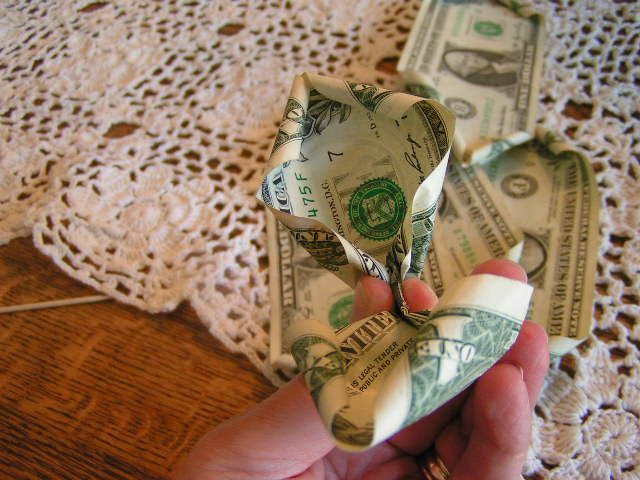 Pinch the center of the bills that will be the middle of the roses – in this case, the ones with the corners rolled to the inside 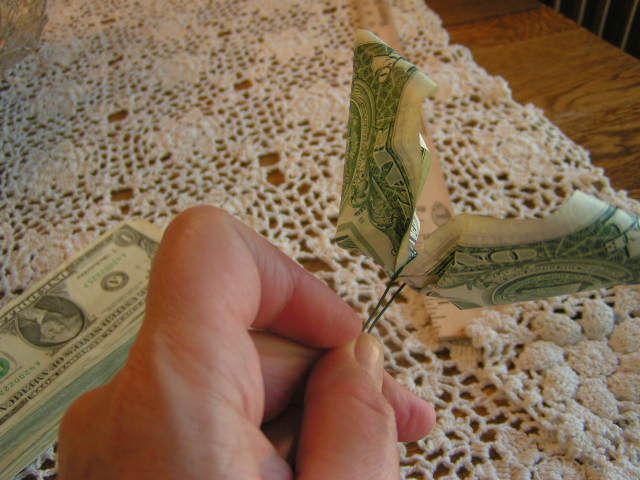 Put a wire over the pinched center of the bill and twist wire tight with no more than two twists and lay aside in a pile 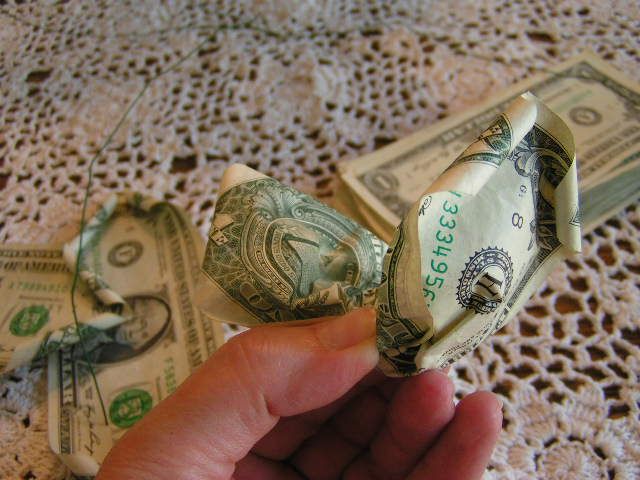 Put wires over all of the other “petals” with the rolled corners rolled under the bills. Twist them tight as above and lay them aside separate from the ‘middles’ that have the corners rolled up toward the center. 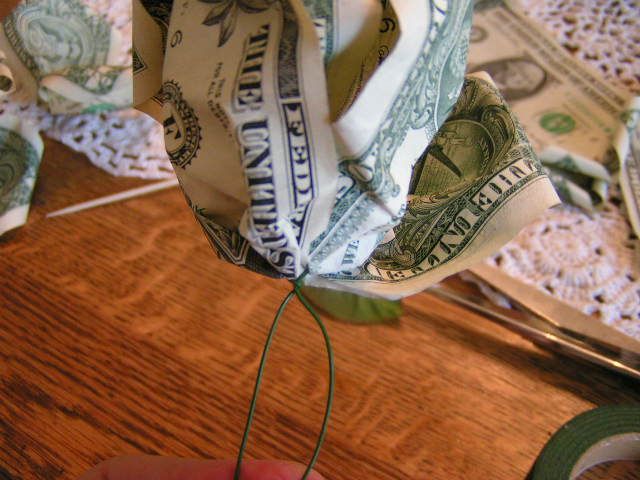 Place one “middle” in the center of one of the bills that will be petals and hold the wires together. 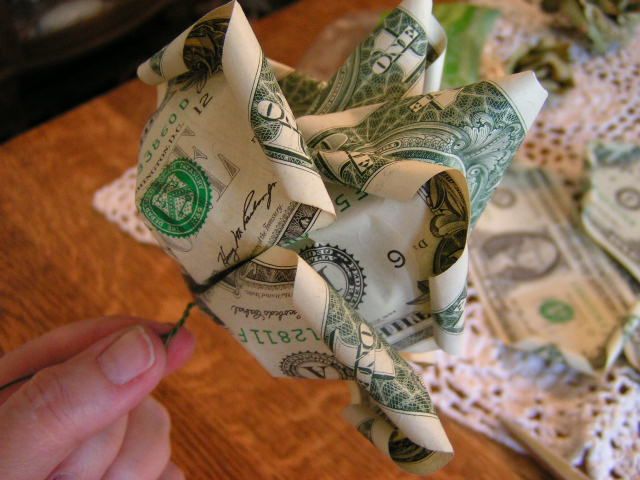 Place a third bill perpendicular to the second bill and hold the wires together. You can add a fourth petal perpendicular to the third for a fuller rose. Press/pull the bills together from the base to tighten the flower. Twist all the wires together 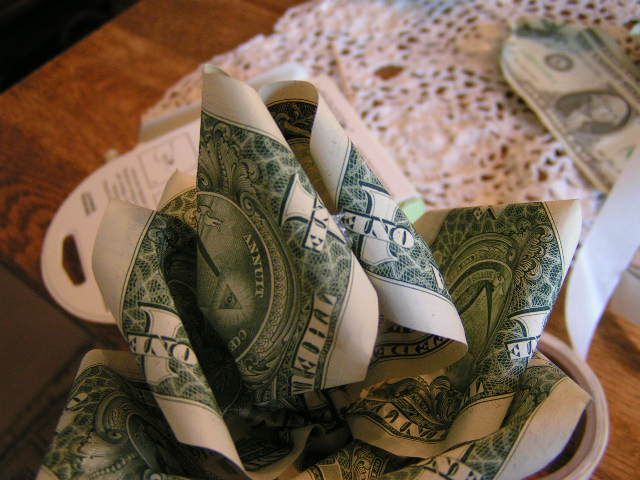 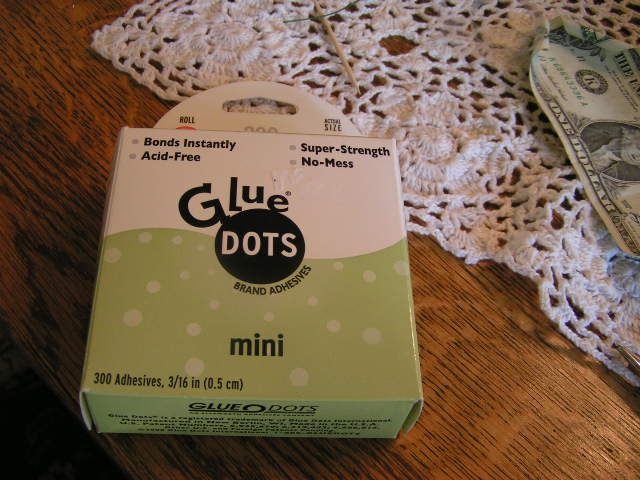 If the center petals have the corners rolled inward, use a glue dot to pull them together in a point. If you choose to use all bills with the corners rolled under, use a glue dot on the two edges of the center bill to pull the two sides together. 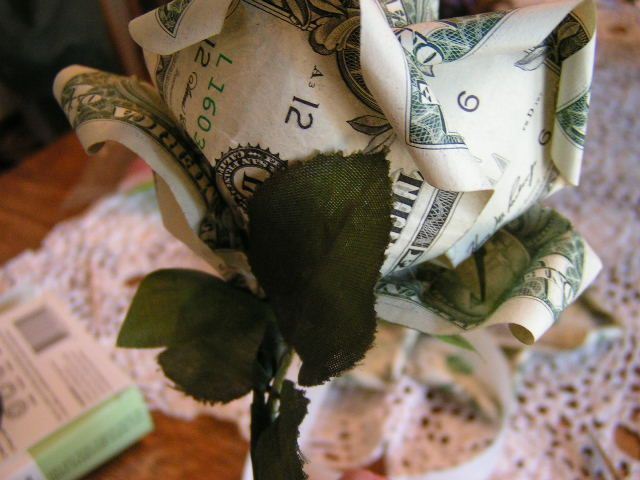 Place a few leaves around the bottom of the flowers and, using floral tape, attach them to the base and wires. 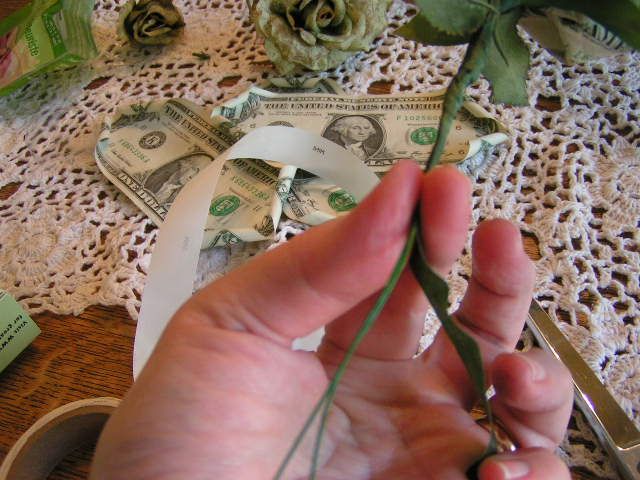 Tightly wrap, stretching as you go, several layers of floral tape down the wire to produce a “stem”. 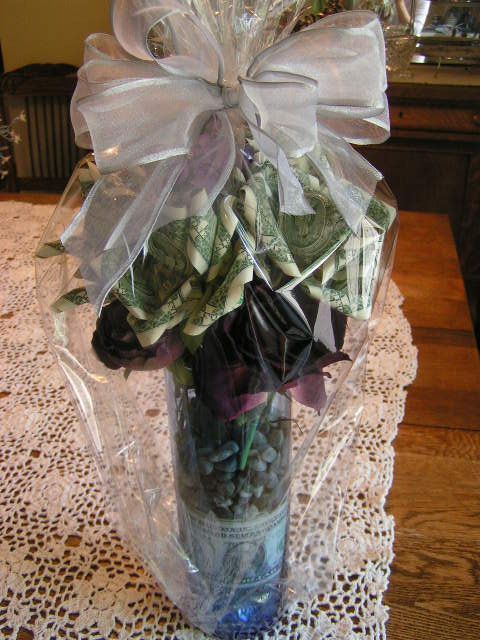 I like to arrange my “roses” in a tall, cylindrical floral vase that costs all of $3 at Walmart. They come in all different colors and it is fun to fill the bottom with colored rocks or glass. Sometimes, I will put two one dollar bills in the bottom facing out just to add some interest. Here, I have added a few silk flowers as the base of the arrangement and then put the “roses” above them. The arrangement is surrounded by a cello bag, which can be purchased from Walmart or Hobby Lobby, which is gathered at the top with a rubber band and then tied with a bow and ribbon. 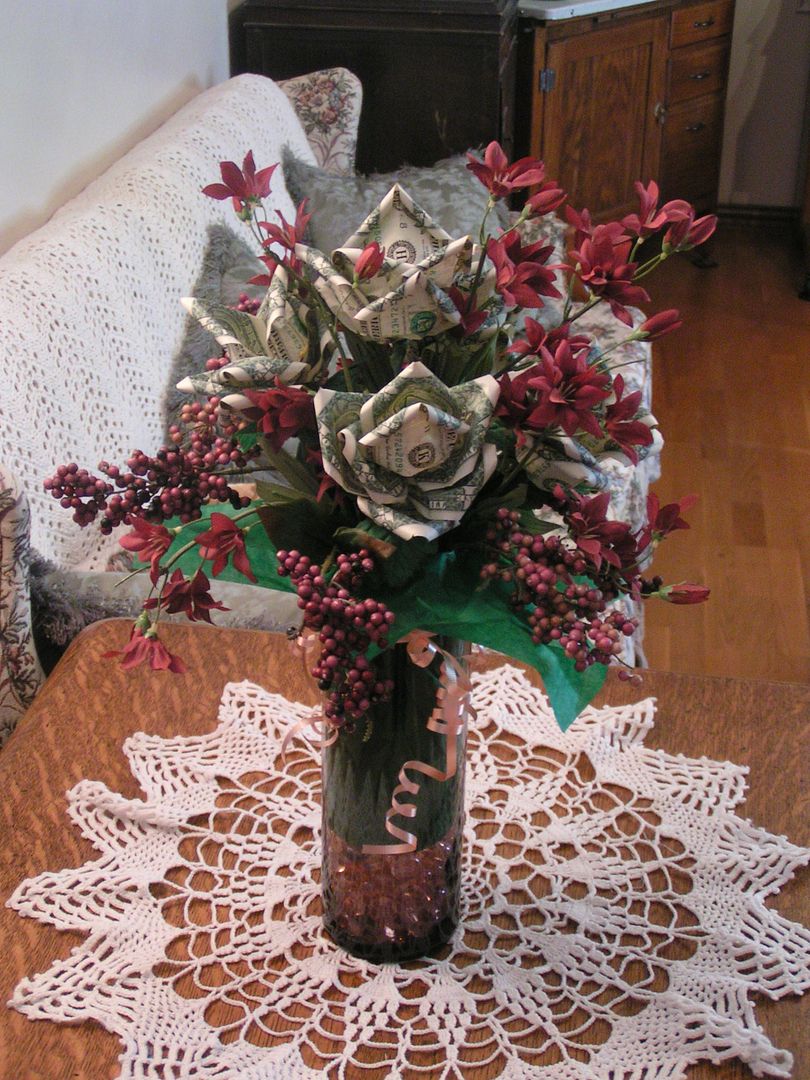  This one is a little more onate with multiple silk flowers, berries and curling ribbon. I put glass beads in the bottom and then took green tissue paper and pushed down inside the vase with the corners hanging out around the top of the vase so that it would act as a backdrop for the arrangement. In this arrangement, the centers of the roses are rolled under like the rest of the petals. Just thought I’d show the difference. These roses look like they are difficult to make, but they are EASY and you can do it in one afternoon. And talk about a conversation starter!! |
|
Oklahoma Pastry Cloth™ Company on Facebook
|

 Homestead Revival
 Paratus Familia
 Rural Revolution