|
At the request of OPC Facebook Fan, Melissa, and because the strawberries are rolling in, I’m posting two separate recipes for strawberry muffins. This first one is Mr. Fix-It’s favorite and is pretty basic. These muffins are easy to freeze and heat up nicely. They are scrumptious with butter and if you really want to “gild the lily” get out some of that strawberry jam you’ve just canned and spoon some on!
 Preheat oven to 400º and grease two 6 cups or one 12 cups muffin tins with shortening. (I use a paper towel to get a good coat of shortening.) These are my favorite tins, as you can tell!! I use the shortening because nonstick pans and oil sprays do not give the same crisp outside texture that we like.  Toss strawberries with 1 tblsp sugar and set aside  Add 1/2 cup sugar to 1 1/2 cups flour  Add 2 teaspoons baking powder  And 1/2 tsp salt  Measure 1/4 cup shortening into a microwave proof container. Microwave until melted  Add strawberries to flour mixture  Toss until berries are covered and incorporated   In a separate bowl, whisk together egg, milk and strawberry flavoring.  Pour into the flour mixture, the milk/egg mixture and melted shorting  Stir well until all dry ingredients are moistened and incorporated. This batter is very heavy and stiff.  Spoon batter equally into muffin cups.  Sprinkle Turbinado sugar over the tops of each muffin, about 1 tsp each. Bake in 400º oven for 20 – 25 minutes on center rack  Serve hot with butter or butter and jam. Enjoy!! |
|
Oklahoma Pastry Cloth™ Company on Facebook
|
 |
Strawberry Muffins I
May 21st, 2011
Home-Cured Ham
May 20th, 2011

 The unique feature of country ham is the layer of mold that forms on the wrapping paper and ham surface as it hangs and ages. Newbies who receive a Tennessee Country Ham for a gift usually freak when they unbag their present and then unwrap the paper that has shrouded the meat all during the curing process. A nice, moldy carpet coats portions of the rind and paper. This is simply removed by scrubbing the ham with a mixture of vinegar and water or with plain water and a stiff bristle brush. The meat is sliced with a saw just 1/4″ thick. Having worked in a meat department that was constantly visited by local farmers toting their treasured cured hams to be sliced, I learned that it was ‘bragging rights’ when it came to how long one of these hams were hung. Three years was the limit, but it seemed that the more mold and the longer aged the better these ‘specialists’ viewed their product. Hog killing commenced around Thanksgiving, hams, bacon and shoulders were cured and smokehouses were loaded with the goodies to be smoked or to be used without smoking. I remember one farmer’s story about a most disastrous year. He had corn fed and slaughtered his pigs to put up meat for the year. After a gruelling day of salting down, wrapping and hanging portions, cutting up roasts, chops, ribs and other cuts for the freezer, grinding sausage and rendering lard, this industrious man and his family went to bed and slept the sleep of hard workers. The family went about the rest of the year and on into winter with the happy knowledge that come Fall, there would be good eatin’s from the smokehouse for sure. Sometime during the summer, the farmer went to the smokehouse and opened the door. To his horror, all that he found hanging from the rafters were bones tied with rope and picked totally clean of any shred of meat. Rats had crawled along the rafters, shinnied down the ropes and feasted on the cured meats without so much as asking! In the meat department, we cured hams all year long. We purchased fresh hams from our local packing plant, which you can do as well. We let them warm at room temperature for a couple of hours and then coated with our cure, hanging them in the cooler for the first 12 weeks. As meat begins to cure, it must be kept cool. This is why the farmers always waited until Thanksgiving or later to kill their hogs. With a walk-in cooler or refrigerator, however, the curing process can take place any time of the year.  I thought that I would give you a step-by-step lesson on how to create these wonderful hams with the help of some great kids. A group of home schooled students got to mix an anatomy and physiology class with learning to cure meat at the Oklahoma Pastry Cloth™ digs. We had purchased a hog that was taken to our local packing house and then we picked up the quarters to process ourselves, including curing the hams. As you will see, curing meat is a pretty simple process and is a wonderful way to preserve meats for a long time. One note, however, once these hams are sliced, the meat must be wrapped in freezer paper and frozen or, if eaten soon after slicing, kept in the refrigerator for a short time.
           So there you have it!! |
|
Oklahoma Pastry Cloth™ Company on Facebook
|
 |
Dehydrating Mushrooms
May 17th, 2011
Dehydrating Part IV Our local Aldi’s had a sale. And what a sale. Mushrooms were 69 cents for an 8 oz box! Can you believe it? And they were beautiful. So what is a sale junkie to do? Well, dehydrate them, of course!! There’s nothing like having dehydrated mushrooms at your fingertips for soups, spaghetti sauce and even to put on top of steak, sautéed with onions and green peppers! Mushrooms are easy to rehydrate and only require covering with water, to be placed in the frig overnight, or for quick rehydration, by covering with hot water and allowing to sit for an hour or so. Canned mushrooms are great, but to me, the dried ones keep more of the original mushroom flavor and consistency than canned. So, of course, I loaded up on mushrooms and trotted home with my prize. This past weekend, I set to the task of getting them dried.      |
|
Oklahoma Pastry Cloth™ Company on Facebook
|
 |
The Good Ol’ Days
May 16th, 2011
|
On Saturday, I got to play and work all at the same time. Mr. Fix-It and I made a lovely trip down to Tishomingo, Oklahoma – my old stomping grounds – and participated in the first annual “Back To The Good Ol’ Days” festival, sponsored by the Johnston County Historical Society. Held inside and outside what was the original Chickasaw Territorial bank in Tishomingo, the ambiance was perfect. All of us were dressed in period costumes and the purpose was to educate visitors in the ways of life in the early to mid 1900’s. I donned a bonnet and floor-length dress and apron and demonstrated grinding grains and rolling oats, as well as – of course – the Oklahoma Pastry Cloth™. The oat rolling was the favorite of the many children who strolled through. They bent down to look under my stainless steel wonder to watch the oat groats go from kernel to flat oatmeal. They had no idea that the oatmeal they ate in the morning didn’t come already smashed right off the farm. I had more than one adult who was equally impressed! To my right was Nina, who demonstrated sewing on a gorgeous old black, Featherweight Singer sewing machine, and on my left was Ada, who kept a crowd of children around her as she let them embroider their own projects. Opposite me was Tammy, who was cheerfully making Raggedy Ann and Andy dolls. Outside of the bank building was a demonstration of old timey laundry days, complete with washtub and board, clothesline, wooden ironing board and heavy metal iron. Handmade Indian flutes and stickball raquets, as well as various antique household items, occupied several booths and best of all, there was a game center with the games of yesteryear. Jacks, checkers, pickupsticks and paperdolls were available for quieter play, while marbles and hopscotch provided livelier entertainment for the young and young at heart. Visitors even voted for their favorite candidates by filling out a ballot designed just like the original Johnston County paper ballots. They dropped these into an original metal “ballot box” made secure by a padlock. Candidates included Sleezy Joe McGough for County Clerk, Gene Deadeye Smith for Sherriff and Hang ‘m High L. Taylor for judge. The aroma of pinto beans and cornbread permeated the air and at noon, for $5, visitors were served a bowl of beans, a corn muffin, old fashioned chocolate gravy cake with chocolate/nut icing and a glass of tea. My heartiest laugh came from a couple who stopped to watch my demonstration and who shared just the funniest story. Leroy and Rosalie Ussery stopped by my table and Leroy explained, as he watched my grain grinder in action, that he and his wife had grown wheat. He said that at the time, their son was in the second grade and as is the case with most second grades, Show-And-Tell was an important part of class each week. The Ussery’s son was eager to show his classmates all about the wheat that his family raised, combined and sold and so he took a sheaf of the grain to school. When his very young teacher saw the stems bending over with the grain heads, she was excited that her class of children would get to see the true origin of one of their foods. She completely took over the son’s Show-And-Tell moment and began explaining to the children that the flour used to make their biscuits, pancakes, etc came from the grains encased in the heads at the end of the stalks. She carefully removed a few of the grains and said, “Now watch” and started peeling back the husk around the grain. She told the children that when she squeezed opened the grain kernel, flour would fall out. The kids watched expectantly for puffs of flour to escape as she attempted to open several kernels with no luck. She finally said, “Oh. This wheat must not be ripe yet.” Mr. Ussery’s son was very distressed over the incredible misinformation given by the teacher but when his father asked what he had said to the class and the teacher, he replied, “Oh!! Nothing, Dad” Mr. Ussery encouraged, “Good call!” Yep, it isn’t healthy to make your teacher look stupid!! Here are a few pictures from the day.          Learning to roll the hoop  A game of checkers  Wash Day!  Blowing bubbles through wooden spools using soapy water    It was a cool day and just perfect for an educational Saturday. As I was leaving, I overheard some of the society members talking about next year! If you are in Oklahoma, take time to visit this great town and friendly people! |
|
Oklahoma Pastry Cloth™ Company on Facebook
|
 |
Wheat Germ!
May 12th, 2011
 You know me by now. I can’t leave anything alone. I have to tweak it, experiment with it and see how many ways I can change it before I can be still. And “IT” can be a recipe, a sewing project, a painting, dehydrating/canning or the directions to a new movie theatre in Oklahoma City. My motto is, “Waste Not, Want Not” and though some might try to convince that this statement comes from the Bible, (Like “God helps those who help themselves,” right?) I’m pretty sure it came from my dad – or Benjamin Franklin – or that Wesley guy. Whomever coined it, it is ingrained in my chromosomes. Therefore, when I made my most recent batch of bread for the week, using a combination of 3 parts Prairie Gold Hard White Wheat flour to 1 part barley flour, I wound up with my usual 1/2 cup of wheat germ sifted out of 5-6 cups of the flour after a round of four siftings and did not want to waste it. Yes, I sift the fire out of my freshly ground flour to add air and lightness and to take out some of the heavier germ/hull which makes bread heavy. Mr. Fix-It likes his bread to carry him off like a magic carpet of the mouth. He says, “Open Sesame” and it floats right in! Anyway, I had all of this germ and I didn’t want to throw it away. I continue to toss that 1/2 cup of germ in with the other 1/2 cups of germ in a freezer bag to store in the freezer. I have always known that I will use it for something like on salads, in peanut butter or to sprinkle on top of risen bread loaves for crunch and appearance, but that won’t use up as much as I have! It was then, with my Okie Pioneer spirit, that I hit on an idea. Here it is in pictures. Oh, and by the way, it worked!!  I brought 1 cup of water to a boil and added a pinch of salt and 4 tbsp of the wheat germ, and stirred then until everything was smooth.  I boiled the mixture for 6 minutes until it was nice and thick, uncovered, stirring occasionally.  You got it!! Cream of Wheat!! And it was good too, especially with butter and brown sugar. I now have a new breakfast favorite with 4 grams of fiber to boot! See, I could have survived in those pioneer days!! |
|
Oklahoma Pastry Cloth™ Company on Facebook
|
 |
Days of Strawberry Jam
May 11th, 2011
 Despite the drought-like conditions that Oklahoma has experienced this year, and in spite of the bitterly cold and snowy winter that attacked the state, the strawberries are showing how truly resilient they really are. We did lose some plants, but the ones that survived have rallied with a gumption. The plants and the berries are really large this year and drippy sweet. The varieties are Cardinal and Ozark . I’ve spent several days making jam and just thought I’d show the process for those who have never done it. I always go straight by the recipe for cooked jams in the Ball fruit pectin box. I like Ball fruit pectin better than SureJell but that’s just my personal preference. Be sure to have your waterbath canner ready, jars washed, sterilized and warm and lids sitting in warm water before you start. The jam goes pretty fast.               |
|
Oklahoma Pastry Cloth™ Company on Facebook
|
 |
A Fun Project For the Kiddos
May 9th, 2011
 Friday afternoon, I had the pleasure of spending time with a precious group of home schooled girls who have formed a group called, “Keepers”. They are all ages and are polite, gentle, giggly and ready to tackle anything that is put in front of them. I was asked to do an art project with them that could be accomplished by all ages, even the very young, and so I decided that mock stained glass windows were just the thing. The beauty about this project is that there is no right or wrong to it and even tiny fingers can paint glue and tear paper. I loaded up the car with supplies, including a roll of newsprint for covering the dining table where we would be working. Most newspaper offices will sell you their end rolls of newsprint which offer you a plentiful supply of the paper for everything from covering tables to long murals for tempera paint. Our office charges by the inch thickness of paper on the roll.
 Cover the table with newsprint or an old tablecloth and place the stained glass pattern onto the table. Lay the plexiglas over the pattern and center. Place tape at either side of the plexiglas onto the pattern to hold the plexiglas in place. Using a Sharpie pen, trace the pattern onto the plexiglas. For thicker lines, go over the lines again. Remove the tape and pattern and turn the plexiglas face side down (side with the drawn pattern down).  Pour Elmer’s glue into small paper cup and add enough water to make it easy to paint – about 3 parts glue to 1 part water. Using a paintbrush, paint the glue mixture onto a portion of the traced pattern on the plexiglas. Tear pieces of tissue paper to fit shapes and lay onto the glue. Paint over the back of the paper, once on the plexiglas, with a thin coat of the glue mixture.  Offer lots of different colors  Continue painting each section of the drawing with glue and add different colors of paper according to what part is being completed. Be sure that the back of the papers are painted with the glue mixture as well.  This is one time that “staying inside the lines” has absolutely no application! Colors can overlap, glue can get splattered. It doesn’t matter.  Young children are really successful with this project because it does not have to be exact.  A dove is starting to emerge!  The youngest one has finished. A damp cloth easily removes any wayward glue. When the glue has dried, hot glue the plexiglass into the frame by placing little dots of hot glue in each inside corner of the frame. Display on a wire easle or add a hanger and hang in the window on a suction cup hanger that can be purchased at Hobby Lobby or Michaels. Be sure and choose a window that does not have direct sunlight as it will fade the colors of the paper.  They all did such a good job, don’t you think? This is an easy and fun project for kids of all ages. I hope that you get a chance to try it. |
|
Oklahoma Pastry Cloth™ Company on Facebook
|
 |
Roses and Berries and Grapes – Oh My!
May 5th, 2011
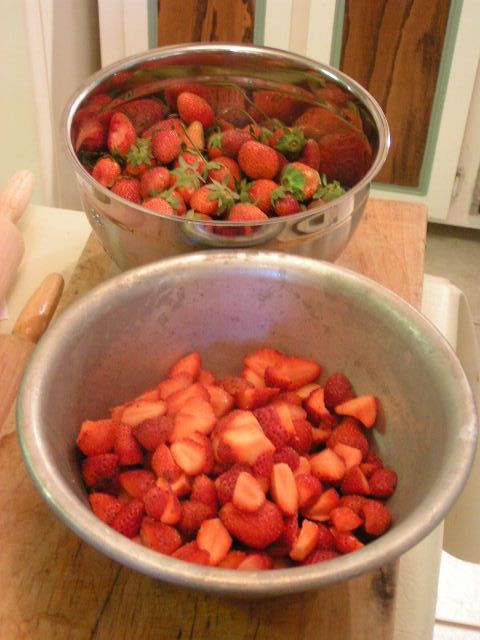
  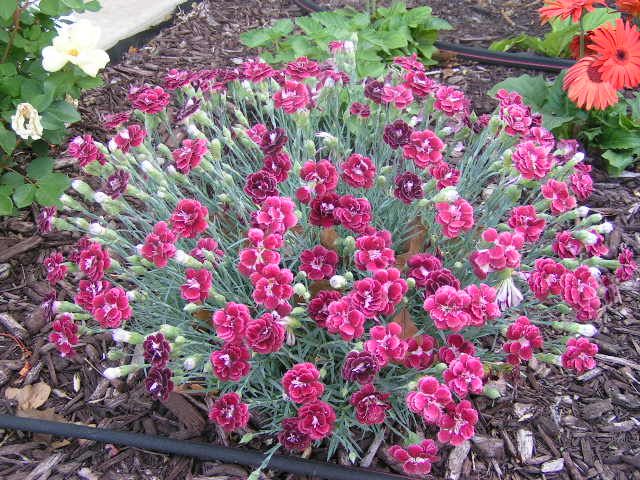 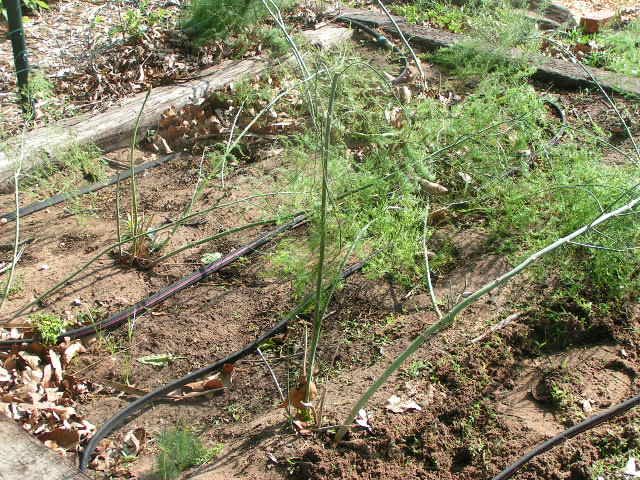 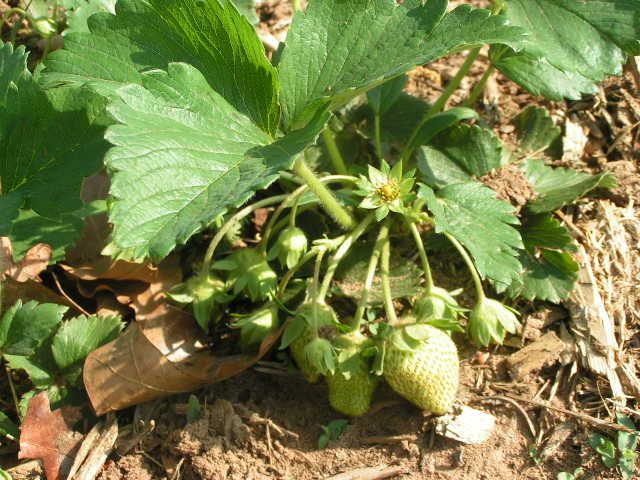    |
|
Oklahoma Pastry Cloth™ Company on Facebook
|
 |
A Few Shells Short of a Box
May 3rd, 2011
|
You get the picture – not hitting on all cylinders. You know? Mr. Fix-It got this video by email today from a friend – also a male – with the accompanying comment which kinda ruffled my tailfeathers, “You just don’t find good wives like this anymore.” Well, yeah. Thank goodness for suffrage! What gets me is that this lady looks happy. She obviously took that part about “love, honor and obey” seriously!! I can just hear that guy from the movie shorts of the ’30’s, in his nasally voice intoning, “And here we have Mrs. Not-Too-Smart and hubby having a lovely Saturday afternoon in the park. After games they’ll be hitting the bar for a couple of “shooters”. And then again, maybe they went there first!” From a 1932 test of bullet proof glass! I just had to share it with you – oh, and location unknown – except that it can’t be Oklahoma!! We Okies aren’t this dumb: Care to add any other idioms? |
|
Oklahoma Pastry Cloth™ Company on Facebook
|
 |
Creamy Chicken Veggie/Noodle Soup
May 2nd, 2011
 I don’t know about where you are, but here in Okie Land, it’s just downright cold. Last night, we had a low in the 30’s and it appears to be making a repeat performance tonight. A wonderful rain has continued the entire day, totally breaking the drought for sure. We even had a little pea-sized hail for good measure. The ground is soaked and that’s a good way to be!! A neighbor even burned trash this weekend – something that has been forbidden in these here parts. And so, though this is the first of May, and though we normally have warm weather by this time, I decided to “soup” up my basic chicken soup recipe and make a meal into which Mr. Fix-It could sink his teeth. By his third bowl, I figured that he liked the results. There’s leftovers for tomorrow too! Here is my new concoction! Soup Note: You can substitute dried veggies, canned chicken and canned milk if you want to try your hand at ‘sustainable’ cooking.  Pour one to two tbsp olive oil into a large stock pan or pot.  Add 1 tbsp flour and on medium heat, stir until flour is fully incorporated to make a light roue.  Add 2 quarts chicken broth and 1 bouillon cube and stir. Simmer on medium heat  In a skillet, add one tbsp olive oil and sauté 1/2 cup chopped onions until soft   Chop three large button mushrooms  Add chopped veggies to sautéd onions and toss  Pour vegetables into simmering broth  Add 1/8 tsp thyme  And 1/8 tsp sesame oil  Add chopped raw chicken breast  Add a fresh orange peel. We love this. It makes all the difference, but it is optional  Stir and cover. Simmer for 30 minutes and then remove orange peel  Add 1/2 cup chopped cabbage and simmer, covered, for 10 more minutes  Uncover and add 1/2 cup half and half and stir well  Bring to a boil and gently sprinkle in homemade noodles while stirring to keep from clumping. We much prefer the homemade noodles to packaged and they are so simple to make. They are much more tender, but you can use the packaged. Simmer until tender. The noodles will naturally thicken the soup, but if you want it to be any thicker, just add cornstarch that has been mixed with cold water. Note: If you plan to can this soup, leave out the noodles. Just open a jar of soup later and add noodles prior to serving. Noodles get mushy when canned.  |
|
Oklahoma Pastry Cloth™ Company on Facebook
|
 |

 Homestead Revival
 Paratus Familia
 Rural Revolution