 |
|
OK, time for pie stories. My favorite one has been told by my mom and dad for years. Seems that when they were first married, my mother, wanting to please her new husband, decided to bake his favorite pie – cherry. She went to the store to buy fresh cherries and worked her fingers to the bone creating a pie that looked like a picture. She placed a slice at my father’s place and he eagerly dug in to sample her achievement. He nearly broke a tooth as he bit down on several pits. It was then that my mother learned that cherries had seeds that had to be removed!!! My worst pie story happened years ago when some friends decided to “set me up” with a friend of theirs. My girlfriend and her husband had me over for dinner to meet this guest and insisted that I help make the meal by making dessert – specifically an apple pie. I had no doubt that they were trying to force that way to a man’s heart thingy. I asked her what kind of apples I was using and she said, “I dunno. They’re from the tree out back.” I peeled and sliced the apples and put them into my homemade crust and stuck it in the oven for an hour at 400º. I figured that would be plenty of time. Shortly before the arrival of this guest whom I was supposed to be impressing, we pulled out the pie and discovered that the apples were barely cooked! Oh no. Either her oven was wrong or those apples were really firm! I was NOT serving that pie and so I ran to the store and got the makings for Bananas Foster! After dinner and after the Bananas Foster, the guest mentioned that he’d been told that he was having apple pie made by yours truly and that he thought he’d smelled one when he’d walked into the house. I was slowly sinking under the table. Finally, my friend explained what had happened and the guest replied that they had told him I made a good pie and he wanted to try it anyway. I decided this person was purposely trying to annoy me and of course, I was looking for any way to escape. My friend took the pie out of the oven where she had placed it to stay warm at 200º. It had been in there for a couple of hours. She sliced it and put pieces on plates and served them. I couldn’t believe my eyes. The slices were just beautiful and the apples were perfect. I took a bite and savored the flavor. The guest said, “What’s wrong with this pie?? It is fantastic.” It had continued slowly cooking at 200º unknown to my friend and me! I was saved! And no, the guest didn’t steal my heart!!! 
 In the Oklahoma Pastry Cloth™ kitchen, apple pie is the favorite of all pies. Therefore, I have to plan on making quite a number through the year, especially during this season. It is also always a favorite of guests that can be whipped up at a moments notice if you have the pie filling already made as well as the pie crust mixed and ready to form a dough. And how do you do that? Just follow the instructions below and you’ll be one happy camper. And if you need a testimonial, last Christmas for a dinner party that we attended, I brought an apple pie using this recipe and our pie crust mix recipe. Overheard was one of the young boys asking his father, “Have you tasted this??!! This is a KILLER pie.” I knew that I had finally arrived! Canning Apple Pie Filling 6 lbs apples 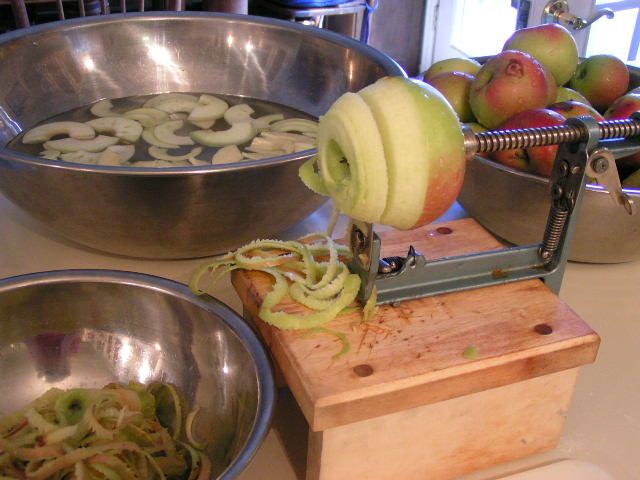 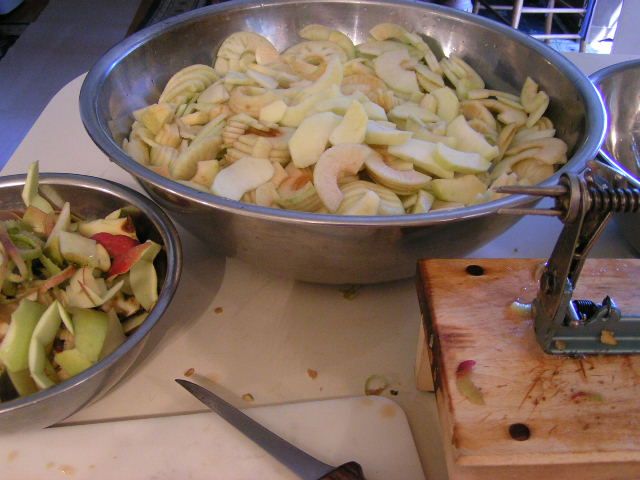 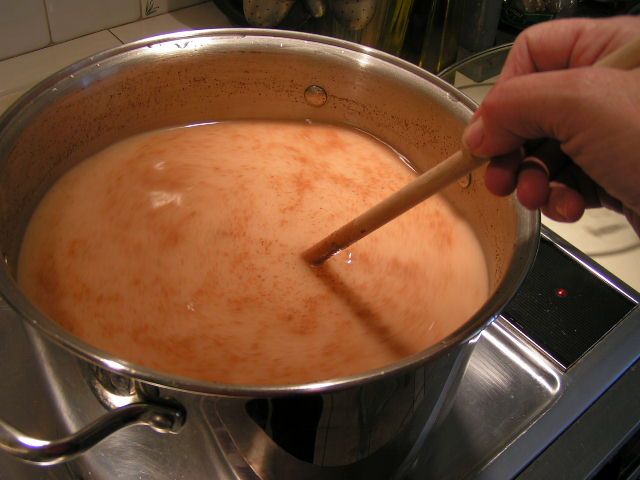 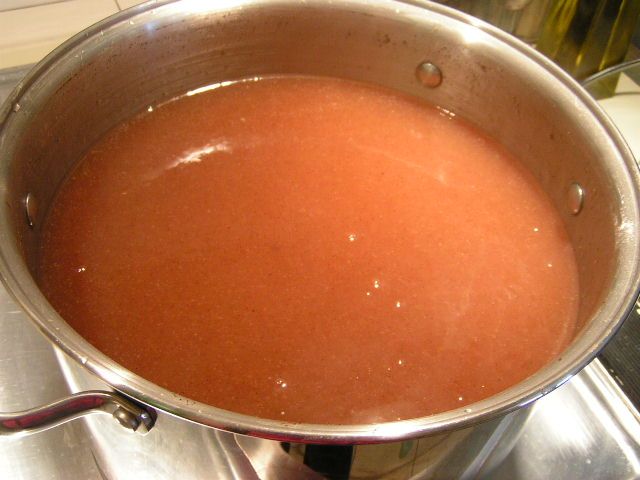 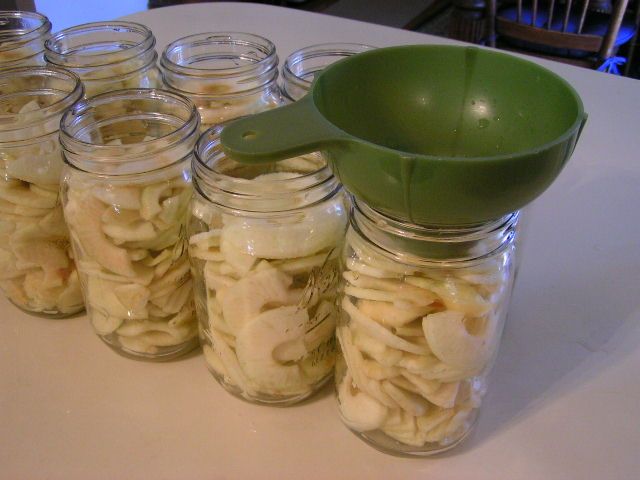 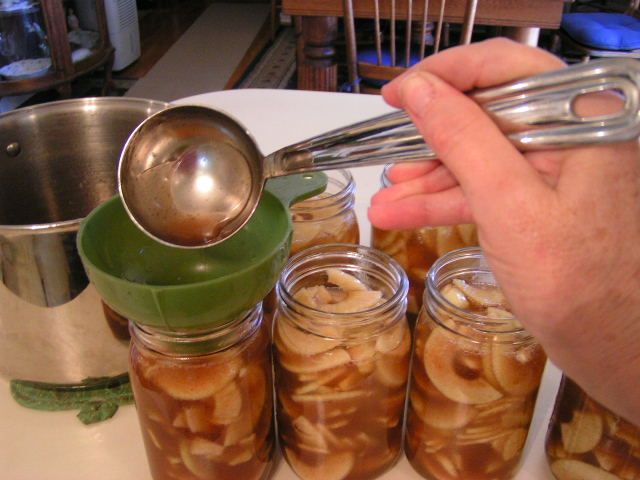 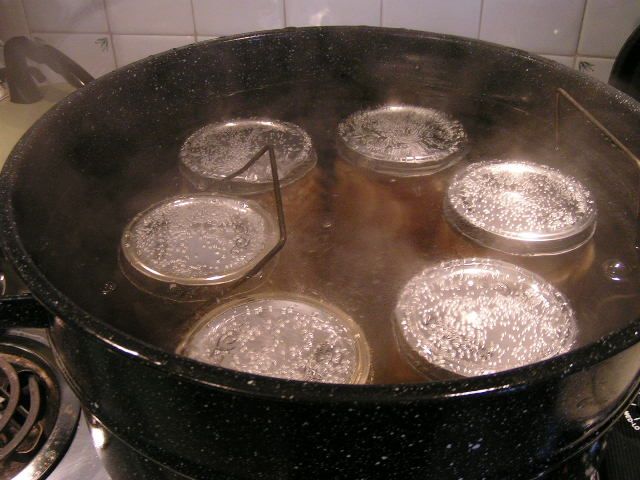 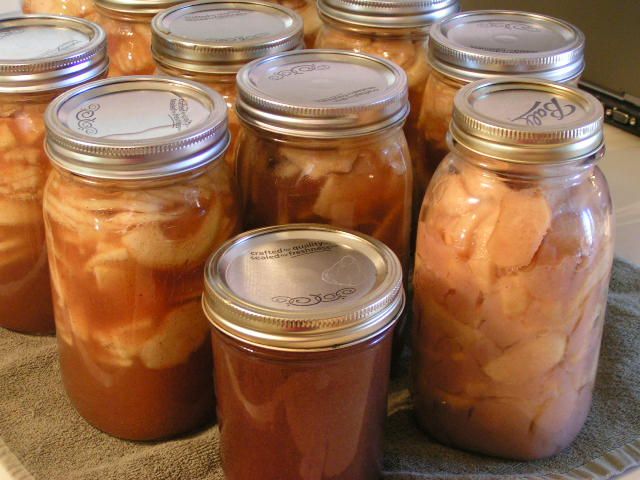 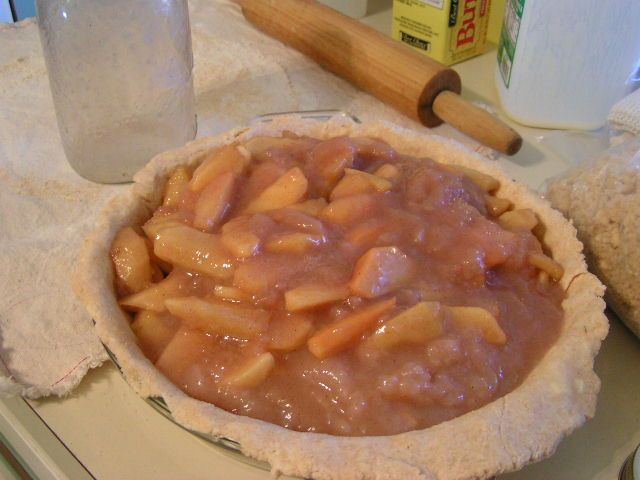 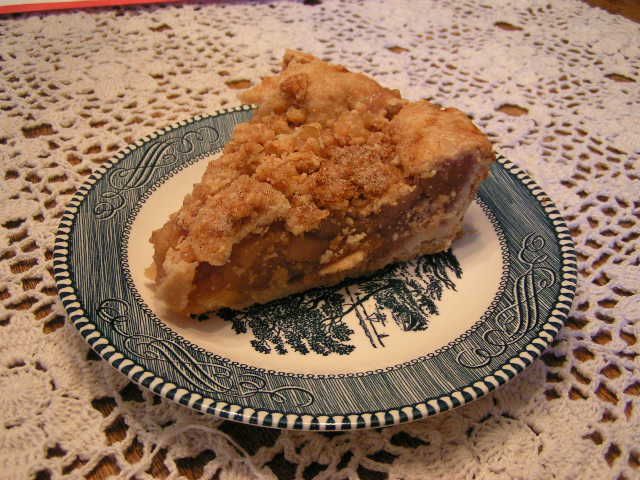 I use two quarts for one large pie, 1 1/2 quarts for a smaller pie pan. You can do either a regular crust or a crumb crust. For the crumb crust I put a regular crust on first and then mixed 1/2 cup of my pie crust mix with 1/2 cup sugar and a half tsp of cinnamon and then sprinkled it on top of the crust. Bake at 400º for 45 minutes to 1 hour. 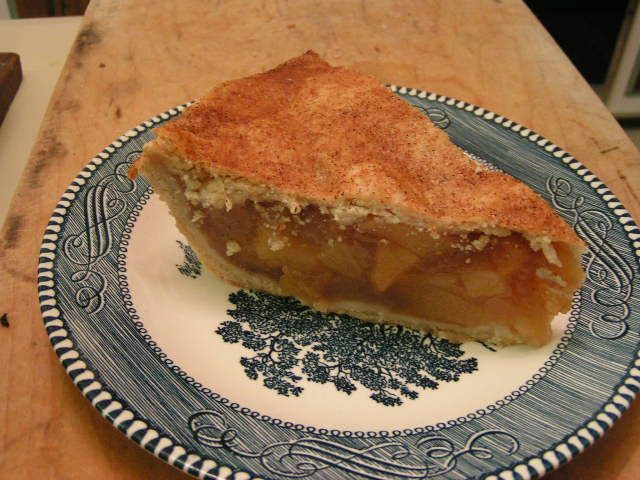 And here is one of my pies with a regular crust. This pie filling always cuts such a pretty piece when it is cooled! |
|
Oklahoma Pastry Cloth™ Company on Facebook
|
Archive for the ‘Desserts’ Category
Canned Apple Pie Filling
Tuesday, November 9th, 2010
Makin’ Smoothies
Friday, October 15th, 2010
|
|
|
As a homemaker, there is nothing more fun than getting inventive, inspired by some tidbit of food leftover and useless for anything major. When a great concoction is created and the family smacks their lips in appreciation, the homemaker feels that all is right with the world. Such was the case tonight as I noticed a fruit fly winging its way around and around a lone banana left ripening on the counter top. It was pretty ripe and would have been useful for banana bread had it been one of three bananas, but alas, it was alone. What does one do with one banana in a short time? What else? Make a smoothie. Smoothies are so easy and quick. And they are great at any time of the year. They are also healthy, especially when made with yogurt. Any fruit combination can be used and any yogurt flavor can be used. I use frozen fruit as much as possible to make it colder and thicker. My favorite is as follows and used that lone banana: 1 banana 1 thick slice of fresh pineapple, frozen 1 cup frozen, sliced strawberries 1 tbsp frozen orange juice concentrate 1/2 cup vanilla yogurt 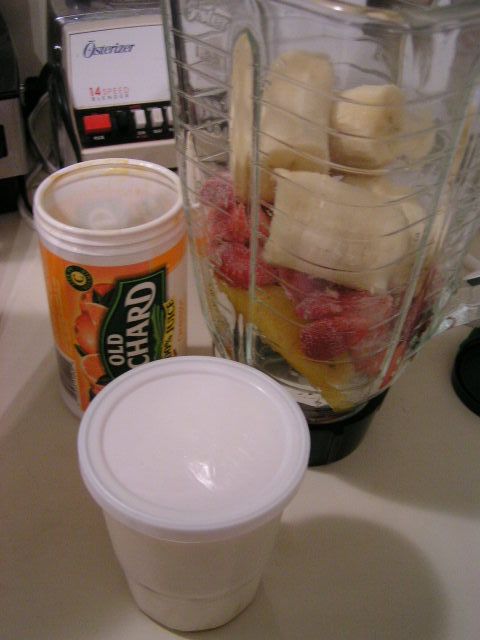 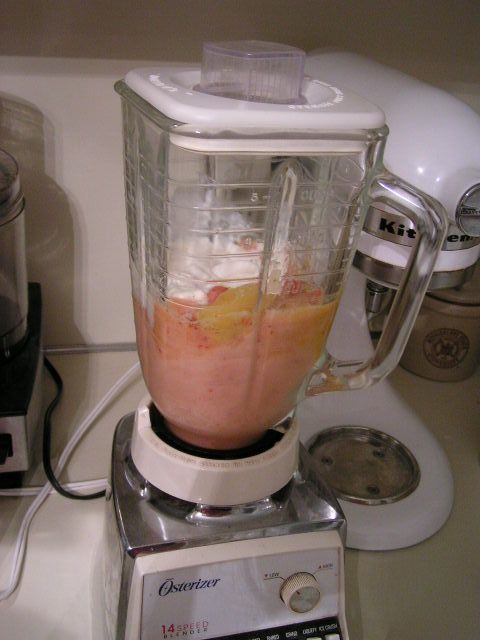 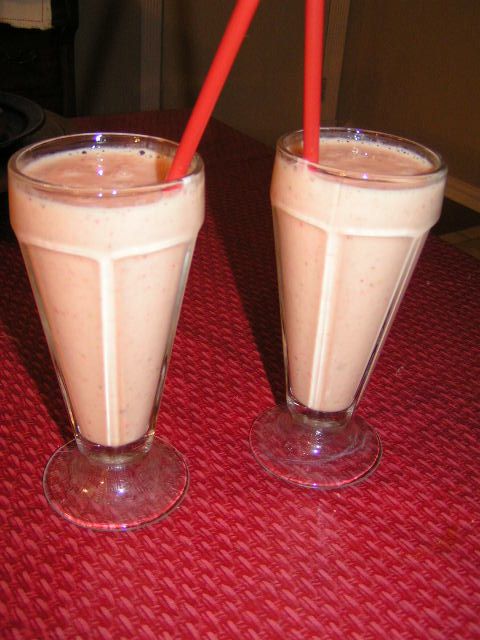 |
|
Oklahoma Pastry Cloth™ Company on Facebook
|
Strawberry Yogurt Parfaits
Friday, May 21st, 2010
 |
|
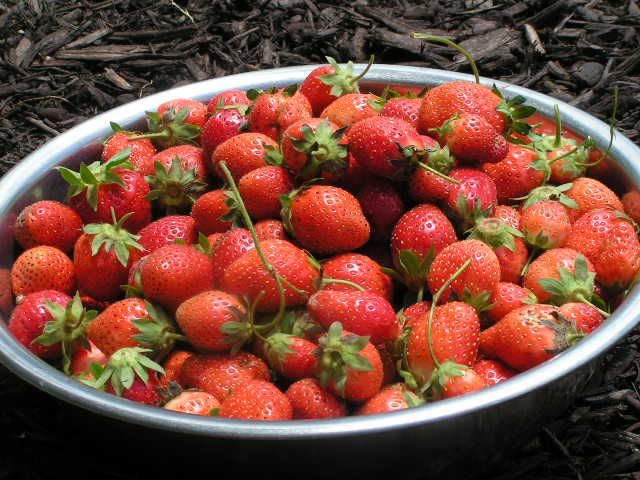
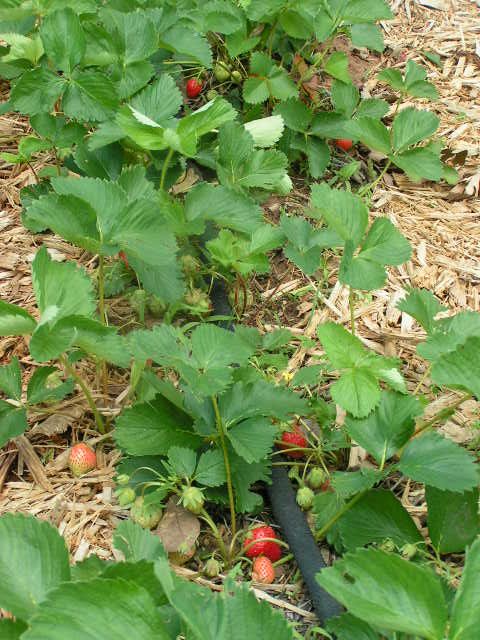
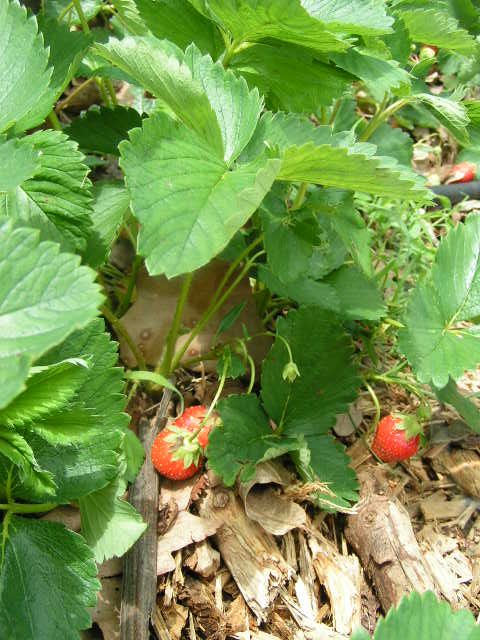
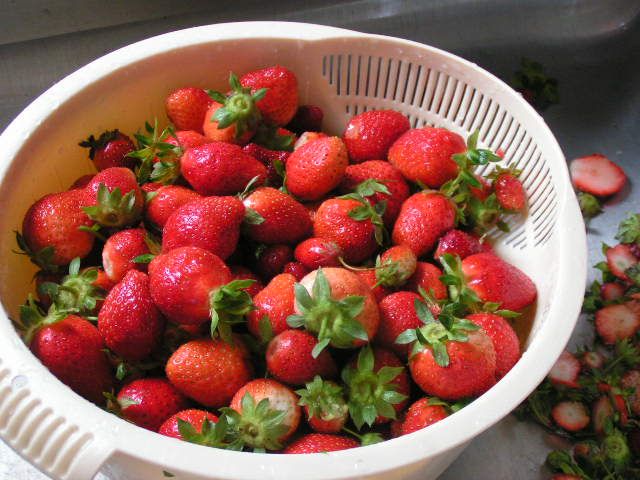
The sun is shining and the Oklahoma Pastry Cloth™ Company’s world is absolutely gorgeous. This morning’s haul of strawberries completed one of my favorite breakfast treats – strawberry-yogurt parfaits. They are gorgeous for light desserts and brunch when entertaining. We have had a bumper crop of strawberries this year and it is so fun to find the red fruits peeping from under their green canopies like ruby gems hidden from would be thieves – slugs, turtles and birds. These lucious fruits have been plump and juicy; the products of an unusually cool Spring. |
 |
|
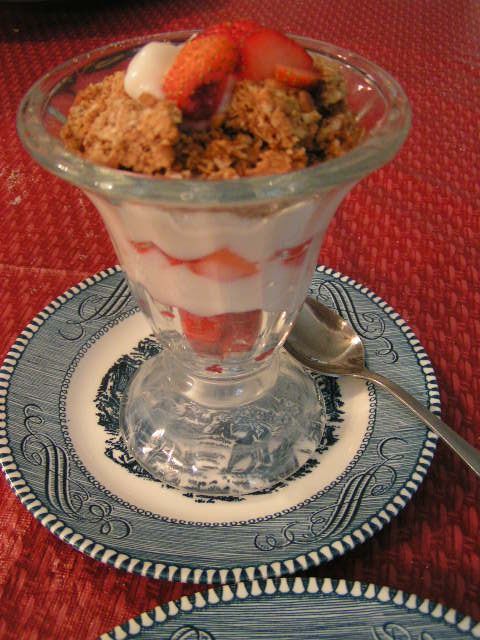
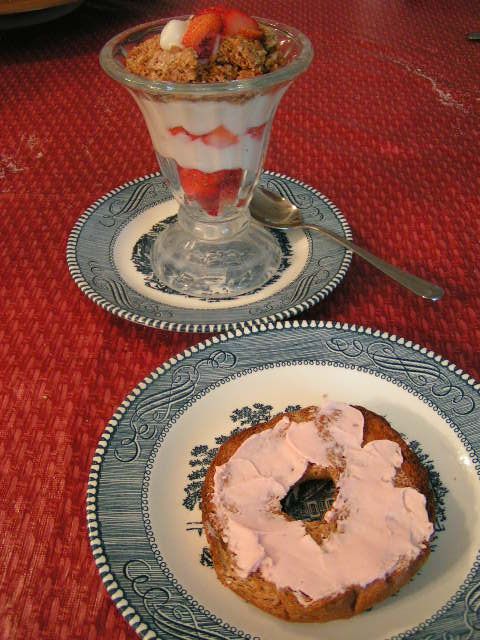
Of course, what comes with a great crop of strawberries is strawberry shortcake, strawberry smoothies, strawberry topped cheesecake and strawberry muffins with homemade strawberry jam. Freezing and drying strawberries also gives the opportunity to enjoy these treats in the winter too. And then, there is the strawberry-yogurt parfait. Ours are made with homemade yogurt, homemade granola and freshpicked strawberries. You can do any variation that you like, but I thought that I would explain how I put ours together and I suppose I should throw in how to make yogurt too! For the parfaits, I use ice cream cups that you can get cheaply at any discount store, including Walmart and Dollar Tree. For each cup, I layer a total of 1/2 cup of sweetened strawberries and 1/2 cup of yogurt. Crumbled granola goes on top. If you don’t make homemade granola, the Nature’s Valley granola bar works great when broken in the package and then sprinkled on top. You can garnish with a strawberry, mint leaves or anything else your creative mind can concoct. |
 |
|
Yogurt is very simple to make. I use a Salton Yogurt maker that I’ve had for years. You can find them online and I know that there are always some on ebay. Mine is the Cosmopolitan style and holds five 8 oz jars. However, if you do not have access to a yogurt maker, you can use your oven just as easily. You will need an oven thermometer to double-check your oven temp. You will also need a candy/jelly thermometer to place in the milk as you heat it and cool it. The following are the ingredients to gather together: 4 cups of milk (I use skim for nonfat yogurt) 1/2 cup instant nonfat milk 3 tablespoons plain, unsweetened yogurt vanilla sweetener like sugar, splenda or stevia 5 – 8 oz jelly jars used for canning 5 rings and lids Place the jelly jars onto a cookie sheet. Preheat oven to 110º. You can test the temperature with an oven thermometer. Place the milk and powdered milk into a saucepan and whisk until powdered milk is well dissolved. Continue stirring as you heat the milk to 180º. Do not bring the milk to a boil because you are just scalding it. At this point, some people cool the milk down quickly in a pan of ice water but I just let mine cool slowly until it reaches 110º. When the milk has cooled sufficiently, you can add sweetener and vanilla to your taste, or if you would like to have a variety of flavored and unflavored jars, you can add 1 tbsp sugar, 1/2 tbsp splenda or 1/4 tsp stevia to each of the jars that you wish to sweeten, and then put 1/4 tsp of vanilla as well. You will stir these once you put the milk into them. Back to the milk…it has now cooled to 110º. In a glass jar or cup, place 3 tbsp yogurt and pour in about 1/3 cup of the warm milk. Stir with a plastic spoon until nice and smooth. There may be some small lumps. Pour this back into the pot of warmed milk and stir to incorporate throughout. Now you can pour the milk into each of the jelly jars. Place a lid and a ring over each jar and tighten. You can reuse the rings and lids for each new batch of yogurt, because you are not sealing the jars, just protecting them from contamination. Place the cookie sheet supporting the jars into the oven and leave overnight or for 8-10 hours for tasty and tangy yogurt. Remove from the oven and place in the refrigerator. |
 |
 |
 |
|
Leave Comments below |
|
Oklahoma Pastry Cloth™ Company on Facebook
|
πr²? – no – Pie r Round
Monday, September 28th, 2009
It’s Fall and that means that Thanksgiving is on its way! And Thanksgiving makes me think of pies. Yes, most people would say that they think of turkey – I’m sure that’s #1 on the board on Family Feud – but I think of pies – well – and yes – sweet potatoes.
I love pie. I won’t go out of my way for a cake, but give me a pecan pie or an apple crumb pie and I’m grinning. One of the readers asked for a good pie crust recipe and so I thought that this would be a good time to jump into the subject. Time to roll up our sleeves and prepare for the coming feast and to give thanks for God’s provision and grace no matter what our situation. These times are hard, but we can know joy in spite of hard times when we realize that God has it in His hands. Make this Fall and Thanksgiving one that your family remembers with fondness and joy! Good food helps!
Pie dough is really easy to make. The secret to great pie crust is in the shortening – plenty of shortening. You can’t be stingy. Of course, my grandmother, and probably yours, made the flakiest, lightest crusts because she used lard, but with today’s sermons on cholesterol I won’t even go there! Ask any southern cook, though, and they’ll all tell you that a crust isn’t a crust without lard.
So I use the next best things – Crisco and butter – real butter. It is also important to keep the ingredients cold. Having an Oklahoma Pastry Cloth ™ in the freezer is a plus! My recipe makes enough for quite a number of crusts and can be kept in the freezer to be measured out in 1 cup measures per pie shell or top. My recipe is an adaptation of one given to me by my mother many years ago, which I then recorded in the back of my grandmother’s Fannie Merritt Farmer Boston Cooking School Cookbook of 1951. Below, you will find the recipe and directions with pictures and then the directions for some wonderful tarts made with the pie dough.
Pie Crust Mix
4 1/2 cups flour
1 cup shortening – cooled in refrigerator
1 cup butter – also kept cool
2 tsp salt
6 tablespoons ice water (to be added to 2-3 cups of mix for double crust)
1 tsp white vinegar
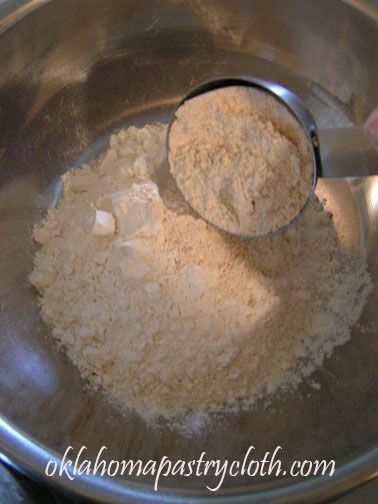
Put 4 1/2 cups flour into a large bowl. Add salt.
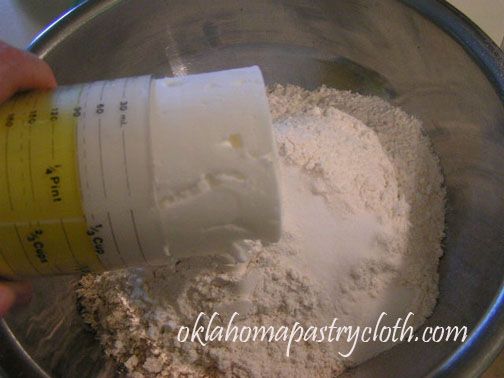
Add shortening. Here, I am using the handy Adjust-a-cup that will be available on the shopping page in just a few weeks.
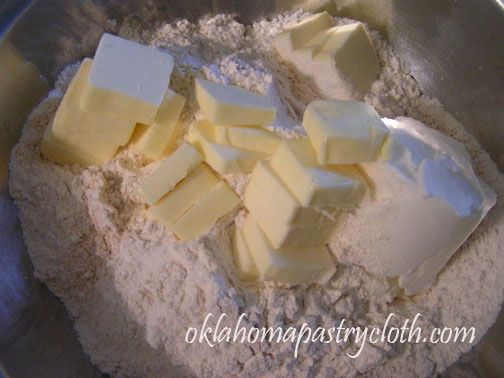
Cut butter into small slices. Add to flour, salt and shortening.
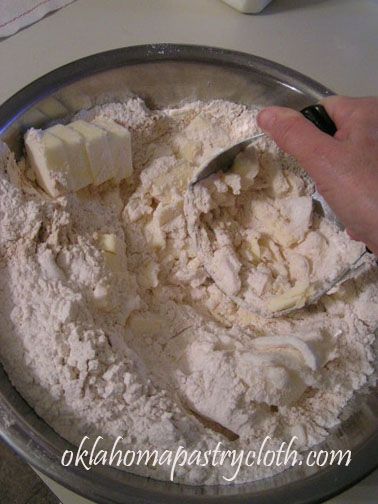
Using a pastry cutter (available at the shopping page) cut the butter and shortening into the flour.
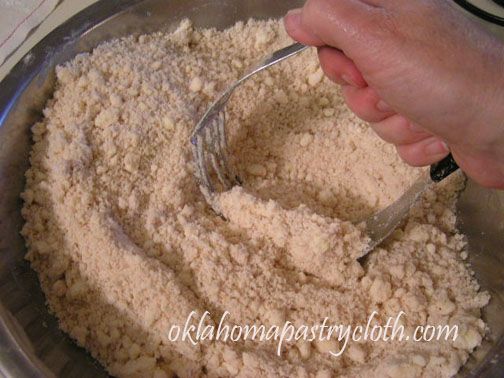
Continue cutting until the mixture resembles small peas.
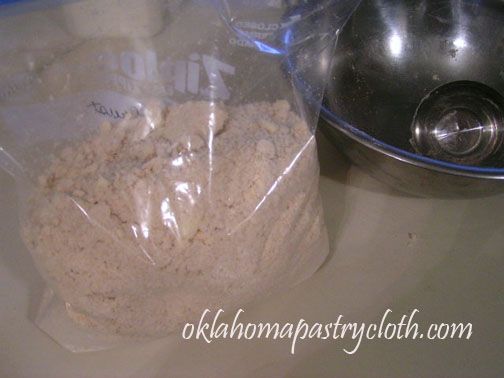
This mixture can be stored in a freezer bag in the freezer and used as needed. 1 – 1 1/2 cup = 1 pie crust round (depending on the size of your pan) so 2 to 3 cups for a bottom and top crust. Add 6 tblsp ice water with the vinegar added, a few at a time and stirring until dough pulls away from the side of the bowl and forms a ball. (Don’t be afraid to make it a little sticky. You don’t want your dough to be too dry)
Tarts
4 oz cream cheese
1/2 cup powdered sugar
1/2 cup cool whip
1 1/4 cup strawberries
4 tbsp glaze
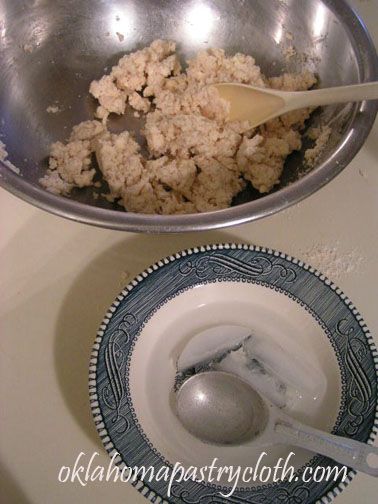
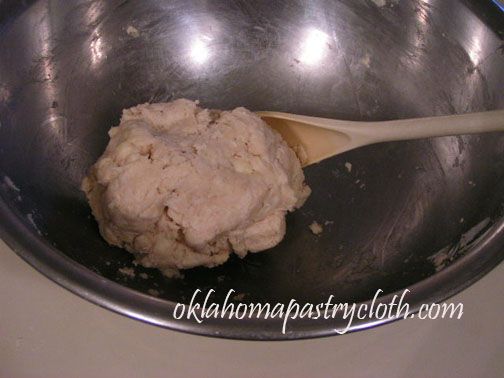
Measure out 1 3/4 to 2 cups pie crust mix and in a bowl, add one tablespoon at a time of ice water to equal six tablespoons along with 1 tsp vinegar and mix until a soft dough is formed as you stir.
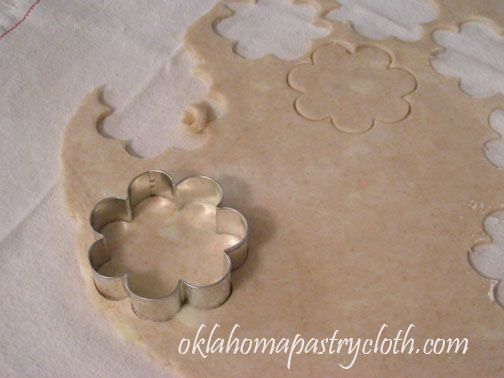
Roll pie dough onto Oklahoma Pastry Cloth™ to about 1/8″ thick. Cut with flower shaped cookie cutter. This one is 3″ across and an entire set of them is coming your way with the other utensils. Check the shopping page in a couple of weeks!
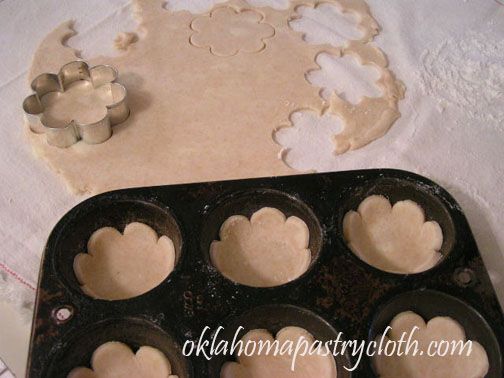
Place “pie flowers” into Pam-sprayed muffin tins. Bake at 400° for approximately 8 minutes or until browned on the edges. Set aside to cool.
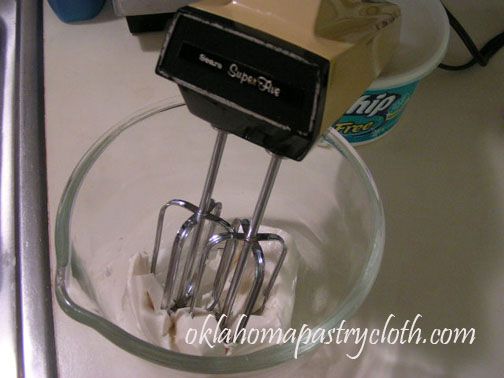
In a mixing bowl, place 4 oz cream cheese and mix until creamy. I like to use my old Sears hand mixer. It’s that 60’s-70’s retro gold color and still works like a charm. There’s just nothing like the high whine of an old hand mixer.
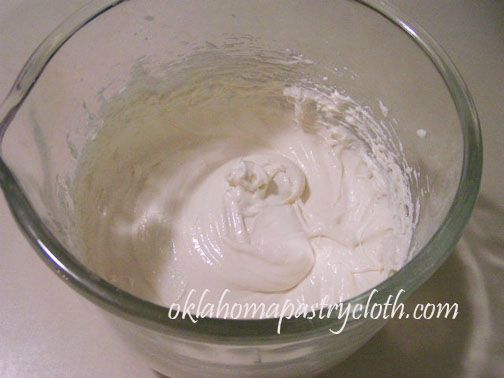
Add powdered sugar and cool whip. Blend until creamy. You will use around half of this for the tarts or double the number of tart shells to use all.
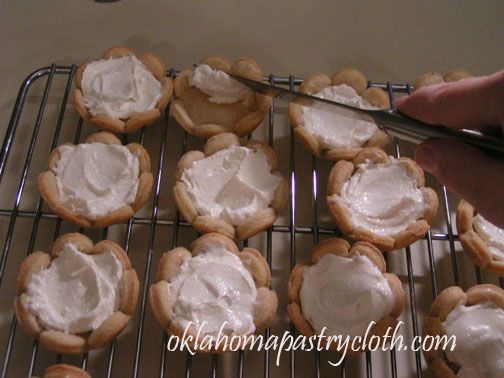
Spoon mixture into the bottom of the cooled tart shells. For more stability and to avoid breakage, this can be accomplished while the shells are still in the muffin tins.
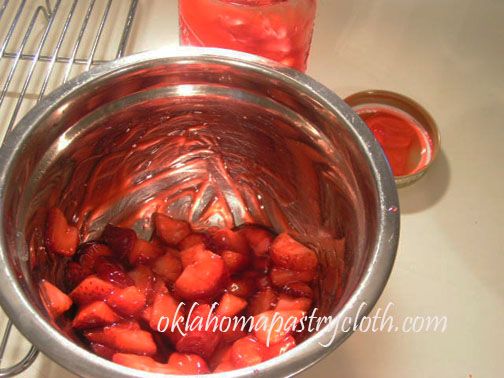
In a bowl, place fresh strawberries and toss with strawberry glaze. Or you may also use any type of canned fruit pie filling.
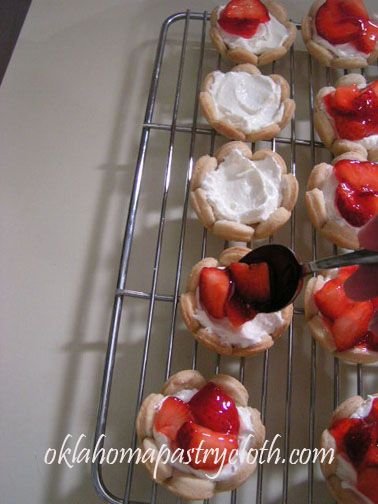
Spoon fruit mixture over cream cheese mixture. Makes approximately 18 tarts
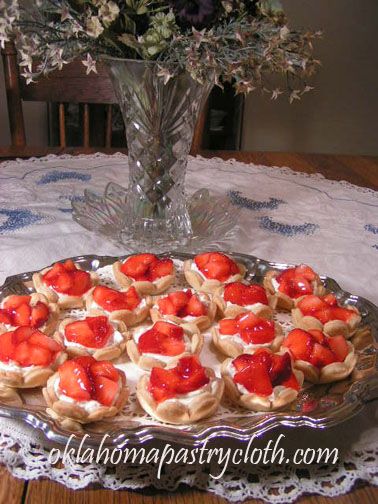
Arrange on tray and serve. Aren’t they pretty? They taste wonderful too!
Thanks to Kathy, for donating her tart recipe.

 Homestead Revival
 Paratus Familia
 Rural Revolution