  Being without electricity during the tornadoes made me appreciate canned goods all the more. Once we got the generator going, things got easier, but so much of life was topsy-turvy with the destruction, mess and time demands that canned items were a blessed relief for cooking meals. My canned hamburger came in especially handy. Canned hamburger is amazing for whipping up tacos or nachos, Sloppy Joes, spaghetti, soups, casseroles and anything else that requires ground beef. It is already cooked, ready for spices and seasoning and cuts any recipe time in half. I also cook sausage loose (not in patties) to use on pizza and can the very same way. Either one is great. We are very fortunate here to have a store called CHEFS that provides bulk purchase of just about anything you could want. Ground beef comes in 10 lb chubs for much, much cheaper than at a normal grocery store. And the meat is very high quality, less fat and ground fine. I buy several of these chubs and process the meat, winding up with around 10 pints of cooked, ground meat ready for a quick meal. 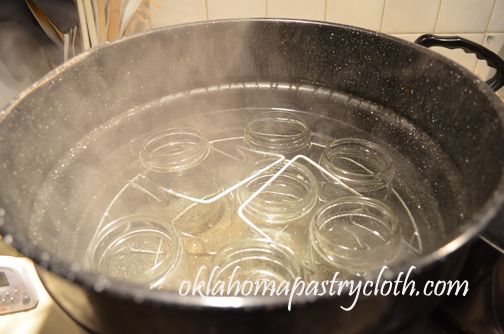 To make sure that my jars are sterile, I use a waterbath canner to boil them in water that completely covers. 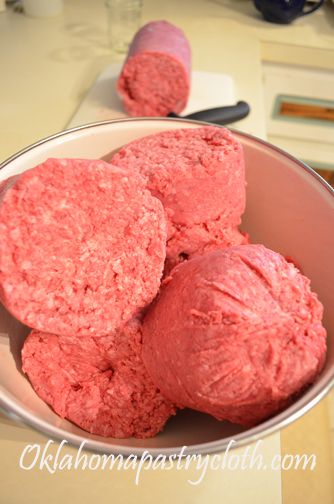 Meanwhile, I cut the chubs into approximately one pound chunks and put them in a large bowl. 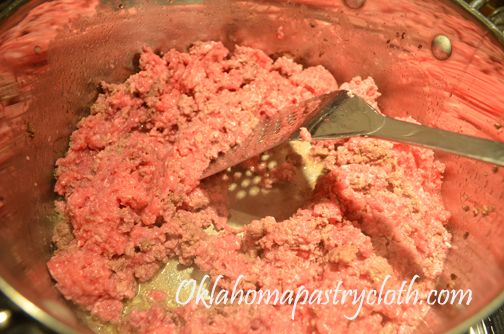 In a large pot, I brown the hamburger a little at a time, adding about a pound at a time, until most of the ground beef is browned. It does not have to be cooked all the way through. That will continue in the processing. 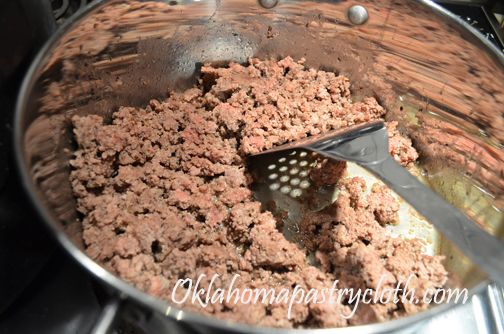 When all of the hamburger is lightly browned, a small amount at a time goes into a colander that is placed inside a large bowl. The grease is drained this way so that the meat is nice and dry and non-greasy. I place the drained hamburger in the jars and then put a little more meat into the colander to drain and so on. 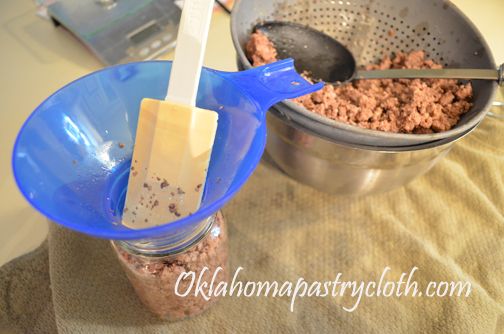 Using a canning funnel, the meat is placed into jars. I use pint jars because I can figure right at a pound of meat (weight before it was cooked) per jar and that makes it easy for use in recipes. The hamburger is packed down pretty tightly by using a spatula or wooden spoon to tamp it between additions. The jars are filled to 3/4″ – 1/2″ headspace. 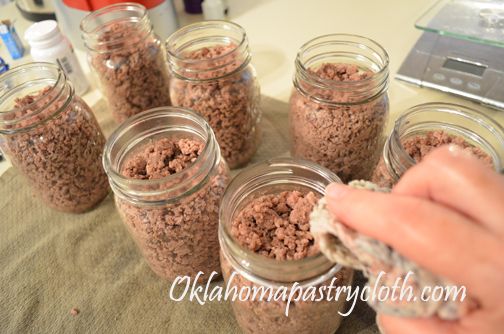 The rims of the jars are wiped with a warm, wet cloth to remove any oils. 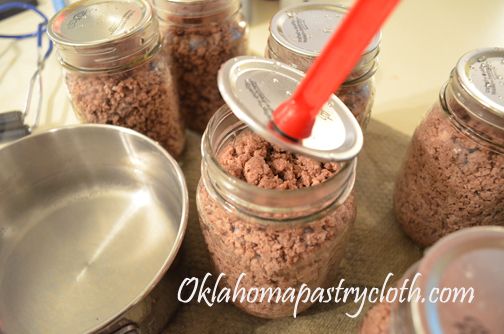 Lids that have been warming in nearly boiling water are applied. 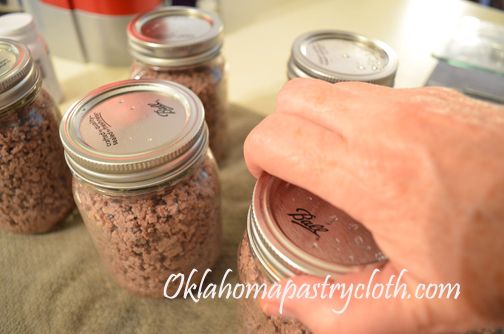 The rings are tightened and then loosened back a little less than 1/4 turn 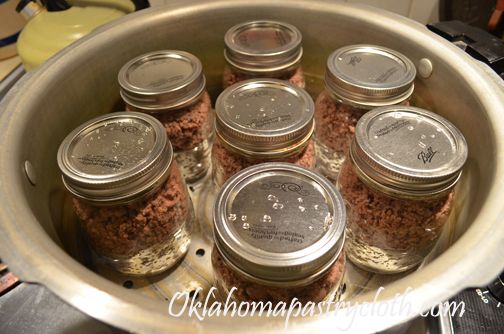 The jars are processed in a pressure canner for 90 minutes for pints and quarts. 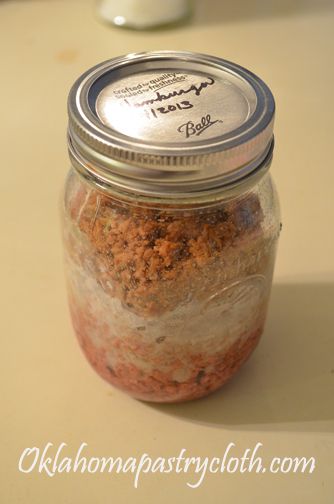  When the jars cool, a little fat will show up that is extracted in the processing. To use, just open a jar and pour it into a pan, brown a little bit and add seasonings or sauces for your favorite recipe. Or for pizza, just brown a little, add salt and pepper and sprinkle on pizza. You can do the same thing with your canned loose sausage.  |
|
| |
|
Oklahoma Pastry Cloth™ Company on Facebook
|
|
 |
|
|
|
Posts Tagged ‘preparedness’
Canning Ground Meat
Thursday, June 20th, 2013
Living Off the Grid: Tornado Report
Wednesday, May 22nd, 2013
 I have very little time to post as there is no internet, no electricity and spotty cell (I am borrowing a wifi gizmo for a second) As I said, we have no electricity and so I am having to practice what I preach on this blog about preparedness and learning to live in a different way. When we get internet up, I will be sharing pictures and information of what we have learned. All I can say is, “Thank goodness for canned bacon!!” 🙂 Somehow, on Sunday, May 19th, as we sat in the cellar and experienced being in a full-fledged, mile wide, 250 mph, EF4 tornado, our buildings (except for a little roof damage) sustained very little impact. Our trees were decimated, but that’s no big deal. However, the farms/homes directly behind us, to our south and even across the road sustained significant damage. In fact, for nearly two miles behind us, there are few homes left standing. When we left our shelter, we were certain that we would find the same thing on our property and are still shocked at how little damage was incurred. We realize that we have witnessed a miracle and just can’t get our minds around why us. Our praises go to God and His unending love and plans for us and we give honor only to Him. Thank you for all of the prayers, thoughts and attempts at contact. Hopefully, we will be back up and running here pretty quickly. And please check out your local Salvation Army or other areas of donation to help the people here in Bethel Acres, Shawnee, Carney and Moore. Thanks to all my readers!  |
|
| |
|
Oklahoma Pastry Cloth™ Company on Facebook
|
|
 |
|
|
|
Canning Bacon
Friday, September 2nd, 2011
|
I told Mr. Fix-It the other day that I have decided that my purpose in life is to be a “cup bearer” of sorts – you know, the person who drinks the king’s beverage and dies if it is poisoned. I try foods and processes and if they don’t kill me or taste like they could, I then pass them on to you! You wouldn’t believe how many recipes my poor Mr. Fix-It has had to endure only to have me scratch them with a “Well, THAT one is going in the trash!” He is such a dear and patient man. His worst response to anything I cook is, “It’s ok.” He can say it through clenched teeth and a galant effort to swallow, all the while looking for a way to spit his food out while I am not looking and still graciously offer, “It’s ok.” However, I must admit that he was very sceptical of my newest canning project. I had read about canning bacon at Patrice Lewis’ The Rural Revolution and on Enola Gay’s blog, Paratus Familia, and I have been meaning to try it myself lo these many months. But bacon didn’t go on sale until just recently and so, when it did, I snatched boatloads of it up and made my plans. Believe it or not, I got it for 99¢ a pound because it was nearing its “sell by” date. I have this vague memory of my parents receiving a can of expensive bacon from Denmark and it was rolled in white paper and tied in the middle. We thought it was amazing, so I knew it could be done.  Now, according to instructions that I found, kraft paper or paper sacks were used in the packaging and I used kraft paper on this first run. However, this is where that “cup bearer” roll comes in – I’m suggesting that you use boxed parchment paper. I found in this first run, that the kraft paper leaves a flavor of the paper in the bacon. You know how wet paper bags smell? Well, that’s the hint of flavor left in the bacon. I did not find that in a subsequent run with the parchment paper. Perhaps that is because white parchment paper is meant for cooking!! Duh. The pictures I have here, however, are from my first run and are with the kraft paper. Just pretend it’s white and do the same thing! Finally, be sure and use thick-sliced bacon. The instructions told me this, but you know me. I never follow instructions. I tried a package of regular sliced bacon. You’ll see the results. Not good. The outcome of canning the bacon was amazing. It fried up beautifully and Mr. Fix-It was duly impressed. Talk about a wonderful companion for camping!! (The bacon – not Mr. Fix-It – although he is a wonderful companion for camping.) No need to mess with wet, sloppy packages of bacon floating in melted ice in a cooler. Just open a jar and there you have it! So here are the directions for canning bacon. Just remember – PARCHMENT PAPER!  Lay strips of bacon side-by-side onto sheet of paper, leaving 1/3 of paper to be folded over the the top half of the bacon. You can put a half pound, 3/4 pound or whole pound onto one sheet. I put 1/2 pound for each jar because there are just two of us.  Fold top third of the paper over the top half of the bacon. If your parchment paper is not tall enough, then place a cut strip of parchment paper over the top half of the bacon strips.  Now fold the top over to the bottom, folding the bacon in half. There will be paper between the top and bottom halves of bacon.  Starting at one end, begin rolling “package” like a jelly roll, allowing some end paper to overlap. Cut off any extra paper.  This was my addition to the process. Because I remembered way back into my childhood that bacon we had received in a metal can was tied with a string, I did the same thing because it keeps the roll nice and tight. I did not tie the string snug, but just let it hold the roll together. I used kitchen twine also known as “butcher’s twine”.  Drop the rolls open side down into preferably wide-mouthed quart canning jars (I had to use a couple of small mouth because I was short two jars) that have been washed and sterilized in the dishwasher, in boiling water or in the oven. The wide-mouthed jars make it easier to remove large rolls.  Wipe the rims of the jars with a warm, soapy and wet dish cloth to remove any oils from the glass that would keep the jars from sealing.  Having kept lids warming in nearly boiling water, place them onto the jars and add rings.  Process in a pressure canner at 10 lbs of pressure for 90 minutes.  When jars have cooled, remove rings and wash jars and rings in hot, soapy water to remove any oils that may have escaped. Allow to dry and place rings back on. Store. Jars aren’t real pretty because the bacon fat coats the sides.  To use bacon, remove ring and lid from jar and allow the roll to slide out. Carefully unroll paper package and fold back paper off of bacon.  Carefully remove bacon from paper with a fork. This is where packaging thick bacon comes in. Thin bacon simply falls apart. See below what happens in the removing and the cooking.  The thin bacon made a mess in the removal and cooking!  Place bacon into skillet and add oil that is the bottom of the jar. Fry just like fresh bacon. It takes a little longer to crisp than raw bacon.  A great addition to a good Okie breakfast – Western omelet, grits, English muffins…and bacon. Yum!! And even if Ol’ Man Winter gives us another electricity blackout, I’ll have bacon for breakfast to cook on the wood stove! |
|
|
Oklahoma Pastry Cloth™ Company on Facebook
|
|
 |
|
|
Be Prepared
Saturday, August 27th, 2011
 I’m going to kinda rant here. I heard something that just made me cringe. It had to do with Irene, the hurricane that has everyone plastered to their television sets, radios and Twitter accounts. I’ve seen news hounds doing really good impressions of Chicken Little with an umbrella, warning viewers that the sky is falling in torrents. I’ve heard weathermen and women trying to offer reassurance, advice and pictures of what could happen if the storm tightens like storms did in the ’50’s, even though they had different names and were on the other side of the world from New York City. And then of course, there are the crazy surfers sticking their tongues out at the New Jersey governor who is using the “H” word to order them off the beach. In short, pandemonium, chaos and a general sense of mental instability is racing up and down the eastern seaboard, while those of us in the rest of the country observe with a puzzled frown.  As I’ve said before, I was raised in the Girl Scouts. The Girl Scout Motto is “Be Prepared”. Back in the ’60’s and ’70’s that meant to learn to “Be Prepared”!! For any scenario. Of course, back then, we were dealing with the Cuban Missile Crisis (remember walking home as fast as you could?), Nikita Khrushchev and the invasion of the Beatles, but we have issues equally serious today. (Justin Bieber comes to mind.) “Be Prepared” is a motto that is timeless and fits all geographies. It requires a moment of reflection on the fact that, at any moment, circumstances can change and your local convenient store may not be open or, as in the case near me, may have disappeared altogether in a flash of twirling wind and rain. It means remembering that banks can close, electricity can cease, water can be shut off and food can spoil in a powerless frig. “Be Prepared” is a call to think about what you would need in an emergency. And I don’t mean yogurt and some bowls of wilty lettuce.  I learned that “Be Prepared” involves putting one’s self on a budget (GS Law # 9: A Girl Scout is Thrifty). The best way to do that is to gather a list of all of your expenses for a month, including all the little stuff like every pack of chewing gum you buy or your daily Starbucks Macchiato Grande Mocha Vanilla Chocolate Cupcake Latte Frappuccino with whipped cream and sprinkles. Divide your expenses into categories (include a category for savings) and add up how much goes into each category for a month. Multiply each category total by 12 months and then divide by 52 weeks. That total is how much you should be spending out of a weekly paycheck into your categories in order to be able to pay the bills and miscellaneous expenses on time. Begin with one month ahead and then start adding in for the next month. That way you are always prepared a month in advance. You’ll even start saving money! It’s actually pretty simple.  |
|
|
Oklahoma Pastry Cloth™ Company on Facebook
|
|
 |
|
|
Making a Solar Oven
Thursday, July 28th, 2011
 Yesterday it was somewhere around 110 degrees in Okieland. Shoot, at 7 pm it was still 107! It’s that kind of stifling heat that just puts you in a bad mood. A lot of people are in a bad mood around here. The sad part is that the weatherman says that it will be this way for the next 20 or so days unless a miraculous tropical storm comes ashore and moves north. I never thought that I would hope for a tropical storm! On days like these, one has a tendency to get a little odd. Heat has a way of doing that to people. It’s getting so bad that we in the country are seeing Dairy Queen mirages, in the distance, way down the gravel road and in a film of dust. You take off at a jog, salivating for a frozen, cold, chocolatey Dilly Bar, only to wind up in a cloud of lime dust as the mirage disappears, without so much as a popsicle stick. It is truly sad. Yesterday, to keep myself from going crazy, I decided to do something different. I mean, REALLY different. I had received an email from a reader, and questions from a friend, regarding solar ovens. As I said in the last post, my experience has been with reflector ovens, but a solar oven seemed of utmost interest considering we Okies are not allowed to even say the word fire, let alone strike a match in our parched environs right now. And the thought of not heating up the kitchen gave real incentive. So, I did some research and chose this hottest day of the week to harness the rays of the brutal sun to make dinner for Mr. Fix-It. I settled on a meal of chicken breasts, carrots, new potatoes and onions and thought I would surprise him with this delicious meal. Somehow, I knew his reaction would be, “Chicken cooked in the sun? Nope. Not taking my chances. Sounds like ptomaine poisoning in a box.” However, he always loses and eats whatever I put in front of him. He hasn’t died yet. So the following is a step-by-step process for making a very simple solar oven. I kid you not – it works!!
 Fold the flaps of the small box inside the box or cut them off. Line the inside of the box with aluminum foil and press against the sides as smooth as possible. Tape the foil to the outside of the box or just fold it over in place.  Cut a sheet of construction paper to fit the bottom of the small box. I had to piece this one together and taped it together on the underside of the paper. As I was cutting the construction paper, I felt like Captain Kangaroo with safety scissors showing a craft project on television. I think it was that sound of cutting construction paper. OK. So the heat is getting to me. Just ignore me.  Wad up sheets of newspaper or newsprint and make a cushion on the bottom of the large box.  Center the small box inside the large box and pack wadded paper around the small box as insulation.  Measure the opening of the large box and cut the extra cardboard to measure 4″ longer and wider.  Cover the cardboard with aluminum foil and tape or glue onto the back. Note: I can see using mirrors instead of aluminum foil in this project and getting some hot heat!   Staple the cardboard to the back flap of the large box with the aluminum foiled surface facing toward the box opening. Tape the flap to the cardboard piece for extra strength.  I sprinkled garlic powder, paprika, thyme and pepper on boneless, skinless chicken breasts  I added new potatoes, carrots and onions into the bottom of a dark enamel pot. The pots or pans need to be dark and so cast iron or enamel work well.  Chicken breasts were placed on top of the veggies and 1 tbsp of Italian dressing, 1/3 cup of water and 1 tsp of chicken bouillon granules were added.  The pot is placed inside the small box (a thermometer is hanging from the handle of the pan) and plastic wrap is stretched tightly over the opening of the large box. The plastic wrap is taped to the sides.  Voila – I just covered the front flap with foil to make it look balanced. It’s the artist in me.  Now, I discovered a problem for Oklahomans. We have wind. REAL wind – you know, that comes sweeping down the plain ala the movie. So, I grabbed a trashcan full of 2 x 4 scraps and put it behind the cardboard reflector. I ran packing tape from the reflector around the trash can. That way, I could move the trash can and repostition the cardboard if I needed to in order to catch the sun right.  Within minutes it got up to 160º  I checked it about every 45 minutes but only looked at the food once. It cooked for 8 hours with the highest temperature reaching 190º. When planning your recipes, look at it like a crockpot slow cooker.  All done  It was delicious! Really. So tender! I think that the only thing I might have changed would be that I would add some cream of mushroom soup to the chicken! Now you can bake in the sun and not use a drop of suntan lotion!! |
|
|
Oklahoma Pastry Cloth™ Company on Facebook
|
|
 |
|
|
Making A Reflector Oven
Monday, July 25th, 2011
|
I’m probably gonna step on some toes. I have a funny way of doing that occassionally. But I see something ridiculous in our culture and I just have to poke fun. I can’t resist. It’s a disease. When I see something dumb, I just can’t keep my mouth shut. Invariably, I wind up offending SOMEBODY. C’est la vie. So as a disclaimer, loving the following appliances is just fine and dandy. But you have to admit that the name is rather humorous. I ran across a website for a brand of appliance that has quite a catchy brand name: Back To Basics. Now I ask you, when you think of back to basics, what do you think of? I picture washboards, rolling pins, clotheslines, grain mills, the Oklahoma Pastry Cloth™, and canning apple butter. In fact, being the campers that we are, a campfire, a chicken on a spit and marshmallows on a stick are REALLY back to basics in my book. Think, “Latrine”. And so, when I saw that there was a brand of kitchen item called, “Back To Basics”, I thought that I’d be finding some pretty neat retro stuff. Ha! Did you know that in today’s culture, Back To Basics, basically means, “Not eating at McDonald’s” and not going to the neighborhood sno-cone stand. For under $100 you can have your own Back To Basics sno-cone stand in your home and invite all of the neighborhood children for free cones, thereby teaching them the principles of capitalism; ie; giving away freebies undercuts your competitor until he goes out of business and then you can start charging out the wazoo. It all depends on how much you are willing to shell out to the neighborhood kids!  But the one that just had me giggling was the Egg and Muffin Toaster. Boy, I’m sure those 1889 Oklahoma Sooners couldn’t have made it in their sod huts without their egg and muffin toasters. Sure, they didn’t have any electricity but you know that toaster was a basic! And I’m sure my mom has memories of my grandmother getting up early to pop muffins and eggs into her toaster to create those sandwiches that hadn’t been invented yet by Ray Kroc of McDonald’s. Shoot, that isn’t even the way he made those egg and muffin sandwiches! OK, so now that I’ve poked fun at the marketing department of an appliance company, I’ll go back to that camping discussion and really getting back to basics. Having been a Girl Scout all the way through Seniors, I learned alot about living with the basics. We camped regularly and had to learn survival skills for various badges. One of those skills was how to make and cook in a ‘reflector oven’. We baked biscuits, brownies, cookies and my favorite, gingerbread, in many a cardboard box lined with aluminum foil. We were so proud of ourselves when we successfully presented a hot treat.  I continued to use these contraptions through parenthood as we hauled children, tents, cooking equipment and fishing poles to our favorite spots. The kids thought that using the reflector oven was the best part of a camping trip. My favorite story about one of those trips happened not too awfully many years ago. We had all four kids, at that time teenagers, with us and had set up two tents at a beautiful park in Arkansas. Our camping spot was next to the biggest, shiniest, most expensive motor home any of us had ever seen. We looked like slum dwellers living next to the Taj Mahal. The next morning, I got up early and started a fire in the fire pit, got some bacon frying in a cast iron skillet, scrambled eggs, shredded hashbrowns and mixed up some biscuits. I had made my reflector oven the night before and it was ready and waiting for hot coals to bake my biscuits. I loaded the oven with the coals and the biscuits, closed it and covered it with a towel to bake for 20 minutes. The family chowed down on the meal that would ready them for a day of fishing and swimming. After breakfast, I had heated up water in my two waterbath canners to wash dishes and was doing so when the man from the big, fancy motor home timidly approached the table on which I was working. He introduced himself and then said, “Um. We couldn’t help but notice that you had a mighty fine breakfast there this morning.” I said, “It was pretty good.” He continued, “Well, we saw that you was eatin’ some biscuits. We was just wonderin’ where you made those biscuits.” I showed him my reflector oven and he turned to yell at his wife whose face was pressed against the screen of their motor home. “She baked ’em in a box, hon!!! She baked ’em in a box!!” Yes siree. I shore did. And so, here are the directions for a reflector oven that may come in handy for you one day. They are just dandy for when the electricity goes out. Note: This is an outdoor project!! Do not attempt to use this oven inside because the coals give off dangerous carbon monoxide.  Line the inside of a medium sized cardboard box (I’m using an 18 x 18 here) with heavy duty aluminum foil. This includes the top flaps. If you can find a box that has had the entire top cut like a lid, rather than flaps, it’s even easier.  Start coals as for grilling or you can use coals from a wood stove or campfire. Today, I will be using pretend coals because in Oklahoma we are under a burn ban and can’t even grill a steak!!  While the coals are heating up, place an old pan or foil pan in the bottom of the box and stand a brick upright on each side of the pan. This pan will be used to hold the coals. You can also make a metal rack to use instead of the bricks  Pour the hot coals into the pan that has been placed at the bottom of the box.  Place your pan of biscuits, brownies, cookies or cake mix on top of the bricks or rack  Fold the lid or the flaps of the box down to close and cover with a heavy bath towel. Bake for recommended time.  You will have baked goods in a jif! I promise. Now THAT’S back to basics! |
|
|
Oklahoma Pastry Cloth™ Company on Facebook
|
|
 |
|
|
Canning Beef Stew
Tuesday, July 12th, 2011
 How hot is it? It is so hot in Oklahoma the snakes are looking for air conditioning and they’re cold blooded!! It so hot here that the nectarines are going straight from the tree into jars as jam. It’s so hot that the Gila Monsters have moved to Oklahoma from the Mohave Desert because it’s warmer here! Yeah, we’re setting records. The disturbing news for the rest of you is what this is doing to part of your food supply. Grain and cotton crops have simply burned up, causing both to rise in price. As a result, grain is becoming cost prohibitive for ranchers for their livestock. Grass is gone and so many ranchers are having to resort to expensive hay as well. I just talked with a friend, in south-central Oklahoma, who owns a very large cattle ranch and she said they are preparing to sell their entire herd of cows. She said the cows are losing weight so fast that they must be sold this week or she and her family will take an even worse beating. There is no grass and there is no water. I see cheap beef in the grocery stores in the shortrun, from ranchers selling off herds, and a shortage of beef/high prices in the longrun, so plan accordingly!! One would think that in this furnace that is the midwest, one wouldn’t even think of hot meals. But planning ahead is the stuff that makes us prairie folk able to contend with the unexpected. Using garden staples that have managed to survive to can foods for the winter is a great way to use these days indoors. I have been finding beef on sale and so, I’ve been putting up a Fall and Winter supply of beef stew, a veritable meal in a jar! Just open a jar, heat the stew in a pot, mix up a batch of cornbread and you’ve got supper! And if the electricty goes out in one of our famous ice storms, the wood stove or the grill make perfect heat sources for a pot of stew accompanied by bread or crackers. So here is how I do my beef stew for Mr. Fix-It. He loves having this around because he can fix it himself! (carrots, celery, potatoes, onion, etc)
 Pat 10 lbs of meat dry with paper towel. I use either chuck roast or rump roast, depending on what’s on sale. Today I’m using chuck roast.  This is a rump roast. If you will notice, the chuck roast has more fat and more loss, but it is also more flaky.  Cut meat into cubes  Remove fat and membranes by lifting as you cut underneath. As you lift, this gives more area to slice under the membrane or fat and also helps to release them from the meat.  Lightly salt the meat  Add a little of the meat at a time to a very large stock pot that is on medium heat. Brown and add more meat until most meat cubes are lightly browned on at least one side. Juices will begin releasing.  Add 4 1/2 pounds of mixed veggies. I am using potatoes, carrots, onions and celery. You can use whatever amounts of each that you prefer and you can add other vegetables according to taste.  Add water to cover  Add garlic powder  Add thyme  Add bay leaf  Add beef bouillon  Mix package of brown gravy with 1/2 cup water and add to the stew, stirring. At this point, if you like wine or burgandy in your beef stew, add 1/2 cup. Mr. Fix-It likes his without.  Cover and allow to simmer vigorously 1 hour, adding water to keep at the same level and stirring occassionally to keep from sticking.  Mix 1/2 cup corn starch with one cup of cold water. I start out with this much and add more if I need more thickening. I usually wind up using 3/4 cup corn starch with 1 1/2 cup water, however, I like to start out with less and adding more if needed. Do not make the broth too thick. It can always be reduced after opening a jar and bringing to a boil. If you get your broth too thick, it will thicken more in the processing and will become way too thick.  Stir continually as you pour into boiling stew broth to keep from lumping.  Find and remove bay leaf. Place stew into jars, dividing broth evenly between jars. Leave 1″ headspace.  Using a canning spatula or knife, remove any air bubbles by running around the inside perimeter of the jars.  Wipe the rims of the jars to remove any juices or oils  Add lids that have been warming in a pan of nearly boiling water  Add rings, tightening and then backing off just a hair  Place jars into canner, cover and process for 1 hour 30 minutes for quarts and 1 hour 15 minutes for pints at 10 lbs of pressure  Meanwhile, place all the trimmings into a pot and cover with water. Boil until trimmings are cooked down to very tender, continually adding water as needed. Strain broth from the trimmings and add broth to pint jars. Add 1/2 tsp salt to each pint and process with any extra jars of beef stew to make canned beef broth.  Place trimmings, a carrot and about 1/4 cup oatmeal into food processor or blender and turn into a puree. You can put this into jars too, with extra water, leaving 1 inch of head space to can. Or you can freeze it. Use it as canned dog food! Nothing has been wasted. |
|
Oklahoma Pastry Cloth™ Company on Facebook
|
 |
Time To Think
Monday, March 14th, 2011
  Today, I woke to news photos and videos of Friday’s tsunami that followed the earthquake in Japan. These pictures of utter devastation and loss are too much to get one’s head around. Here in Oklahoma, we see similar pictures that can be a mile wide from tornado damage. But to comprehend that kind of thing for a whole country is just mind boggling. Photos of empty store shelves, long lines of people patiently waiting for rationed food or water and numbed and dazed individuals struggling to crawl through rubble made my heart ache. But it was the news of the staggering flow of bodies floating along the coast to the horror of onlookers that gripped my gut. I have come to a conscious acknowlegment that prepare as one might, one is never physically prepared. I teach classes on canning, dehydrating and cooking, grain storage and grinding or flaking grains, as well as bread making and I encourage the art of buying on sale, in quantity, to process in order to have a well-stocked pantry. I coupon with the best of them and gleefully (I try not to be too smug) cart off my 50 tubes of toothpaste for free. The Girl Scout in me whispers, “Be Prepared” for anything and lately that preparedness has been regarding rising food prices. There is nothing more gratifying than knowing that one does not have to run to the grocery store and can even survive without a grocery store for a very long time. Food storage is like having a savings account. And then I look at the pictures of Japan. Have you seen the one of the man who was rescued 9 miles out to sea, floating on what was left of his roof? His house is gone, as well as his wife – and everything in that house is gone as well. All of the planning he might have done, all of the specials he might have purchased, all of the grains he might have stored would be gone as well. All he has is the clothes on his back just like hundreds of thousands, if not millions, of other Japanese. So where does that leave the idea of preparation? Does it mean just “eat, drink and be merry because tomorrow may never come”? The answer to that question can be found in Mathew 6: “Do not focus on storing up for yourselves treasures on earth, where moth and rust destroy and where thieves break in and steal. But focus on storing up for yourselves treasures in heaven where neither moth nor rust destroys, and where thieves do not break in and steal, for where your treasure is, there will your heart be also.” While there are quite a number of passages in scripture that encourage people to be diligent in putting up a store of food, etc, the deeper truth is that all of the storing in the world isn’t our safety. A trust in God is the only sure thing. I see the numbers of deaths in Japan and it’s just an obvious truth that these people’s provisions helped them not one whit. And as they stand before God today, had they stored up for this day by accepting who He is rather than counting how many pounds of rice they had on hand? My prayer is that they did. But for those of us left staring at the reality that is here on earth, we have this moment to make that very preparation. God is the creater of this earth and all of the power that is in it. We see His power mimicked in the force of the earthquakes and tsunamis of our time. These powerful occurrences only prove to man just how powerless man really is, in spite of all his planning and storing and intellectual mumbo jumbo. It proves how much man needs God. My father used to tell me that when I think I am in control, to just pick up a boulder, hold it over my foot and drop it and then will it to stop dropping. Right. Man can be awfully arrogant in his assumption of his own power. On Friday, we found out that we don’t even have the power to control our own inventions like nuclear plants. The fact is, there is absolutely nothing wrong with storing up in times of plenty to prepare for times of want. Joseph did that very well. But the question one must ask one’s self is, “Is my dependence on my stuff and my plans or is it on God?” If the answer is, “In my stuff and my plans” then one will find that one is not prepared at all. In the words of Robert Burns in To A Mouse, “The best laid plans of mice and men go oft awry.” |
|
Oklahoma Pastry Cloth™ Company on Facebook
|
|
|
Canning Butter
Thursday, February 24th, 2011
|
I have a question. If milk is nature’s most perfect food, as we ALL learned in our science classes many years ago and have heard on many a dairy commercial, why isn’t butter perfect too? Why has butter gotten such a bad rap when it is simply the richest part of the milk that has been whipped to a frenzy? All I know is that butter is all-natural and has to be a whole lot better for you than the fake spreads that marketers have tried to pawn off on us as the nutritionally better alternative. We humans seem to always go down the road of trying to improve on what comes naturally and then wind up right back where we started, concluding that the original product isn’t so bad after all.  I have admitted my affinity for butter in past posts but I am in no way an addict to the stuff. Really. I can quit using it anytime. Really. I use it in moderation mixed with olive oil and am known to spread it sparingly on a slice of fresh homemade bread. Really. But there is simply no substitute for the stuff when it comes to sauces, cajun cuisine and toast.  So did you hear about the solar flares that scientists are afraid are going to destroy the earth? Well, not destroy exactly…just leave us in an electronic lurch which would pretty well destroy the majority of us who can’t live without a cell phone, computer or electric toothbrush. How in the world can I keep my precious butter from spoiling if our refrigerators aren’t running? Well, I can it, silly! I gathered all of the info I could from several sources on the internet and have started canning part of my butter when I find it on sale. The Indians in India have been canning clarified butter, called ghee, for ages and ages. I like to can my butter whole. Take a peek at what is working for me: 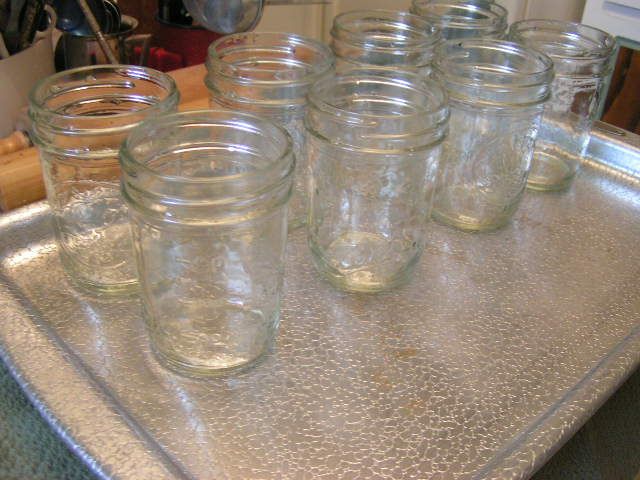 Wash jars in hot soapy water and boil in a large pot or wash on the sterilize cycle in the dishwasher. Place the jars on a cookie sheet. Here I am using 8 oz jars which hold about 1 1/3 sticks of butter. In this run, I used 9 – 8 oz jars for 12 sticks of butter or 3 lbs. Put the cookie sheet of jars into a 250º oven and heat for 20 minutes. 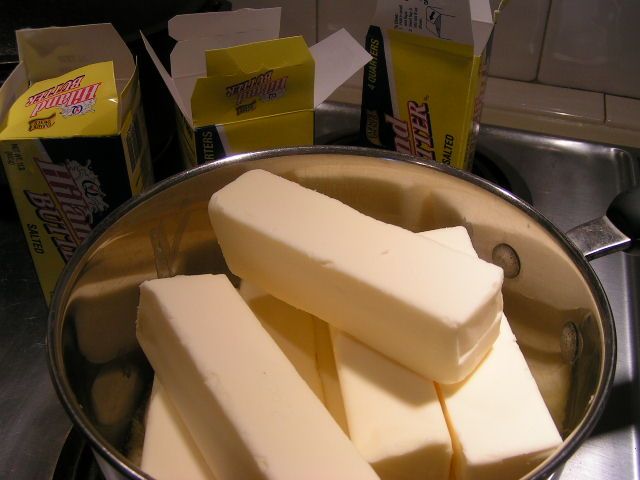 Place sticks of salted butter in a large pan. I do about three pounds at a time simply for ease. The larger pots get too heavy to manipulate and butter gets everywhere. 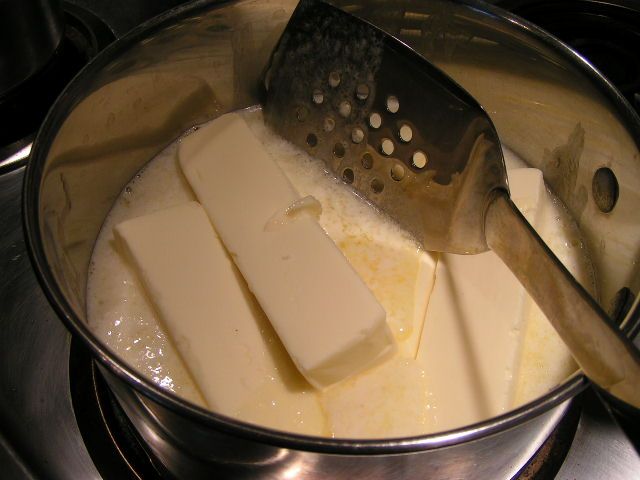 Slowly melt the butter on medium heat, stirring constantly with a metal spatula to keep from scorching on the bottom. A spatula with holes is ideal because the melted butter is pushed through the holes during stirring and helps to keep it uniform. 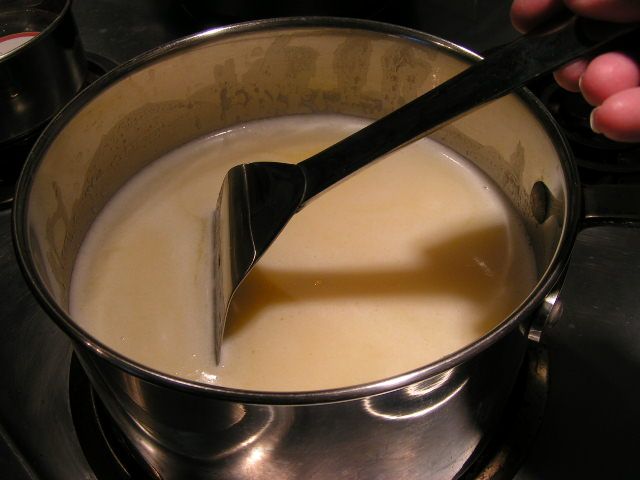 When the butter is totally melted but not quite boiling, continue to stir and allow to simmer for 10 minutes. A thick, white foam will appear. 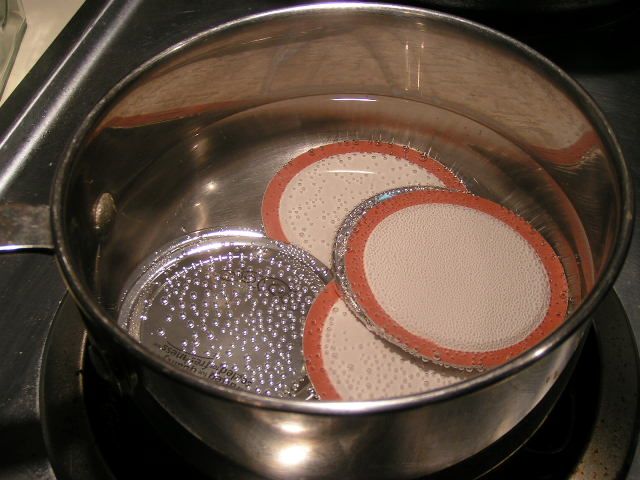 While melting the butter, place lids in a pot of water and bring to a near boil to prepare lids. Turn heat down to keep lids warm. 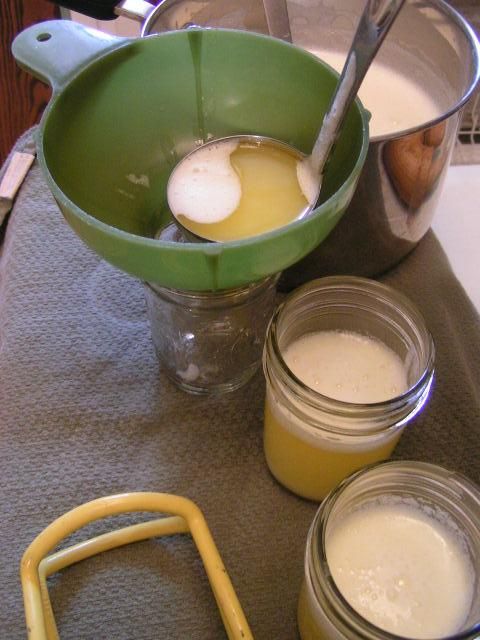 Remove jars from oven and immediately ladel butter into the jars, using a canning funnel. Be sure and stir the butter around and dip deep, pulling up, in order to keep the butter uniform, as it separates. Fill to leave a 3/4″ head space. 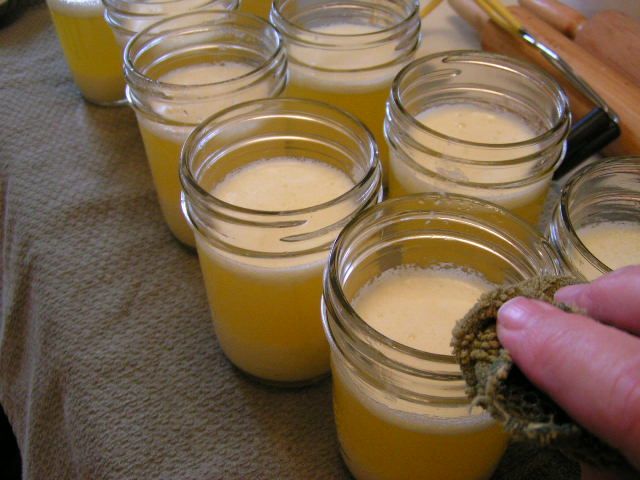 Carefully wipe the edges of the jars with a damp cloth to remove any butter. Butter on the rims will cause the jars not to seal. 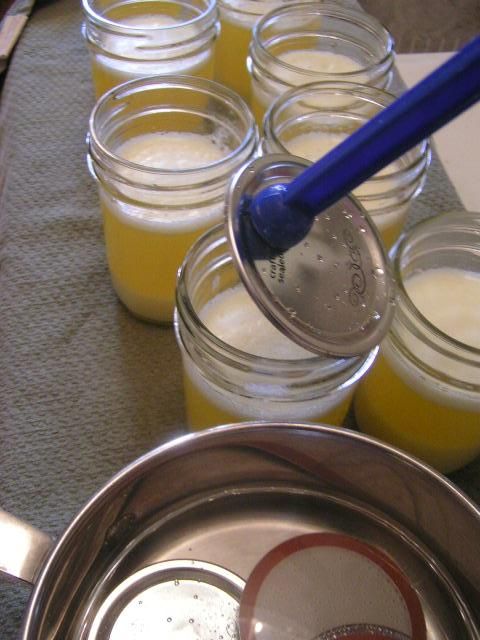 Place the lids on the jars and attach rings, tightening slightly. Place jars into a waterbath canner that has water already heated and enough to cover the jars 1″. The water needs to be heated because the jars of butter are hot and will crack in cool water. As soon as water begins to slowly boil, set timer for 15 minutes. 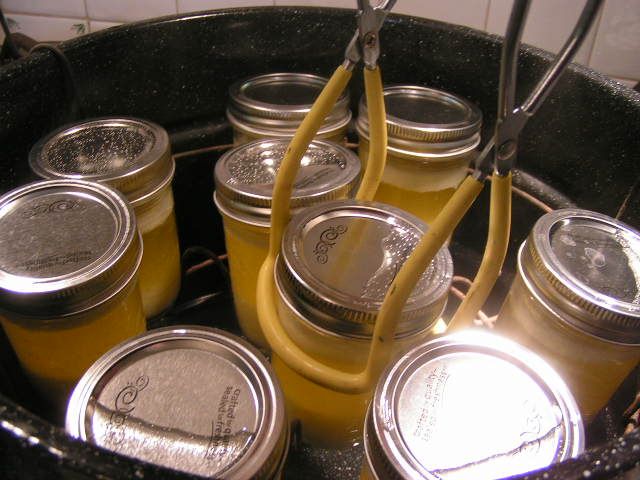 When jars have been processed for 15 minutes, turn off heat and allow to cool down in the water for another 10 minutes. Then, lift the rack to top of canner and remove jars with canning tongs. 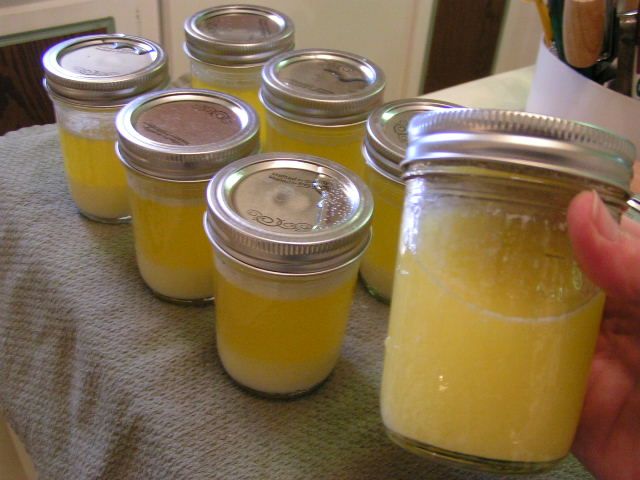 When the jars are cool enough to handle, now comes the tedious part. Every few minutes shake the jars up and down in order to make the butter uniform. If you notice in this photo, the jars to the left have sediment on the bottom and foam on the top. Shaking incorporates this into the clarified portion. Go about your business, but about every 5 minutes, stop and shake the jars. As they cool, they will stay more and more uniform. I set a timer to remind myself so that I can do clean-up. 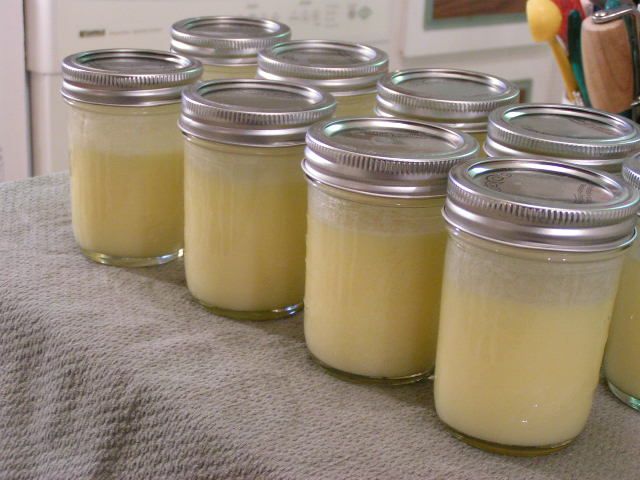 This butter is totally cooled and ready to store in the pantry. Aren’t they pretty? I read one homesteader’s take on canning butter and she said that they actually opened some from 1999 and it was still good. Don’t think I would keep it THAT long, but it wouldn’t matter because it wouldn’t last that long around here anyway!! 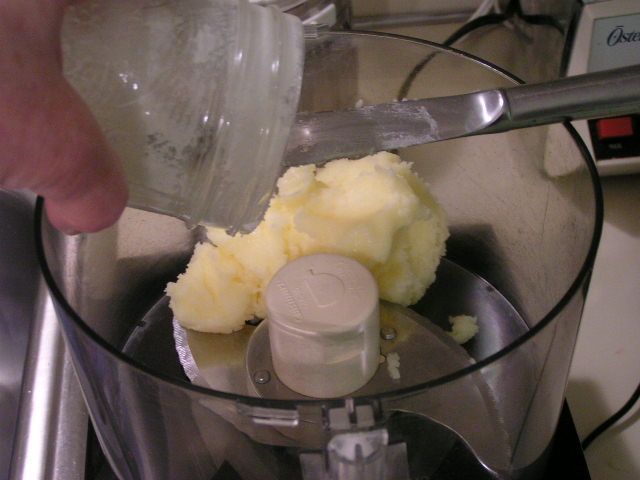 Canned butter is not quite as smooth as fresh butter, but if you are wanting a smooth, healthy spread, you can make the same recipe posted earlier with olive oil or canola oil. Just scrape butter from an 8 oz jar into the food processor or blender. 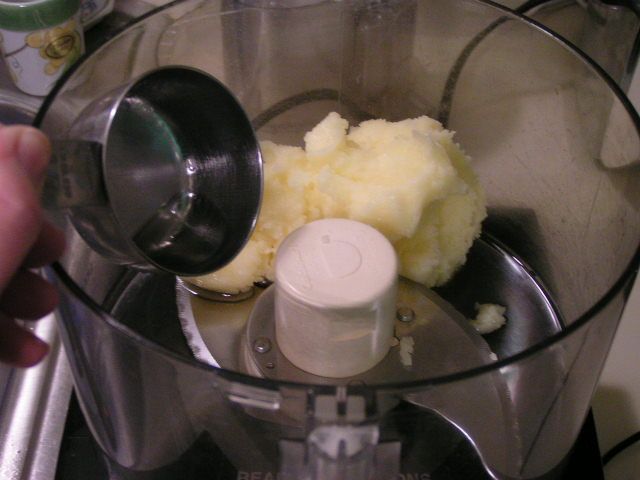 Add 1/3 cup oil. If you have canned your butter in larger jars, adjust amounts of oil. For example, a 1 pt jar of butter would require 2/3 cups of oil. 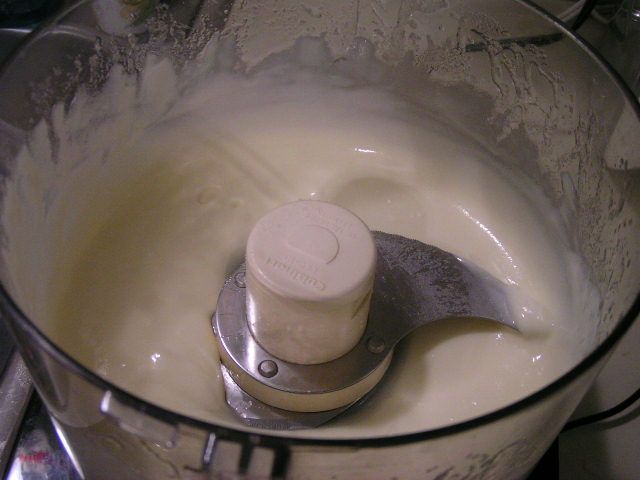 Process until smooth 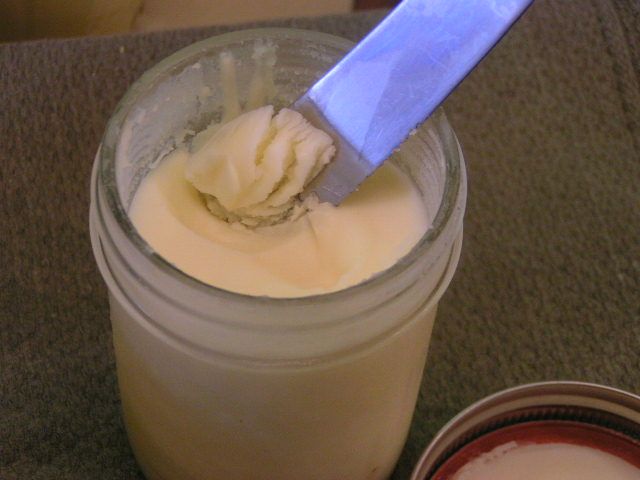 Pour back into jar and allow to harden in the frig. It will go back to the consistency of smooth, spreadable butter. Pass the Lobster, please!! |
|
Oklahoma Pastry Cloth™ Company on Facebook
|
Yep!! Canning Cheese
Wednesday, February 9th, 2011
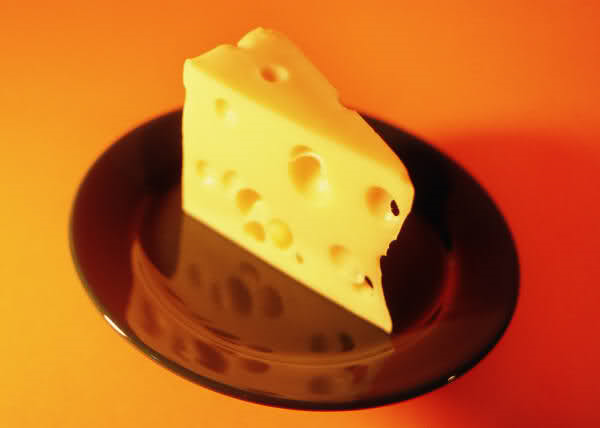 I’ve always heard that “necessity is the mother of invention” but I also think that it is “the mother of learning something new”. Such was the case recently after a productive trip to our local grocery which is owned and operated by the Absentee-Shawnee Indian Tribe. On this particular day I discovered that the store had block cheese on sale; 1 8oz block for $1. Never one to pass up a good deal, I decided that if one block of cheddar was good, 20 blocks of a variety of cheese was phenomenal! I tossed mild cheddar, mozzarella, sharp cheddar, pepper jack and cojack into my cart and trotted on down the isle. To my surprise, I found that Velveeta was on sale too. Oh joy. Now, I must digress here for a sec in defense of Velveeta cheese PRODUCT. Although I realize that Velveeta is the plasticized version of cheese, it is a must for any kitchen simply because it melts sooooo smoothly. It is wonderful for cream soups. It is true that nobody REALLY knows where Velveeta comes from. And while we are told that it is made from milk, it could be guinea pig milk for all we know. However, while we ponder how one milks a guinea pig, the rest of America is enjoying its queso made with Velveeta, picante sauce and maybe some ground beef flavored with taco seasoning. Velveeta is to the cheese world what Spam is to the ham world. Each has its purpose. And so, I got my Velveeta and checked out. On my way home, it occurred to me that all of this cheese had to have a place to go to stay fresh. I usually grate my hard cheese, put it into bags that I can vacuum on my FoodSaver sealer and then freeze it, but this was going to be an enormous amount of grated cheese. What if I wanted sliced cheese? My experience with freezing blocks of cheese for slicing had been less than successful. I had been totally unhappy with frozen Velveeta, so what to do? What to do? Thank goodness for the Internet. Enola Gay at Paratus Familia had the solution. Can it! Can cheese? Really? She showed how to can hard cheeses and that got me to thinking about canning the Velveeta too. I researched and researched and found several ways to do that as well. I wound up with what I think worked best for me. So first, I’ll show you how I canned the hard cheeses and then the Velveeta. Talk about handy. You can’t believe how wonderful it is to have canned cheeses. You can shred and slice the hard cheese and the Velveeta is just as good as if it were in the box. I suppose at this point I should throw in the disclaimer that I haven’t found anything that indicates the government watchdogs have given their seal of approval to this, but then, they don’t like us canning apple pie filling either. From everything I have read, these canned cheeses last up to two years.  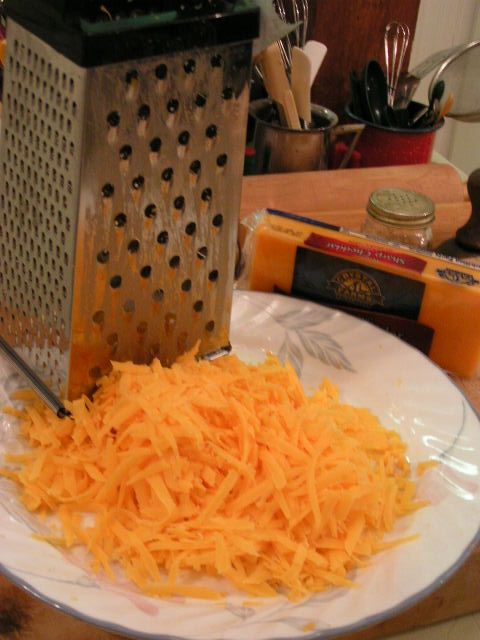 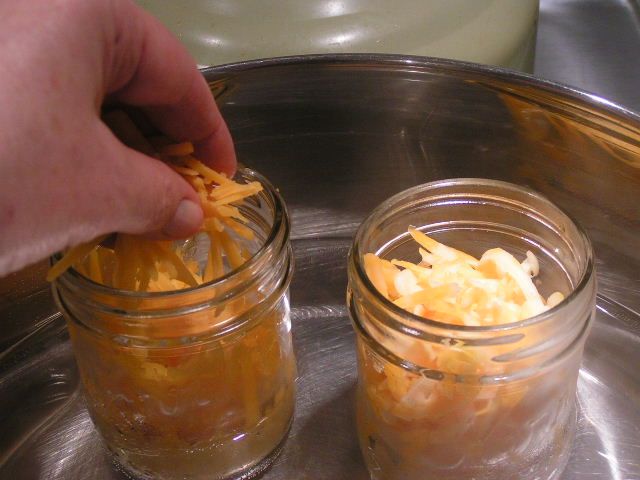 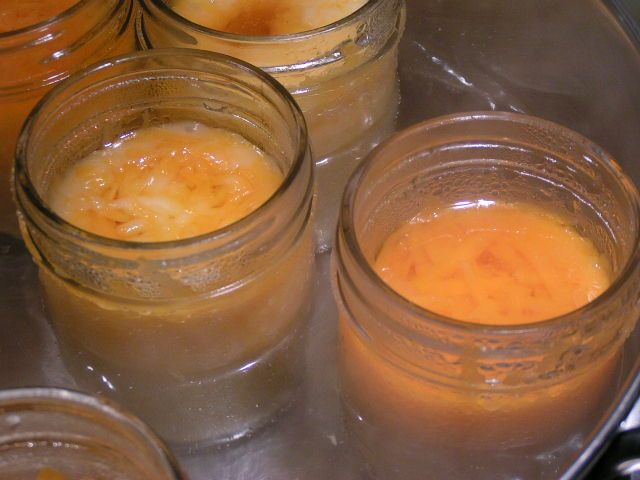 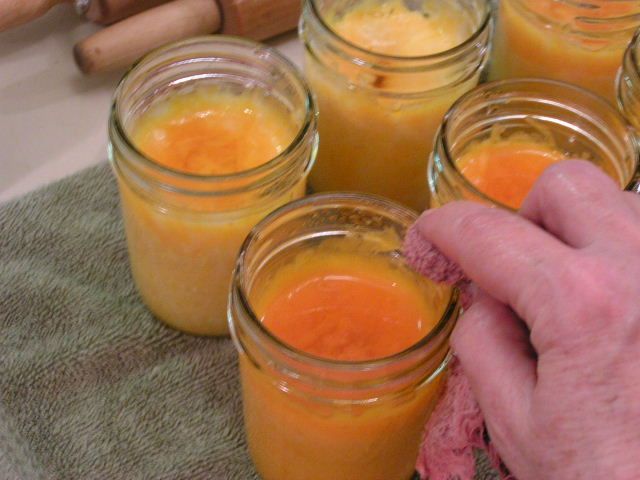 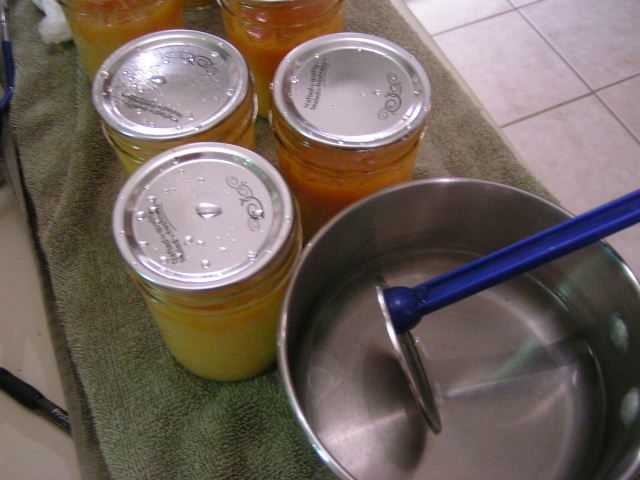 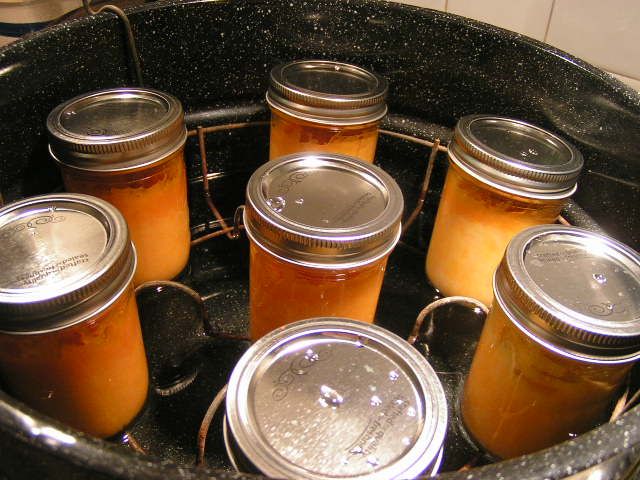 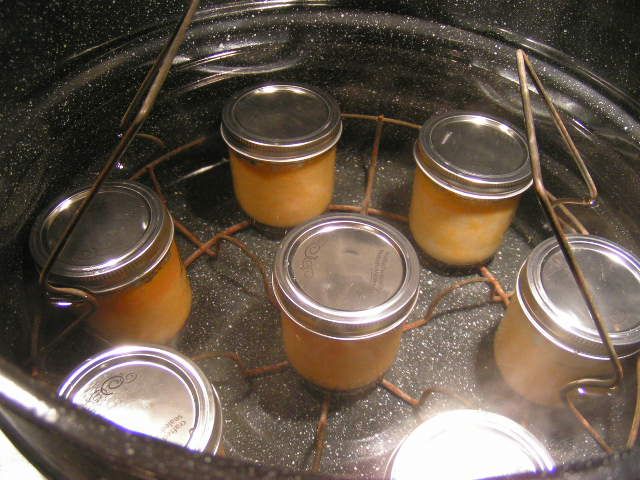 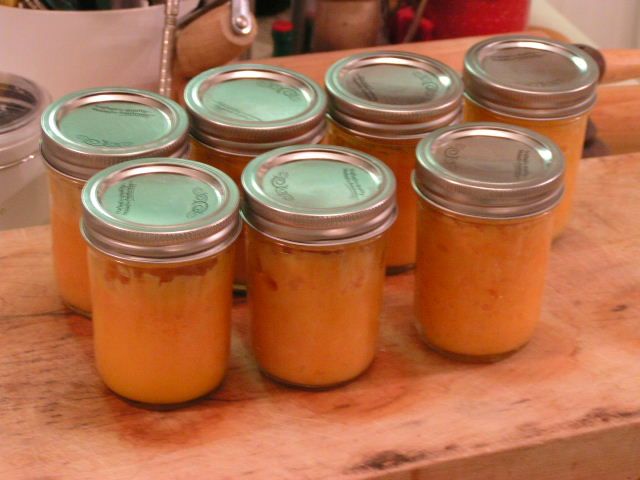 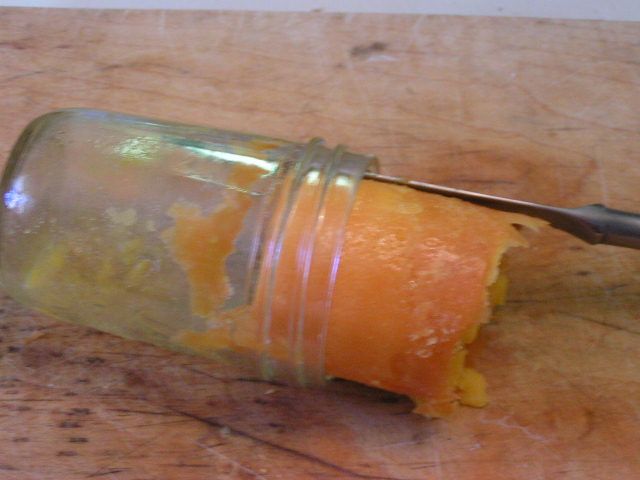 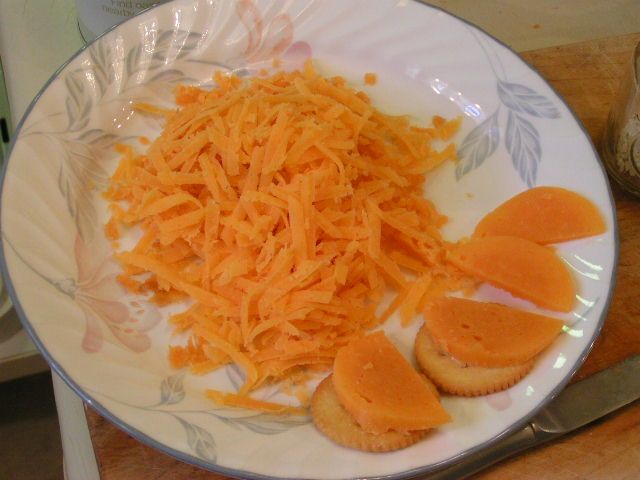 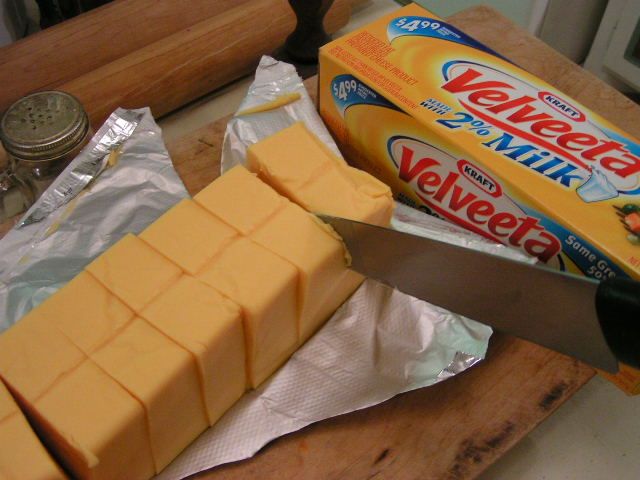 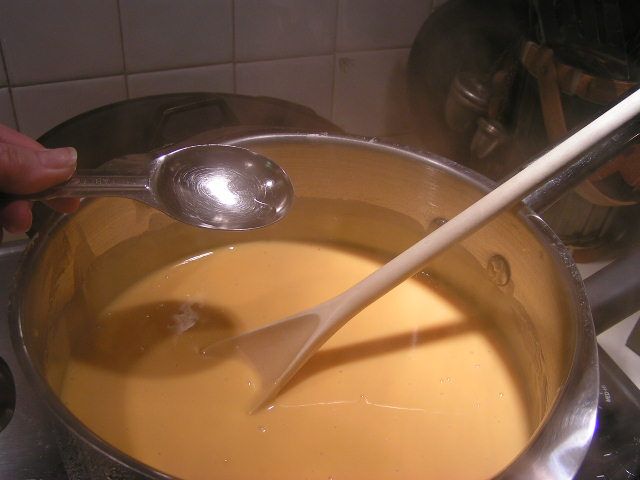 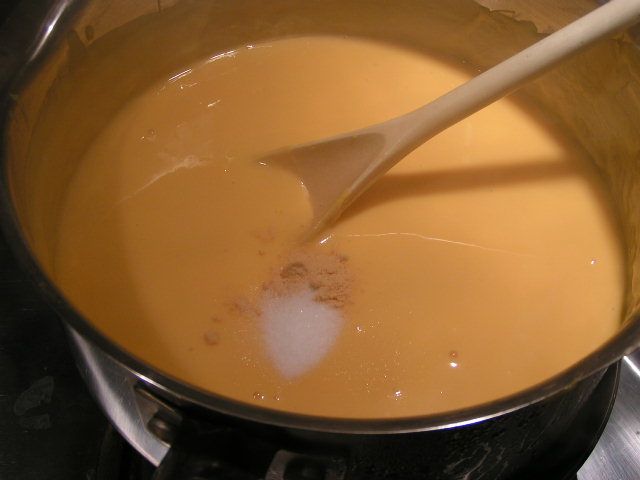 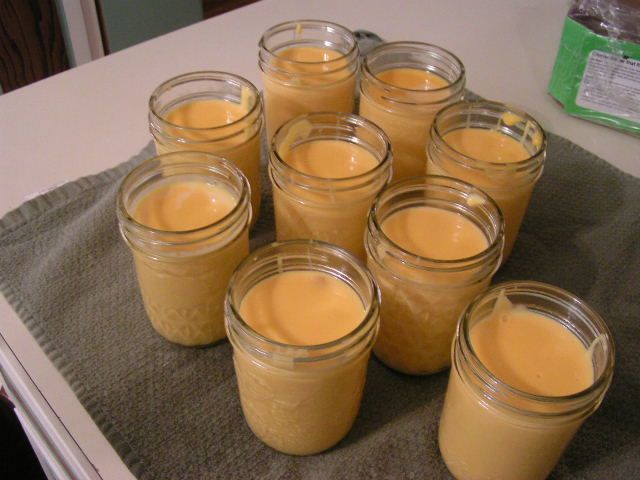 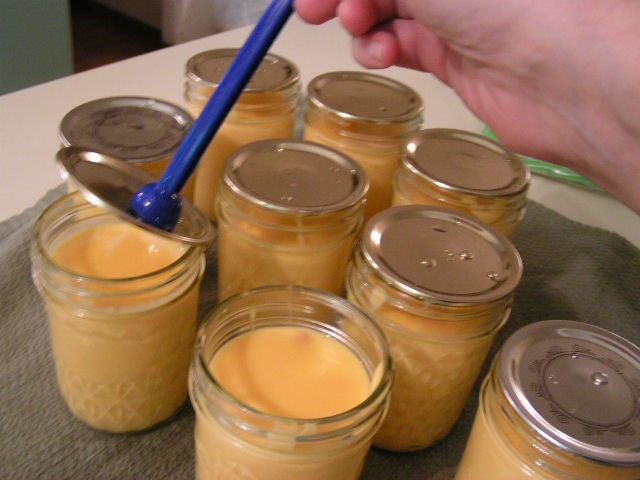 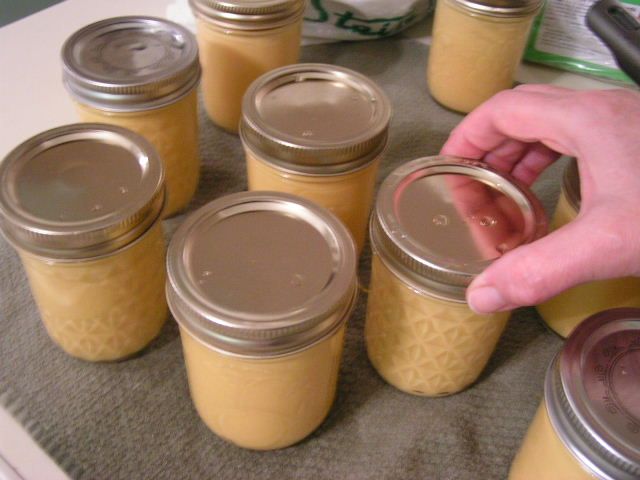 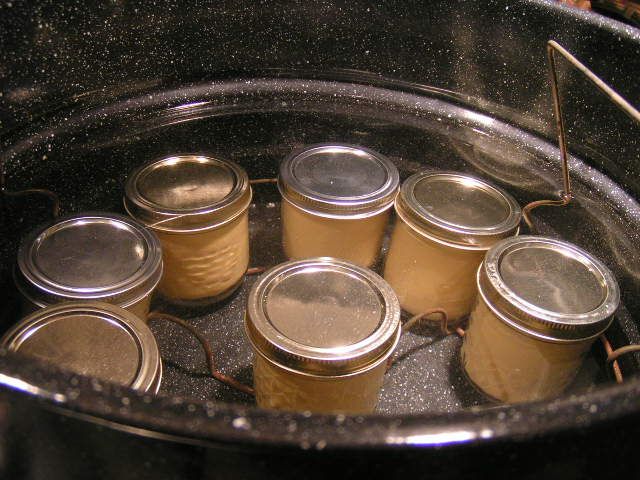 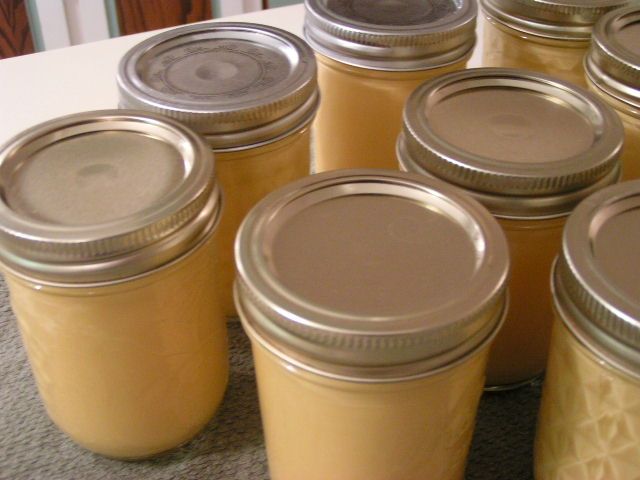 Oklahoma Pastry Cloth™ Company on Facebook
|

 Homestead Revival
 Paratus Familia
 Rural Revolution