|
Coconuts have always held a fascination for me. They’re like big, round, oversized Brazil nuts with hair and if you look at them square on, they look like little spider monkey faces! My father used to bring home coconuts for us to open, letting each of us 4 girls crunch on a chunk of the white meat as we watched him crack the next ones. Mom would deal with the rest, grating it and freezing it for use in baked products. It had to be baked because my father was dangerously allergic to fresh coconut and fresh coconut milk. But he liked coconut as long as it was cooked. Fresh coconut has a totally different taste from commercially shredded and bagged. It is crunchier, lighter tasting and not very sweet, hence sugar on the bagged stuff. I found some coconuts on sale at our local grocery for 50¢ each and so I grabbed three. Fresh coconut pie was calling my name. Mr. Fix-It loves coconut pie, so what better way to impress him than to make it straight from the tree?!  Mr. Fix-It assumed the responsibility of cracking open my grocery prizes and poked the “eyes” with a washed nail setter to open holes for the juice to escape. It’s a “He-Man” job after all.   As I counseled him to wrap each coconut in a towel before tapping with a hammer, (well, that’s the way WE did it when I was growing up) he gave me that “I dun’ need no stinkin’ towel” look. He proceeded to break the heavy hulls of the nuts in several places and proudly pointed out that he had not sent pieces flying. OK, so he’s good, but if you want to save a mess, wrap your whole coconut in a towel before breaking.  By sliding a table knife between the shell and the meat, the meat easily pops out with some of the shell membrane still attached.  Using a paring knife, peel off remaining shell – only don’t do it like Mr. Fix-It, who is cutting toward himself!!  Using a hand grater or the grating wheel on your food processor, grate coconut. 
 Bake a pie shell and set aside to cool  Put the sugar, cornstarch and salt into a saucepan that is not heating.  Pour coconut milk into a large measuring cup and finish to level 3 cups with cows milk.  Pour the milk mixture into the saucepan and stir until sugar and cornstarch are dissolved.  Beat egg yolks and add to the saucepan, stirring mixture to fully incorporate  Bring mixture to a boil over medium heat, stirring constantly to keep from sticking and from getting lumpy. As mixture thickens, let boil one minute.  Remove from heat and stir in butter…  and flavorings  Add coconut  Stir coconut into filling mixture  Pour filling into pie shell  Cover with plastic wrap and tap with your hand so that wrap touches the filling. Place in the frig to cool for at least 2 hours.  Remove from frig and cover with whipped cream or cool whip and sprinkled with toasted coconut.  For an extra zing, add grated chocolate. It’s a Mounds Bar flavor! |
|
Oklahoma Pastry Cloth™ Company on Facebook
|
 |
Posts Tagged ‘cream’
Fresh Coconut Pie – How to Crack A Coconut
Thursday, July 14th, 2011
Creamy Chicken Veggie/Noodle Soup
Monday, May 2nd, 2011
 I don’t know about where you are, but here in Okie Land, it’s just downright cold. Last night, we had a low in the 30’s and it appears to be making a repeat performance tonight. A wonderful rain has continued the entire day, totally breaking the drought for sure. We even had a little pea-sized hail for good measure. The ground is soaked and that’s a good way to be!! A neighbor even burned trash this weekend – something that has been forbidden in these here parts. And so, though this is the first of May, and though we normally have warm weather by this time, I decided to “soup” up my basic chicken soup recipe and make a meal into which Mr. Fix-It could sink his teeth. By his third bowl, I figured that he liked the results. There’s leftovers for tomorrow too! Here is my new concoction! Soup Note: You can substitute dried veggies, canned chicken and canned milk if you want to try your hand at ‘sustainable’ cooking.  Pour one to two tbsp olive oil into a large stock pan or pot.  Add 1 tbsp flour and on medium heat, stir until flour is fully incorporated to make a light roue.  Add 2 quarts chicken broth and 1 bouillon cube and stir. Simmer on medium heat  In a skillet, add one tbsp olive oil and sauté 1/2 cup chopped onions until soft   Chop three large button mushrooms  Add chopped veggies to sautéd onions and toss  Pour vegetables into simmering broth  Add 1/8 tsp thyme  And 1/8 tsp sesame oil  Add chopped raw chicken breast  Add a fresh orange peel. We love this. It makes all the difference, but it is optional  Stir and cover. Simmer for 30 minutes and then remove orange peel  Add 1/2 cup chopped cabbage and simmer, covered, for 10 more minutes  Uncover and add 1/2 cup half and half and stir well  Bring to a boil and gently sprinkle in homemade noodles while stirring to keep from clumping. We much prefer the homemade noodles to packaged and they are so simple to make. They are much more tender, but you can use the packaged. Simmer until tender. The noodles will naturally thicken the soup, but if you want it to be any thicker, just add cornstarch that has been mixed with cold water. Note: If you plan to can this soup, leave out the noodles. Just open a jar of soup later and add noodles prior to serving. Noodles get mushy when canned.  |
|
Oklahoma Pastry Cloth™ Company on Facebook
|
 |
Orange Scone Recipe
Thursday, April 21st, 2011
 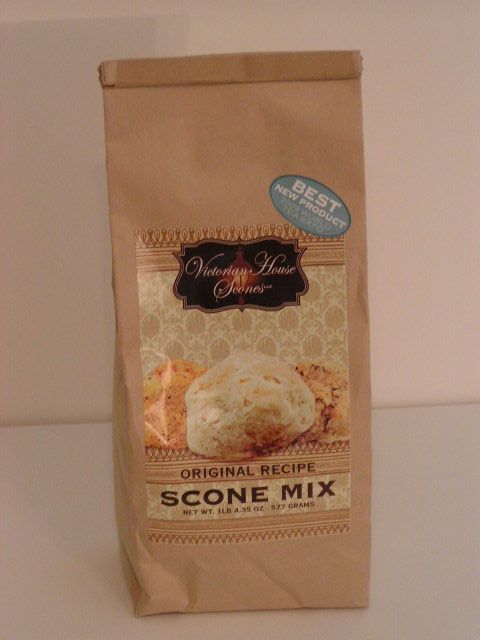 Yep, that’s what I tell anybody who says to me, “A scone? What’s a scone??” when I am showing off the three scones mixes that I carry at the shopping page. The Victorian House Original Recipe Scones are especially good because you can add anything you like to them like 1/2 cup of white chocolate and 1/3 cup of Craisins to create “addiction from a bag”! They are handy because you can make them ahead of time and either freeze them raw for baking later, or keep them in the frig raw for baking the next day. And one bag makes 16 big scones – a bonus! Packaged scones are a great thing to have on hand for a quick tea with the neighbor, a relaxing treat for your afternoon or a wonderful “thank you” gift in a pinch. The Victorian House Scones are an authentic Scottish scone, made with buttermilk. But for those who like to say, “I make MY scones from scratch” – you know, the: “I grew the wheat, dried the wheat, ground the wheat, milked the cow, churned the butter, separated the cream AND got the eggs from our chickens” kinda gals – ok, so you got the ingredients at the store and put them into the mixer! Whatever – it’s homemade! – here is a recipe for you. These scones are fluffy and light and just keep you wanting more. This recipe is my own recipe that I have developed over many, many attempts at scones. And yes, if I should ever decide to market the mix, I WILL have to kill you. 🙂 This recipe uses the dried orange zest from a couple of posts ago. And these are the English type of scone. So here you go:
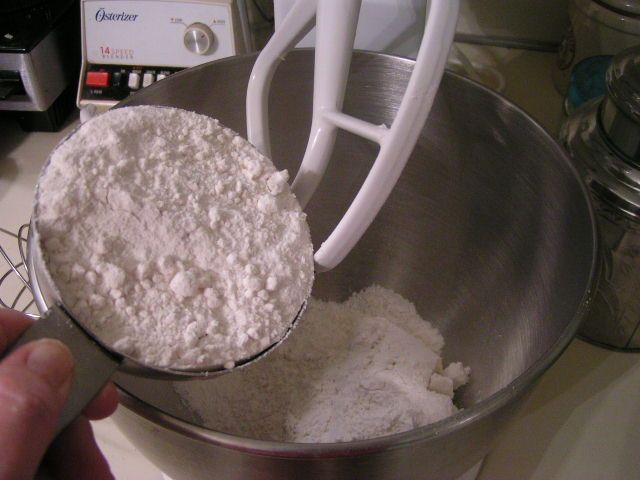 Add flour to mixing bowl 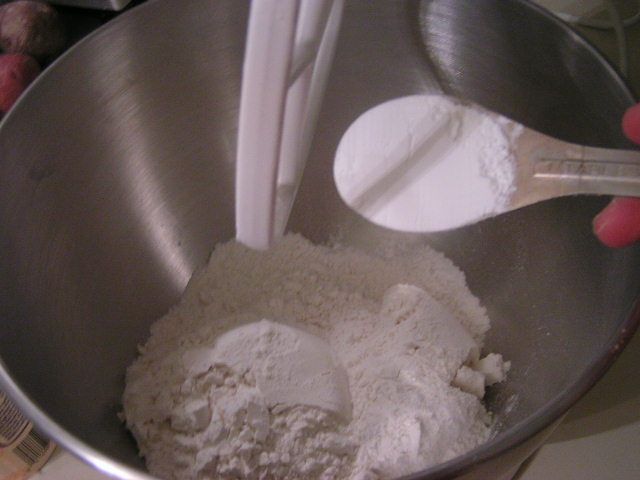 Add Baking Powder 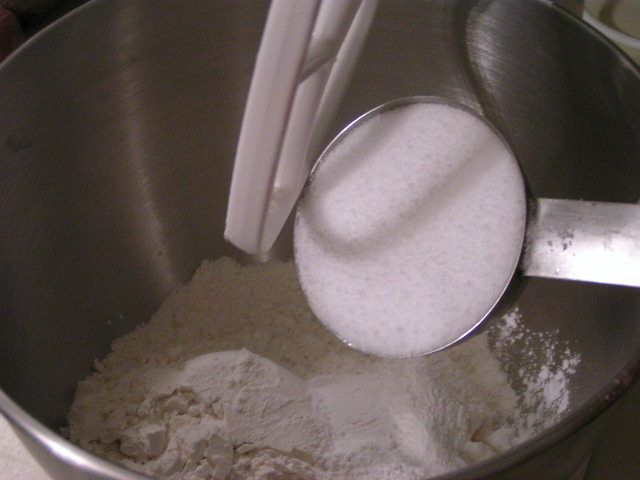 Add sugar or Splenda. If using Splenda add powdered milk. 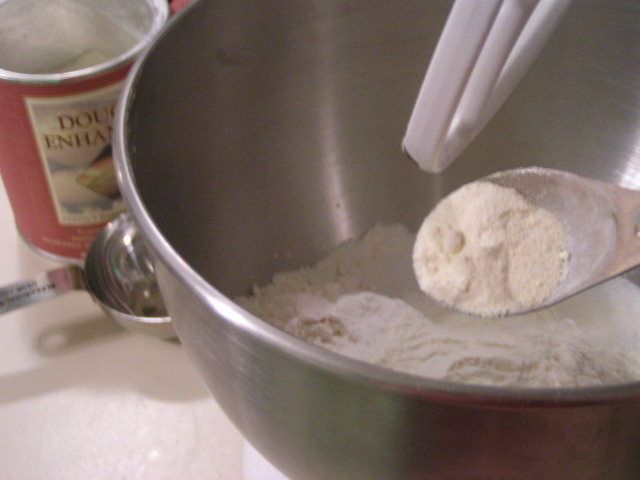 Add dough enhancer – this is optional 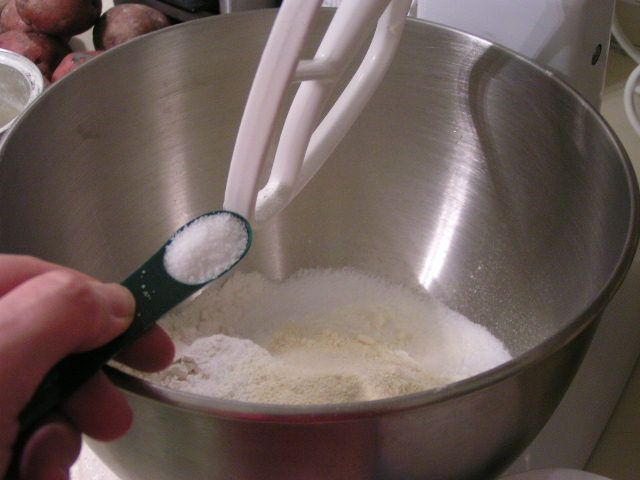 Add salt 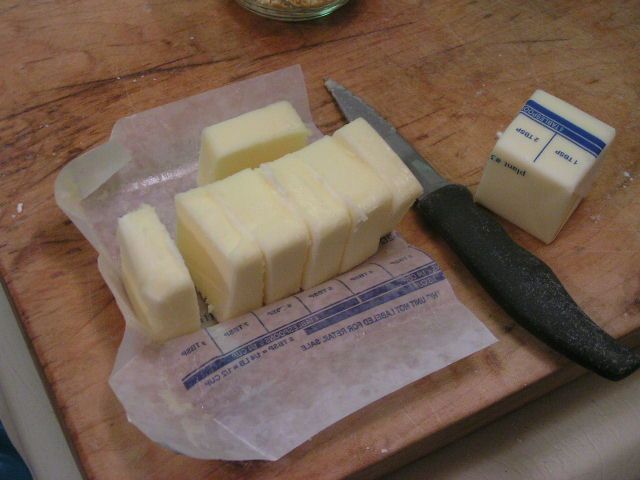 Cut butter into pieces 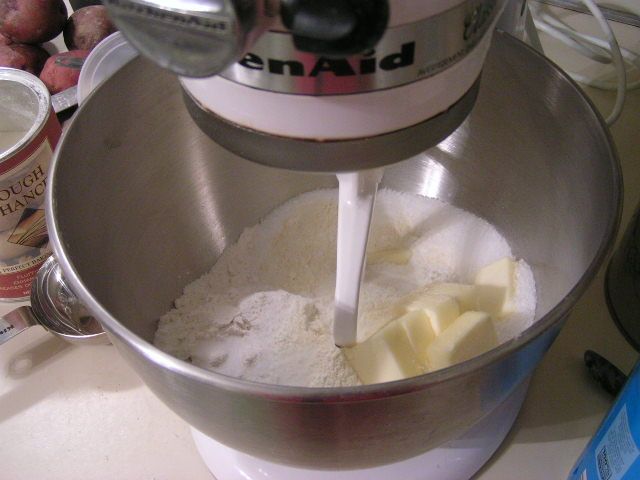 Using mixer or dough blender, cut butter into flour until the mix resembles small peas. 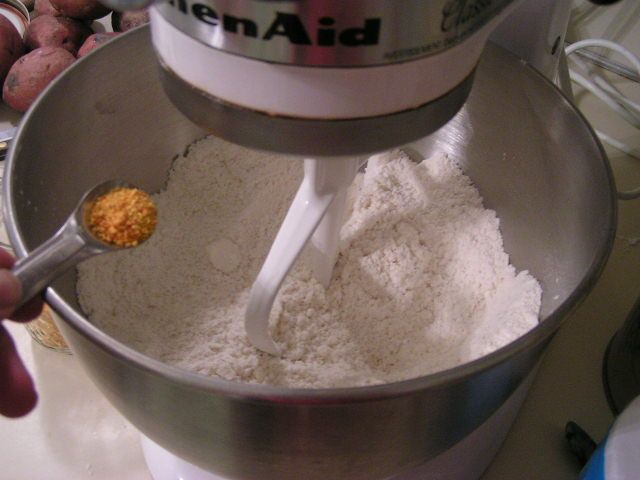 Add orange zest. 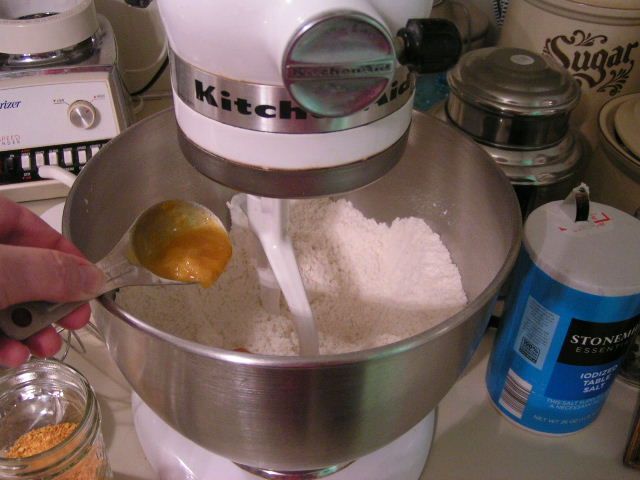 Add 2 -3 tbsp frozen orange juice concentrate to the mix depending on how much of an orange flavor you prefer. Stir in 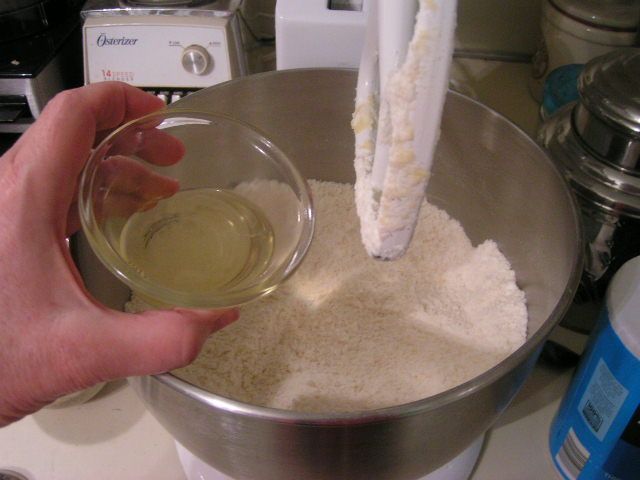 Add egg white and stir (you can use a whole egg if using Splenda for more moistness) 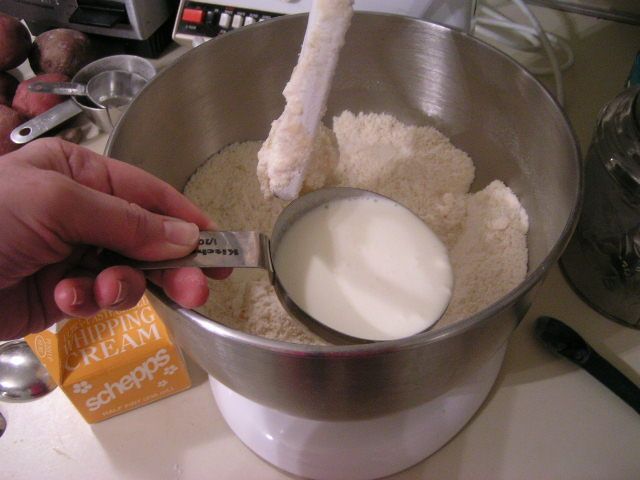 Add cream 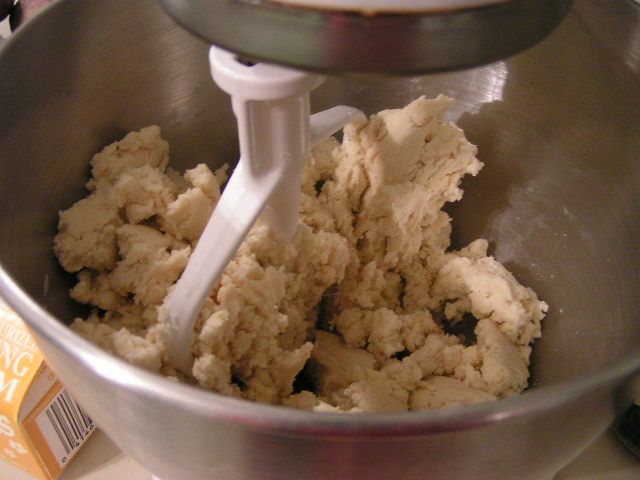 Mix until dough just holds together 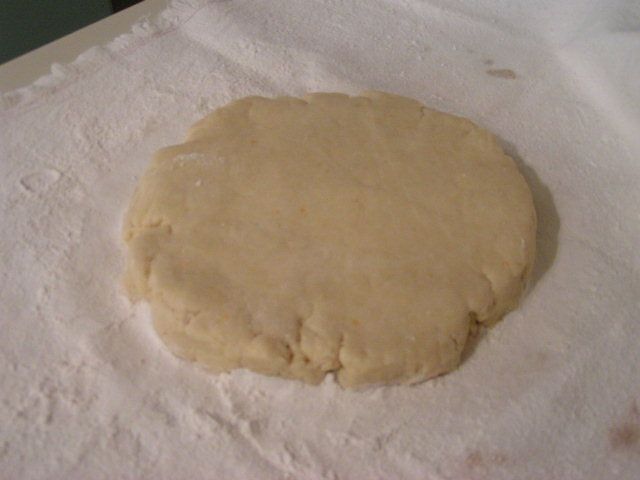 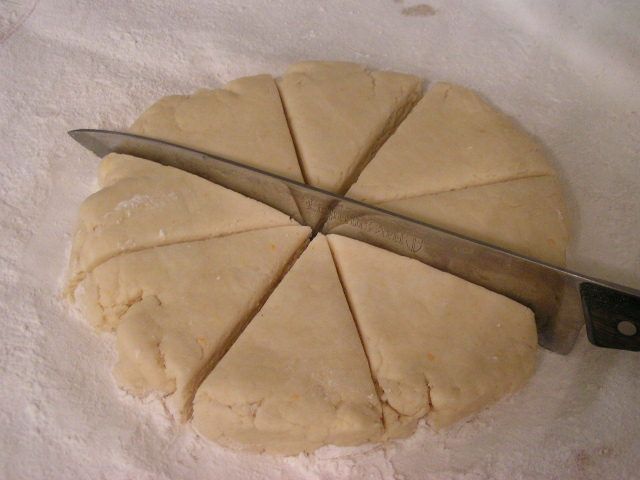 Place dough on a floured surface like the The Oklahoma Pastry Cloth™. Pat the dough out into an 8″ circle and cut into 8 triangles 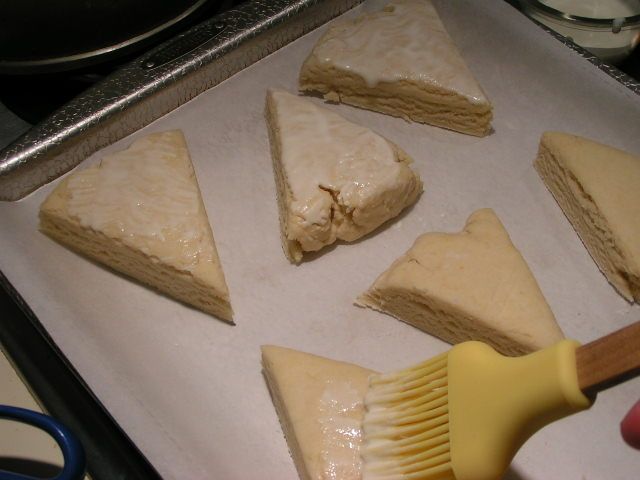 Place scones on a cookie sheet that has been lined with parchment paper and brush with a mixture of the reserved egg yolk and 3 tbsp cream. 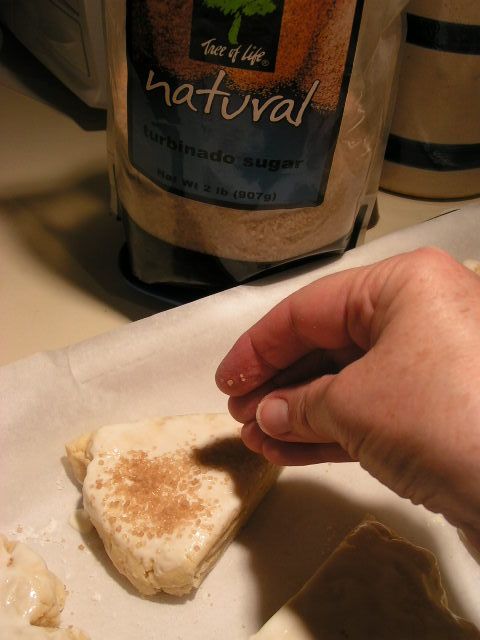 Sprinkle with raw sugar. Bake for 15 – 20 minutes depending on how fast your oven is. You want them to be golden brown. If you would like, dip the tops of the freshly baked scones in the following icing:
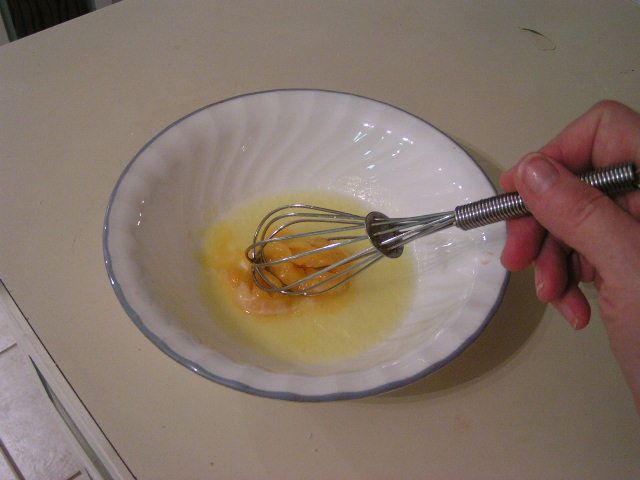 Stir orange juice concentrate into melted butter 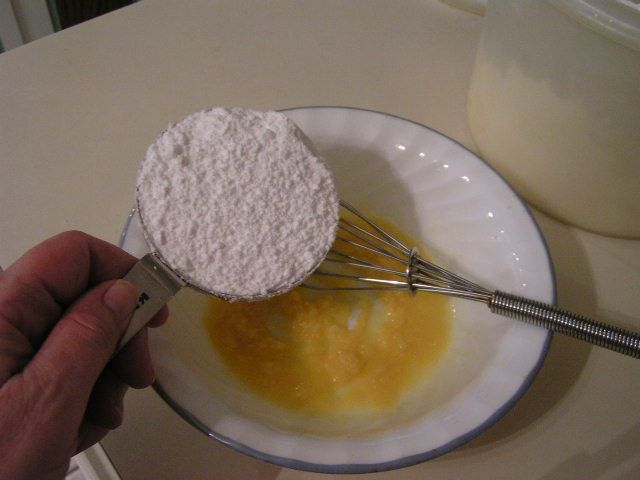 Add powdered sugar and stir. Add milk and continue stirring until smooth. Add more powdered sugar if it is too runny. 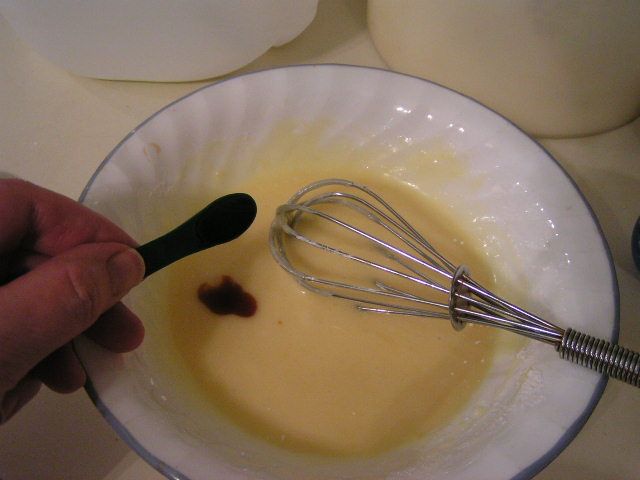 Add vanilla 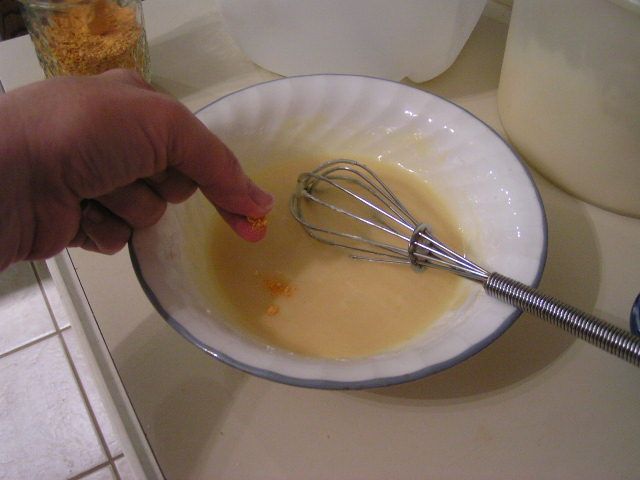 Add pinch of orange zest. Stir and then dip the tops of the scones into the icing. 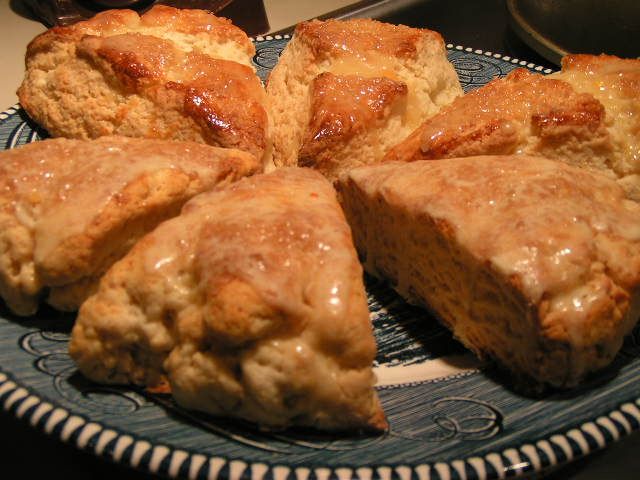  Serve warm or cold. The scones in the forefront are the ones made with Splenda. They are a little heavier and hold their shape. The ones in the background are made with sugar and are lighter and more puffy. Serve with tea and lemon curd and you are set!! |
|
Oklahoma Pastry Cloth™ Company on Facebook
|
 |

 Homestead Revival
 Paratus Familia
 Rural Revolution