Posts Tagged ‘whole wheat’


A Bread For Everything

Friday, March 2nd, 2012


>Image and video hosting by TinyPic


It’s Quick And

It’s Easy!!


Photobucket

Don’t forget to comment below to enter the drawing for these wonderful and unique bread pans!!


~~~~~


Quick and easy is good, right?! Well, I guess taste has to come in there somewhere! Reader and FB fan, Penny, shared a wonderful recipe that’s quick AND tastes good, located at the lovely blog The Italian Dish. It looked so interesting that I had to try it. Since there is a giveaway going on right now for bread pans that require a good, crusty recipe, I figured this was a great time to post one. Though this recipe works best on a baking stone, I can see it working equally as well in the bread pans for the drawing.


I’m going to digress a bit first. You know me and my memories…well, I’m going back there again. And I’m going wayyyy back! I’m remembering my childhood when, I believe, I was in the fourth grade. I thought I was a big dog back then and because I was the oldest child, I guess I was!


My family was in Quebec’s Gaspé, at Bonaventure Island, staying in a tiny cabin warmed with a potbelly wood stove. My mom had put a pot of beans on the stove, to cook, and we kids had ventured out to watch the sea smash against the rocks below the cliff on which we stood. Oh yes, and I had this hat. It was one of those tourist hats that looked like a sailor cap, but that had embroidered across the front, turned-up rim, “Bonaventure Island”. I thought I looked cool, but what does a fourth grader know?


Earlier that day, while driving the countryside, we had been amazed to see women in front of their homes, taking hot bread out of large, brick ovens that had been built alongside the road. These French-speaking ladies offered their breads for sale and we had stopped at one such oven to purchase a large, hot and crusty loaf. I can still remember the smell enveloping us inside our trusty Rambler station wagon as we headed toward the cabin. The day was finally made even more special for me because my mother gave me money and let me walk, all by myself, down to the little town to purchase a pound chunk of butter to slather on the bread. I don’t think beans and French bread have ever tasted so good since.


And so, it was as I was baking the round loaf that is the result of the recipe following, and then tasted the first slice with its chewy, crusty exterior and soft, yummy center that those memories came flooding back. It tasted just like that bread so many years ago! So I have found a new favorite bread that is as good with a turkey sandwich, bistro style, as it is with a huge plate of ravioli. And talk about easy. It just doesn’t get any easier than this! So give it a try! And by the way, I showed you how to make Sourdough Bread in a past post. This bread takes on the same qualities without all the work.

Easy Artisan Bread


  • 3 cups lukewarm water
  • 1 1/2 tablespoons granulated fast acting yeast (two packets) I used SAF yeast
  • 1 1/2 tablespoons kosher or other coarse salt (I actually used sea salt because that was all I had…worked great)
  • 6 1/2 cups unsifted, unbleached all purpose white flour (I used a combination of King Arthur bread flour and home-ground whole wheat flour)
  • Aluminum foil pie tin or cake pan filled with a cup of water


  • Photobucket


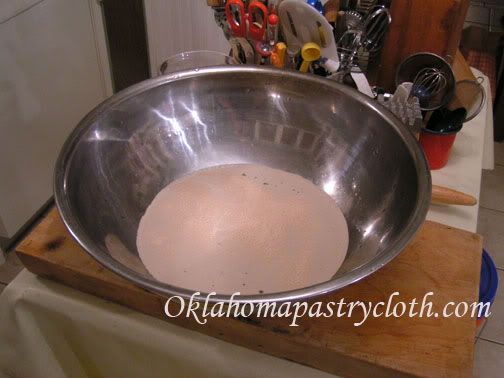
    Your water should be around 100º. In a large bowl (this one is 8 quarts and a 4 or 5 quart one would be easier to handle) or a large plastic container with a lid, add the salt to the water and sprinkle the yeast over the surface.

    Photobucket


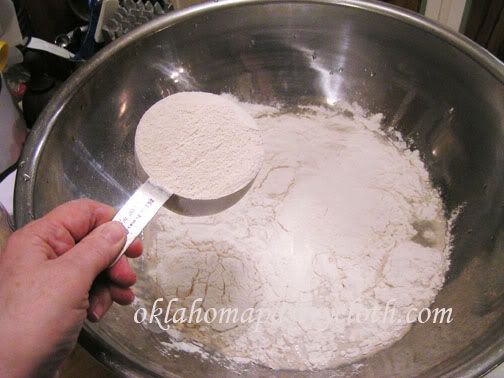
    Add the flour. You don’t even have to proof the yeast. Of course, as I thought about this, you are in a world of hurt (and out some flour) if your yeast is no good, so I may go ahead and proof the yeast from now on.

    Photobucket


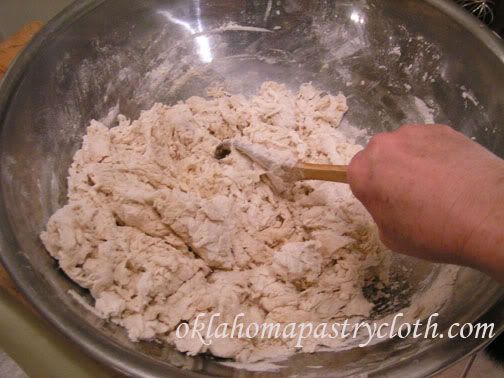
    Stir the dough with a wooden spoon until everything is evenly moistened. The original baker noted that she went ahead and used her Kitchenaid mixer to do this step. I will too, next time! Note: You do not knead the dough

    Photobucket


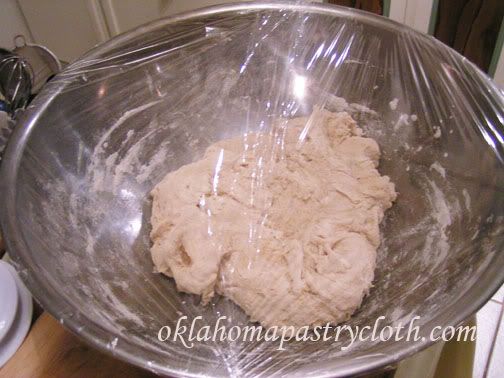
    If the dough is in a plastic tub, cover with the lid, but do not snap down all the way around to allow the gasses to escape. I put plastic wrap loosely around the top of my bowl. Allow to rise in a nice warm place for at least 2 hours.

    Photobucket


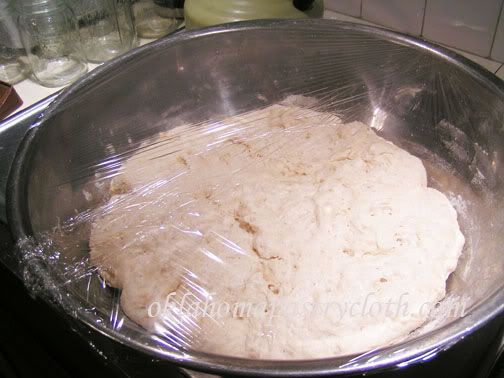
    The dough should be nice and bubbly and starting to smooth on the top. You can use the dough anytime after this step, but refrigerating the dough until it is cooled down makes it less sticky and easier to work with. I refrigerated mine overnight and even waited until the next afternoon to make the bread. And any dough not used remains refrigerated.

    Photobucket


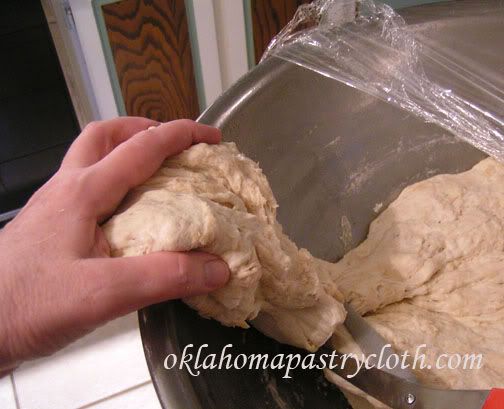
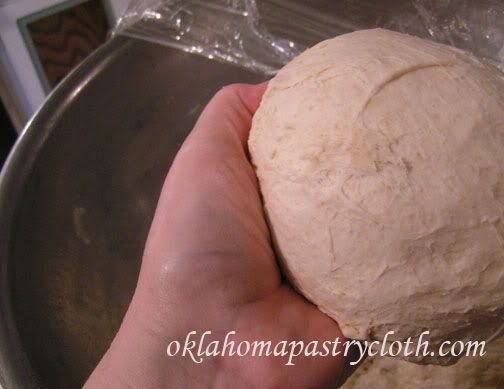
    When you are ready to make the bread, pull some of the dough up and cut it off with a pair of scissors. Choose the amount you need for the type of loaf you will make. Here, I am making boules, but you can make a French loaf or baguettes too.

    Photobucket


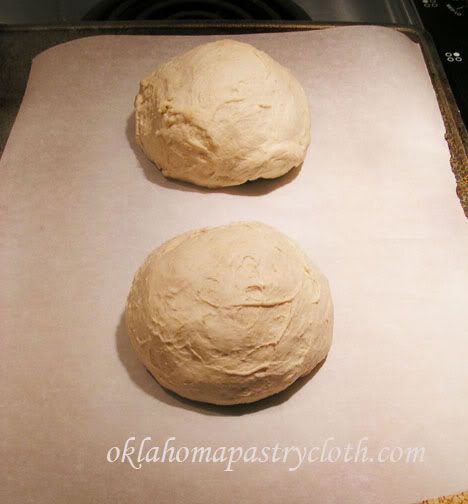
    Shape the loaves by pulling the sides down and under to make the top as smooth as possible. It doesn’t matter what the underside looks like.

    Photobucket


    Place the loaves on parchment paper, either on a cookie sheet that has no sides or turn a cookie sheet upside down and place the parchment paper and the loaves on the bottom. The purpose of this is so you can slide the parchment paper and loaves onto a baking stone later. Allow the loaves to rise for 40 minutes. It said that there is no need to cover them with a damp cloth, but here in Oklahoma, we are so dry that I felt a damp cloth was a must. It worked great.

    Photobucket


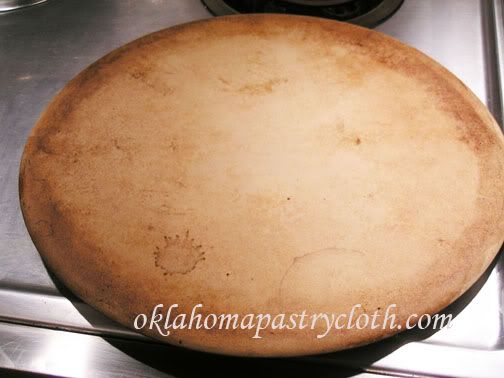
    About 20 minutes into the rising, turn your oven on to 450º and place a baking stone on the middle rack to heat for 20 minutes. As you can tell, my baking stone is well-used!! The bottom rack will be used to hold a pan with a cup of water in it to steam the bread loaves. If you don’t have two racks, use a pan that can sit in the bottom of the oven without disturbing the heating elements.

    Photobucket


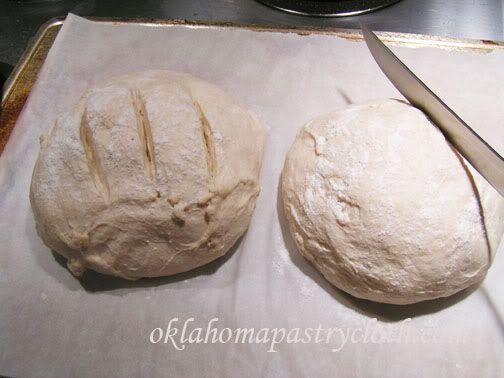
    When the bread has risen, sprinkle flour on the top surface of the risen loaves and score the tops to release some of the trapped gas so the loaves will hold their shape. You can do parallel slashes, cross-cuts or whatever you like to make the bread loaves look pretty. Now here is where I did it a little different from the instructions. I opened the oven door and placed the pan of water on the bottom rack of the oven and closed the door to let the oven heat back up to 450º. At that point, I opened the oven again and slid the parchment paper with the loaves of bread, gently onto the baking stone. Closing the door, quickly, the bread bakes for 30-35 minutes depending on the size of the loaf.
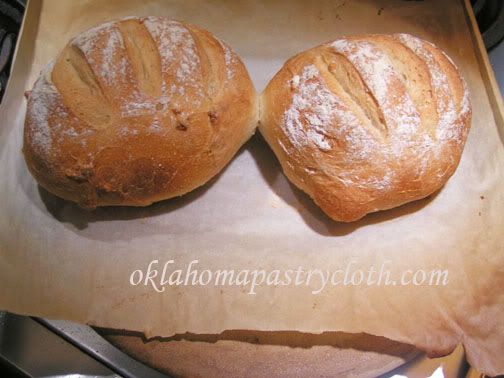

    Photobucket


    Remove the loaves and let them cool before slicing. They really are better after they have cooled, but I couldn’t wait and got a slice anyway. Oh yes. It’s good hot too!
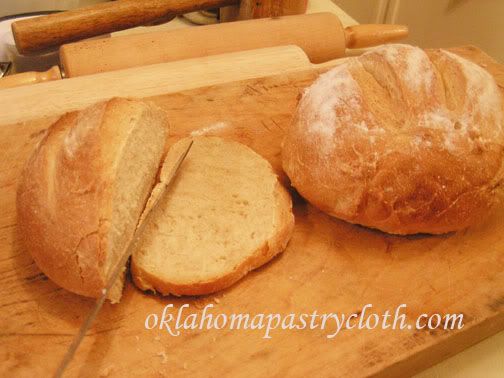

    Photobucket


    After the loaves have cooled slice and serve. You can store your leftover dough up to 14 days and as it sits, the flavor will improve like sourdough. When you use up your dough, don’t clean out the container, but just mix right in with the leftover pieces to add to the flavor. I have decided to use one of my gallon crocks with a loose plastic lid over it to store my dough. It should get really tasty in there!


    Happy Baking!


    Image and video hosting by TinyPic

    MB
    Please join us on FaceBook!!


    Click Here To Comment


    Image and video hosting by TinyPic
    THUMBTACK.COM

    for the Oklahoma Pastry Cloth™ Company

    For follow button place this after Click Here To Comment and above the

    :


    Image and video hosting by TinyPic


    Buttermilk Whole Wheat Rolls

    Monday, October 24th, 2011


    Be sure to leave a comment

    below to enter the

    Apple Time Giveaway


    >Image and video hosting by TinyPic


    Pretty Enough To Sell!


    I guess I’m on a bread baking marathon because I’m trying recipe after recipe!! With OU football and Rangers baseball, Mr. Fix-It is reveling in home made soups, chili and bread. Never let it be said that I don’t know the way to a man’s stomach – I mean – heart.


    Friday, at Deborah Jean’s Dandelion House Friday Blog Hop, I saw that Candy at Lazy J Bar C Farm had been busy in the kitchen making the most beautiful rolls you ever saw. She sells them at her local Farmers’ Market and they evidently go like hotcakes – no hot rolls.


    Candy is a reader here and I follow her blog, so she graciously gave me permission to post the recipe here for you. Of course, I had to try the recipe first and take pictures! The rolls are so easy. And with a ribeye steak and baked potato last night, Mr. Fix-It put away several of these whole wheat delights, happily cheering on the Texas Rangers and watching Nolan Ryan drop the first pitch by former president George Bush.


    So here you go. I think you will love the presentation of the rolls and the taste as well!


    Buttermilk Whole Wheat Rolls


    1/2 cup buttermilk
    1/2 cup warm milk
    1/3 cup butter
    1/3 cup granulated sugar
    2 eggs
    1 1/2 teaspoons salt
    2 1/2 cups bread flour (I use King Arthur Bread Flour)
    2 cups whole wheat flour
    2 teaspoons bread machine yeast OR 1 packet active dry yeast (1 tbsp loose) If using active dry yeast, dissolve it in the warm milk before combining with the remaining ingredients.


    Printable Recipe


    Image and video hosting by TinyPic


    In the bowl of a mixer with dough hooks, add buttermilk and then yeast that has been proofed in the warm milk (if using packaged or loose yeast).


    Image and video hosting by TinyPic


    Add butter that has been cut into slices


    Image and video hosting by TinyPic


    Add sugar (I added honey for Mr. Fix-It)


    Image and video hosting by TinyPic


    Then, add the eggs, salt and bread flour. Lightly mix all ingredients.


    Image and video hosting by TinyPic


    Add whole wheat flour one cup at a time. I added a total of 1 1/2 cups and reserved 1/2 cup for flouring my pastry cloth. The dough pulls away from the side of the bowl and is stiff and may not require all of the flour. Do not add too much flour.


    Image and video hosting by TinyPic


    Scrape the dough out onto your floured Oklahoma Pastry Cloth™


    Image and video hosting by TinyPic


    Lightly knead into a smooth ball


    Image and video hosting by TinyPic


    Pour about a tablespoon of olive oil into the bottom of a bowl and place the dough ball in top side down. Turn the dough ball so that the oiled top is up. Cover with a warm, wet towel and allow to rise until double.


    Image and video hosting by TinyPic


    Divide the dough out into 16 equal sections. I used a scale to weigh the dough to make sure each piece was the same.


    Image and video hosting by TinyPic


    Form each section into a ball and place 8 each into 9″ round cake pans, seam side down.


    Image and video hosting by TinyPic


    Cover each pan with a warm, wet towel and allow to rise until doubled again.


    Image and video hosting by TinyPic


    Bake at 375º for 12 – 15 minutes. It helps to rotate the pans from front to back to brown the rolls evenly. Remove to cooling racks immediately.


    Image and video hosting by TinyPic


    My contribution to the project was a glaze that I put on as soon as they came out of the oven and went onto the racks. I melted 2 tbsp. butter and 1 tbsp honey. Oh yeah. That was brushed over the tops of the rolls.


    Image and video hosting by TinyPic


    And yes….they are scrumptious. Thanks so much, Candy, for giving me a new, family roll recipe!!


    Happy Baking!


    Image and video hosting by TinyPic

    MB
    Please join us on FaceBook!!


    Join in the conversation by leaving a comment below!


    Image and video hosting by TinyPic
    THUMBTACK.COM

    for the Oklahoma Pastry Cloth™ Company


    “Time To Make The Donuts”

    Tuesday, March 29th, 2011


    “Time To Make The

    Donuts!”


     photo DonutClipArt_zpscc88df8b.png


    My dear friend and reader, Mrs. B., did it again. Not only did she gift me with my wonderful Bosch mixer, but she alerted me to the newest post at one of my favorite and linked blogs, New Life On a Homestead with the recipe for donuts to mix in my new Bosch mixer. The recipe originated at Enola Gay’s Paratus Familia and then Kendra made an edition at her blog.


    The pictures of the donuts at both sites made Mr. Fix-It drool and since I was tired of wiping up spit from the kitchen floor, I asked him if he’d like me to attempt the confections. You know the answer!


    And so I did the recipe, as written, with one change. I substituted potato flakes for some of the flour. I used home ground, whole wheat flour that I sifted and sifted but added potato flakes because I know that is the secret ingredient for a famous donut. I figure, what could it hurt? I make potato rolls and bread, so why not potato donuts? The home ground flour works great, but all purpose is fine too.

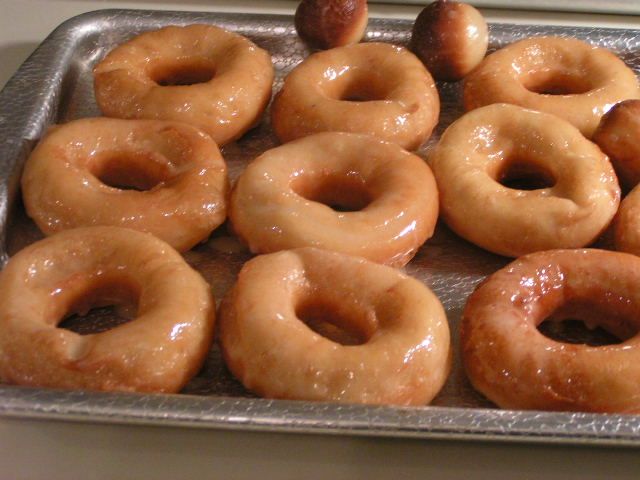
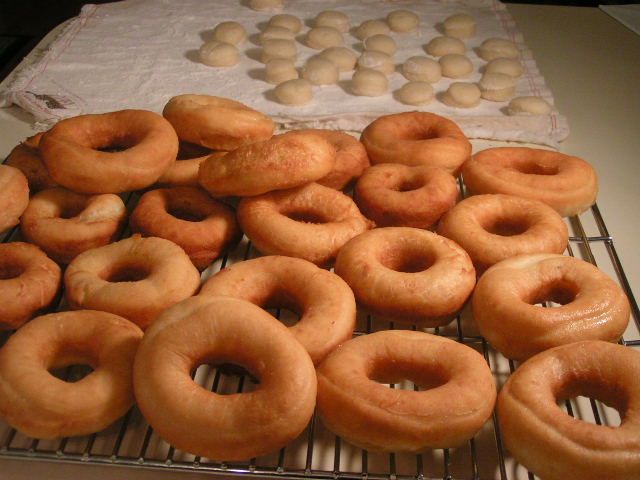
    So that’s what I did and the following is the result. The recipe made 27 small donuts + 27 holes. Also, I used a thin glaze and only dipped one side to make them not so sweet. They were just right. We shared these gems with our neighbor up the road and one of the sons said that he loved them because they were not too sweet.


    Yummy Raised Donuts

    Thanks to Enola Gay and Kendra


  • 1 T Yeast
  • 1 3/4 c. lukewarm water
  • 1/2 c. sugar
  • 1 tsp salt
  • 2 eggs
  • 1/3 c. shortening
  • 1 cup of potato flakes
  • 4-5 c. flour
  • 4 tsp vital wheat gluten (omit if using all-purpose flour) My note: I used 1 tblsp Dough Enhancer and did not use the wheat gluten
  • oil for frying – she used vegetable oil


  • I used canola oil to fry my donuts, but I have decided that next time I will either use peanut oil or coconut oil because these oils are lighter and fry hotter. The canola oil left a bit of an oil aftertaste. Here is what I did:


     photo PICT1246_zpsd487d256.jpg


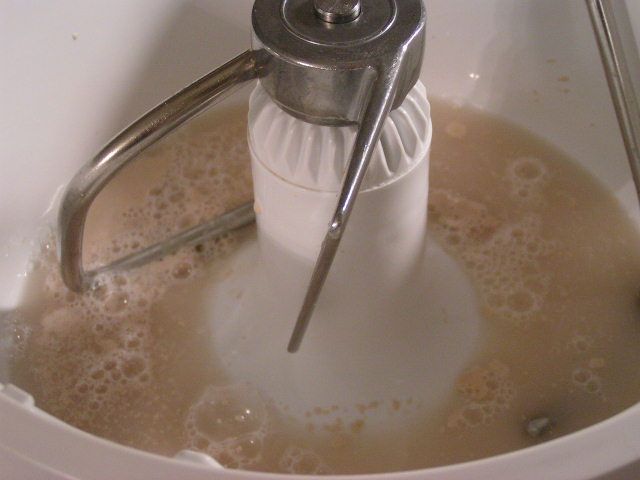
    I used my Bosch but you can use any mixer with a dough hook. Of course, you can do this by hand as well. Add 1 3/4 cup warm water and 1 tsp sugar and sprinkle 1 Tbsp yeast over the surface, allowing to ‘proof’.


     photo PICT1249_zps18a6b89e.jpg


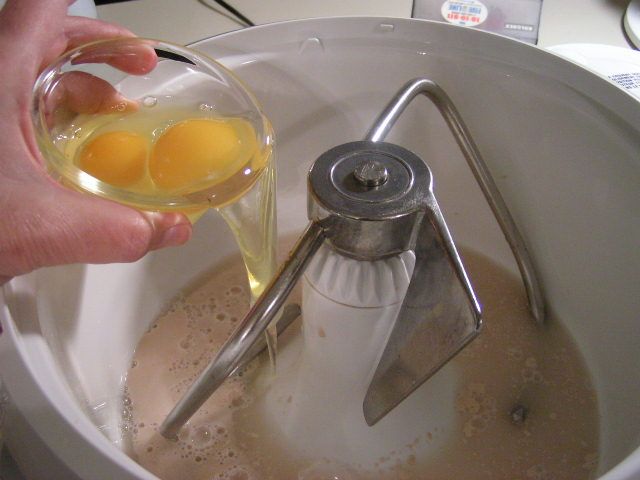
    When the yeast water is bubbly,add 2 eggs…


     photo PICT1250_zps557e9f9d.jpg


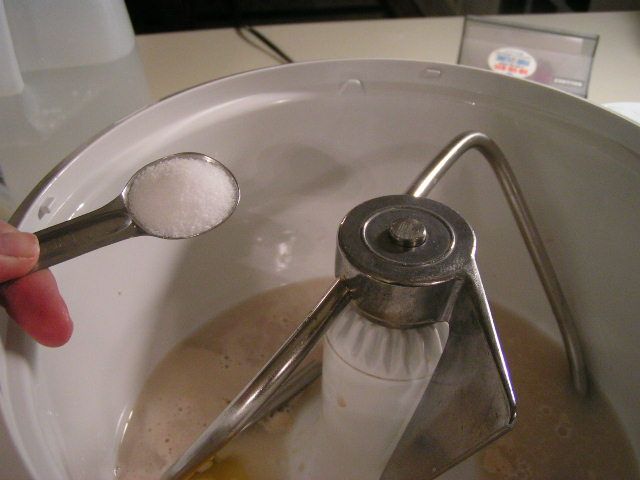
    …and 1 tsp salt


     photo PICT1254_zps3388e6bc.jpg


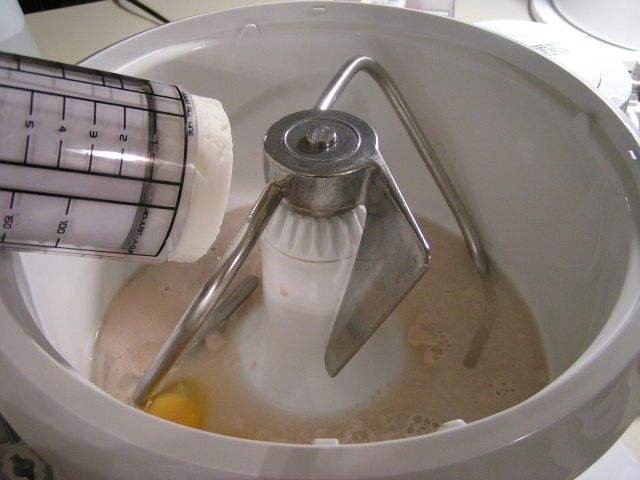
    …and 1/3 cup shortening.


     photo PICT1256_zps15547ddc.jpg


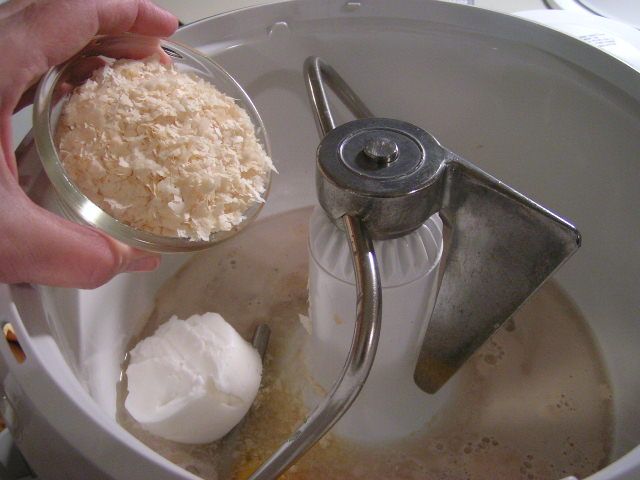
    I added 1 cup of potato flakes.


     photo PICT1259_zps0bb128b6.jpg


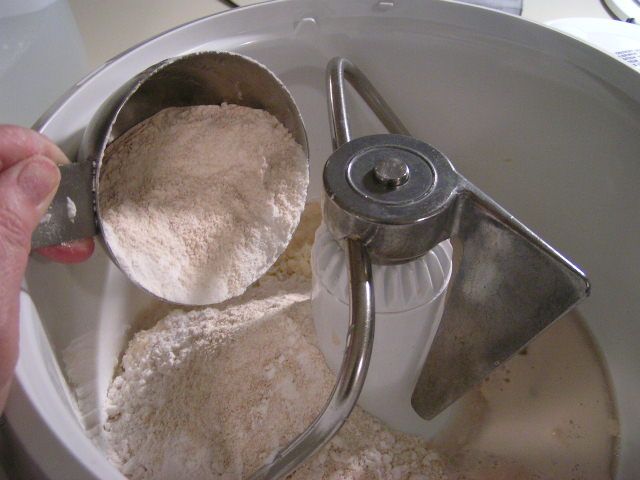
    Add two cups of the flour. I am using whole wheat ground from Prairie Gold Hard White Wheat.


     photo PICT1262_zps5686c20b.jpg


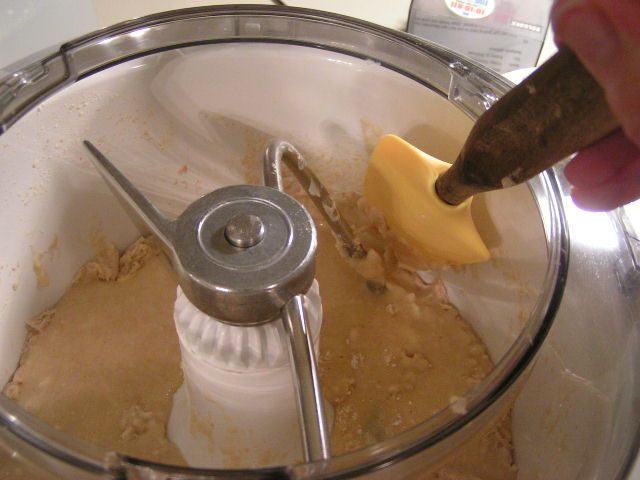
    Mix and scrape the sides.


     photo PICT1264_zps326ebe7a.jpg


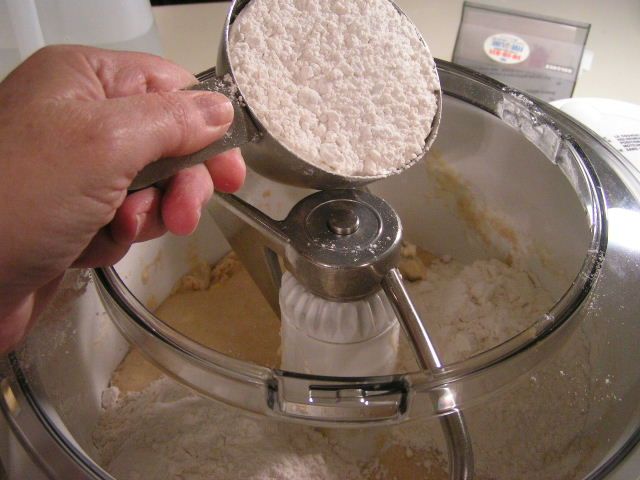
    Add another cup of flour and mix.


     photo PICT1269_zps6e2cd9b7.jpg


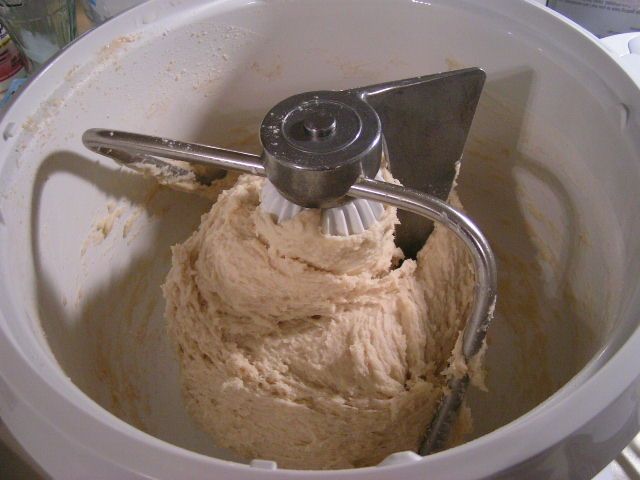
    Continue adding flour by the cup until the dough pulls away from the side of the bowl but is still nice and soft. I used a little under 4 ½ cups of heavily sifted flour. Continue mixing on low for 8 minutes to knead.


     photo PICT1274_zps1f85cd24.jpg

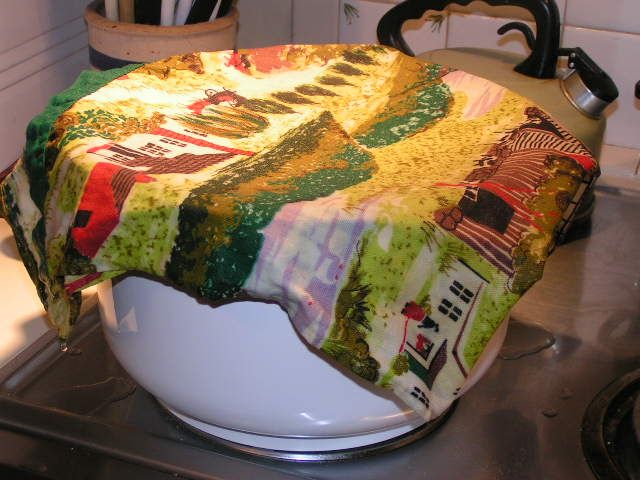
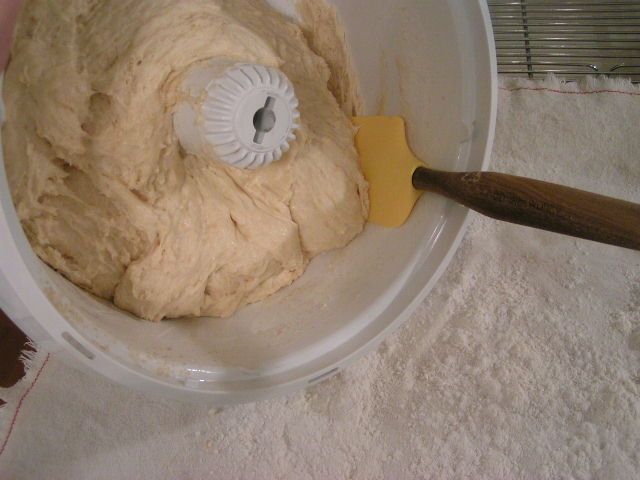
    Let the dough rise until double – about an hour if it is in a warm place. Here, I am just leaving the dough in the mixer bowl, covering it with a damp cloth and then it is going into the oven which has been preheated to 150º and turned off.


    Glaze for Doughnuts


  • 1/3 cup butter
  • 2 cups powdered sugar
  • 1 ½ tsp vanilla
  • about 5 Tbsp hot water


  •  photo PICT1276_zps7f251f4f.jpg


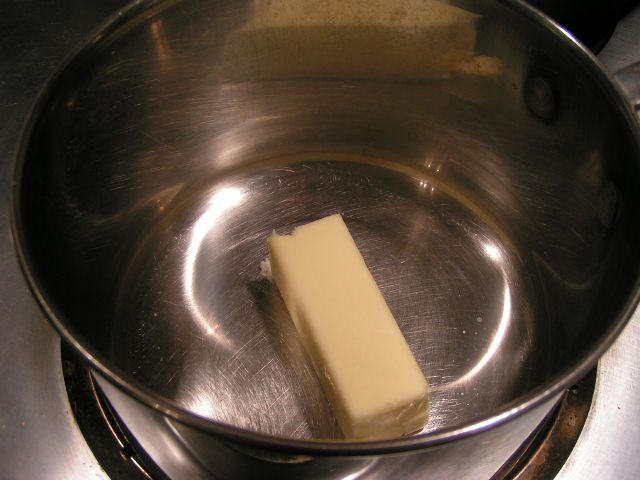
    While waiting for the dough to rise, I made the glaze. Melt 1/3 cup butter in a saucepan.


     photo PICT1279_zps2233f93c.jpg


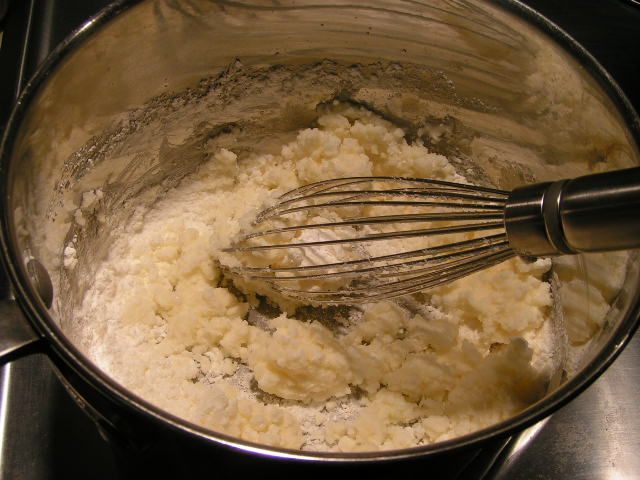
    Add 2 cups powdered sugar and stir


     photo PICT1281_zps1ecaf00b.jpg

    Add 4 Tbsp hot water. I added a little more water because I wanted a thin glaze. However, if you want a glaze that is thicker,1 1/2 or that you can spread, use more powdered sugar.


     photo PICT1283_zpsd5f0a7de.jpg


    Stir until smooth


     photo PICT1284_zpsd3f15569.jpg


    Add vanilla and stir until mixed. Set aside on a warm eye. I did it this way because I grew up with Krispy Kremes and have watched them glaze their donuts. The glaze is kept warm and thin and it doesn’t take much to glaze a donut. I decided to kind of replicate the process.


     photo PICT1286_zps7342f6b9.jpg


    When dough has risen, scrape out onto floured surface. I am using one of the spatulas available on the Shopping Page as well as an Oklahoma Pastry Cloth™.


     photo PICT1294_zps2c61f268.jpg


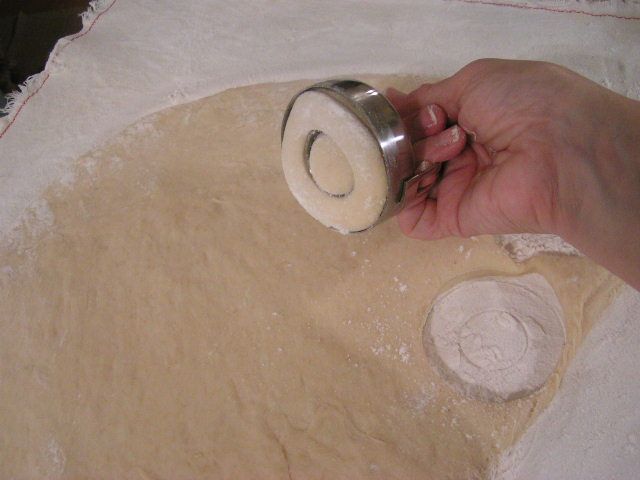
    Roll out dough to about ½”. I used a rolling pin. Here I am cutting the donuts with a two part donut/biscuit cutter. It is wonderful because the center is removable so that the gadget becomes a biscuit cutter.


     photo PICT1299_zps2fa16141.jpg


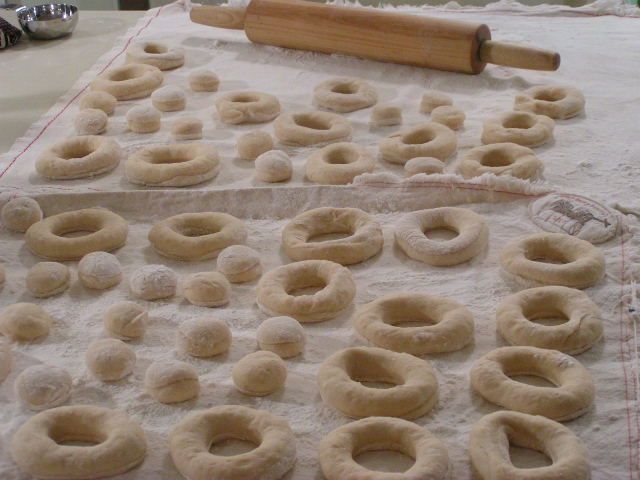
    Place the donuts on the floured surface and cover with a damp cloth to rise until double.


     photo PICT1304_zps96adce41.jpg


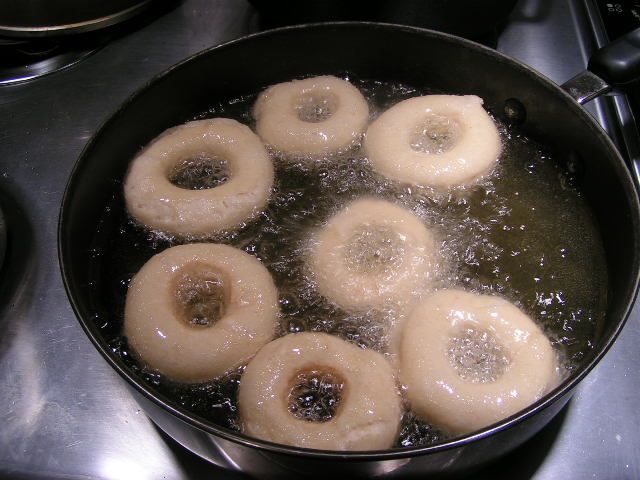
    When donuts have risen, carefully place them in oil that has been heated to 350º.


     photo PICT1307_zps8680b303.jpg


    A wooden chopstick is great to turn donuts to their other side when browned on the first side.


     photo PICT1311_zpsec21aad6.jpg


    Cooked donuts placed on a rack from the oil, waiting to be glazed


     photo PICT1312_zpsa6ed5cb3.jpg


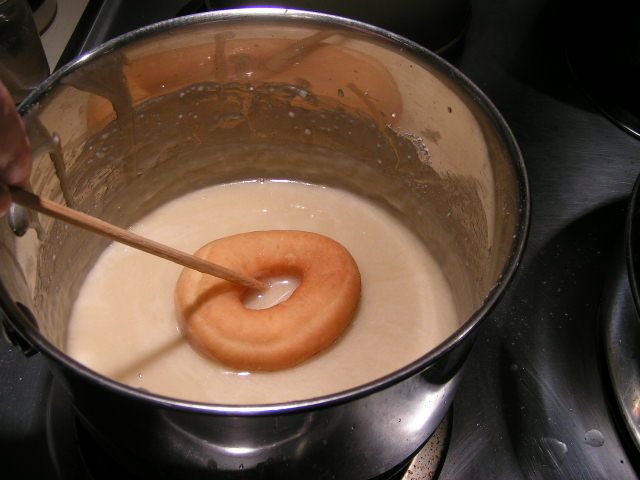
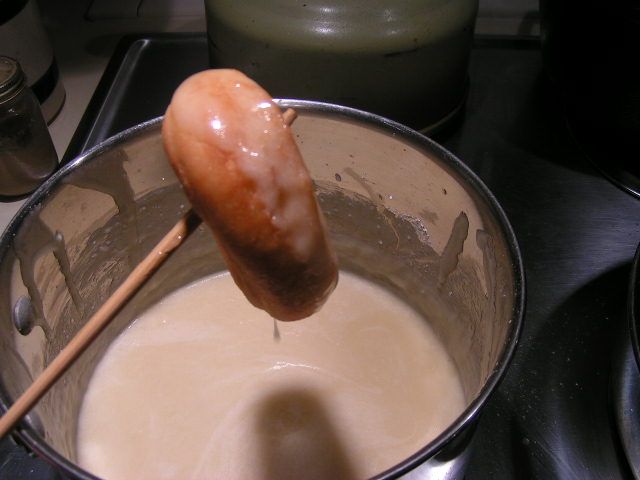
    Using a chopstick or other utensil, place the donut in the warming glaze.


     photo PICT1313_zps5107c4e7.jpg


    Lift the donut out of the glaze and place on rack or cookie sheet.


     photo PICT1316_zpsb130f985.jpg


    Don’t you just want to dive in? We did!!


    Happy Cooking!


    MB
    Please join us on FaceBook!!


    Join in the conversation by leaving a comment below!


    Image and video hosting by TinyPic