   You know I can’t resist a sale, And so begins this shopping tale. I found a bargain sure to please, A dollar for a block of cheese! I purchased 12 and paid my dough. I’ve showed you how your cheese may can, I followed directions to a ‘T’ And so you see (you’ve got to get it!) No groans from the peanut gallery out there!! I can’t resist a little verse…a very little verse! I thought that I would show you, step-by-step how to preserve cheese that you find on sale. Mine has been sitting at room temperature for four months now and we are using it regularly. Mr. Fix-It likes this cheese on crackers and sandwiches because as it sits, it ages. Now it tastes like expensive, aged, sharp cheese. But first, I’d like to remind you about the giveaway going on.  Just be sure to leave a comment below in the comment section and you’ll be entered to win our fry bread mix and a package of our blueberry scones (complete with a can of real, Maine wild blueberries). The drawing will be October 18th.   OK. Back to cheese. Any brand of cheese will work, but I happened to find the REALLY cheap kind. I grabbed mild cheddar, provolone and longhorn. All are relatively mind flavored cheeses so that when they age, they don’t become too sharp. 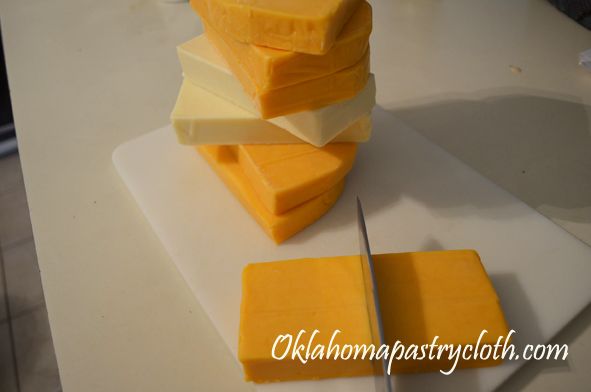 I cut the blocks in half to make 4 oz blocks for easier waxing. 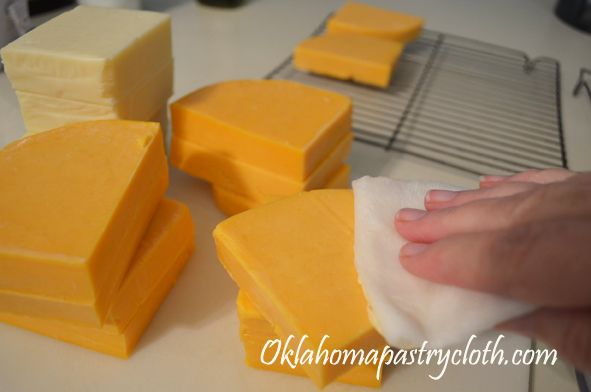 Carefully wipe each block with white vinegar to clean. If you do not have vinegar, you can use a brine mixture of 1 tsp salt to 1 cup of water. 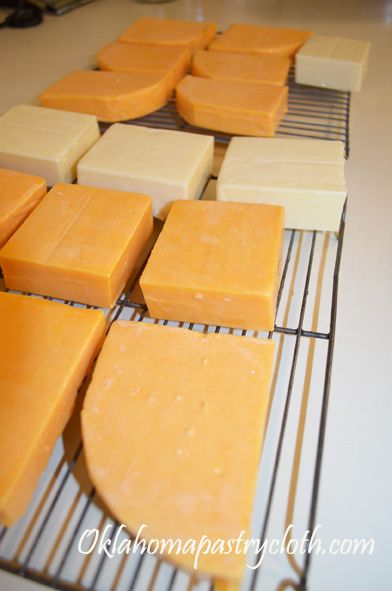 Place the cheese blocks onto cookie sheets, wax paper or paper towels and allow to dry for 48 hours. You can turn the cheese if it is not on racks. I am using metal cookie racks here, but I think that plastic racks would be better. The metal can rust or oxidize and leave lines on the cheese. I am purchasing some plastic racks for future use. 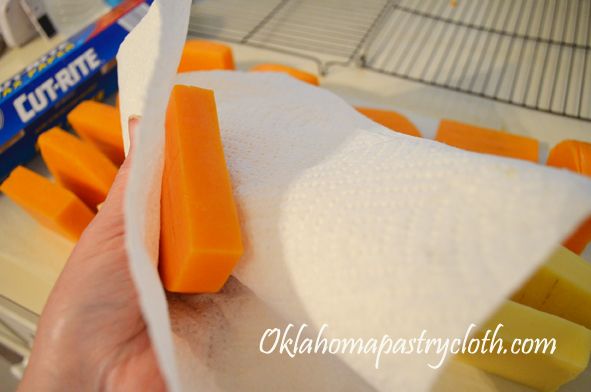 After the cheese has dried, using paper towels or cheese cloth, wipe excess oil off of each block. 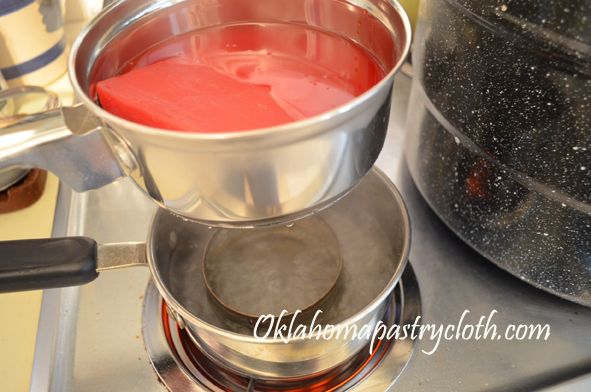 I melted the wax in a double boiler. You can purchase cheese wax online at the New England Cheese Making Supply. The wax is supposed to get as hot as possible to kill any spores and the only way to get it really hot is to put the pan directly on the stove eye on high, but that is very dangerous as the wax can catch fire or even explode. Plus, you can really get burned. So I did some research and many people are using a double boiler and getting it hot with boiling water beneath it. It is the safest way and seems to work fine. You can make a double boiler, if you don’t have one, by placing an empty tuna can in the bottom of a sauce pan, filling the pan with water and then placing a smaller pan onto the tuna can to keep it from dropping down into the first pan. 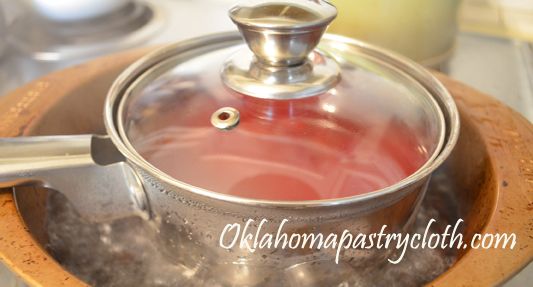 Or, you can use an old cake pan, fill it with water and set your pot into the water. By the way, I went to our local Big Lots and bought this sauce pan for $3. I just keep the wax in it and let it harden after melting to use the next time, adding more as I need. To store, I keep the lid on it so that no dirt gets inside. 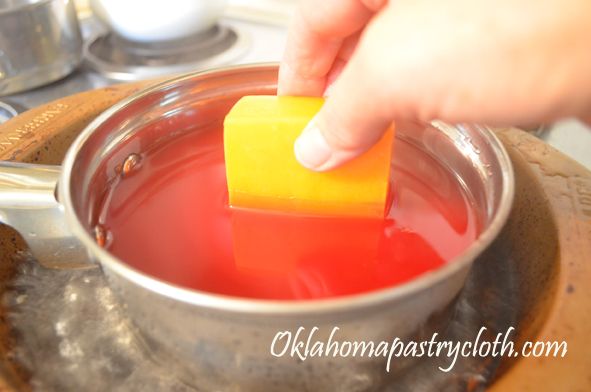 When the wax is hot to almost boiling or is boiling, dip one end of each of your cheese blocks into the wax to halfway up. 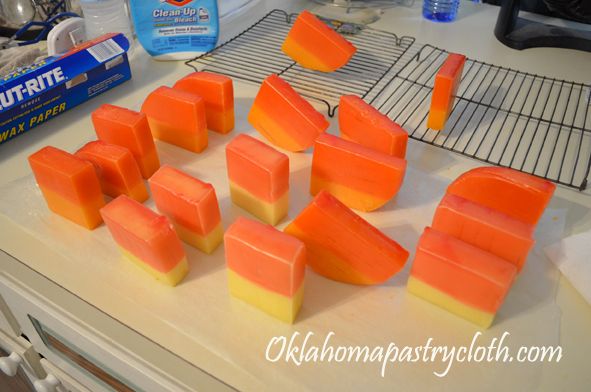 Turn the blocks to the undipped sides and let them rest to harden 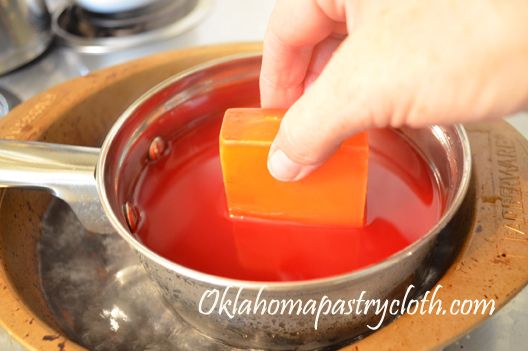 It only takes about a minute for the wax to harden where you can touch it. Pick the cheese up by the wax end and dip the unwaxed end. Place the block onto the end with the hardened wax so that the new wax can harden. Continue this process until you have waxed each end four to five times. 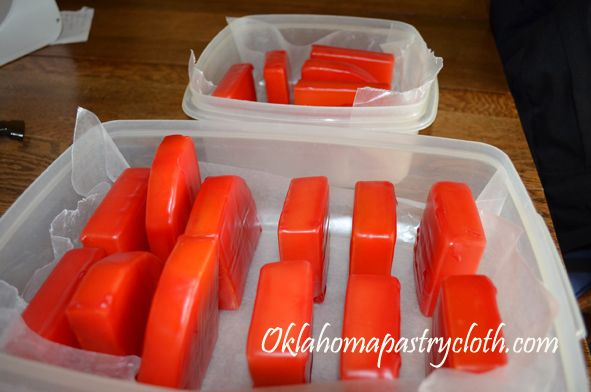 Place the waxed cheese in a container and into a room that is dark and cool or into a pantry where it can be easily accessed. Every few days, turn the cheese to a different side. Sometimes, the cheese will weep oil or water. It is still ok to use. I found that storing it on paper towels or cheese cloth helped absorb any weeping. Also, in some cases, the wax will thin and so you will need to wipe it clean and dip the block a couple of more times. If you see a dark patch under the wax, it is probably mold which is the result of a pin sized hole or other disturbance of the wax surface. You can use that cheese immediately, washing it and cutting off the molded part. 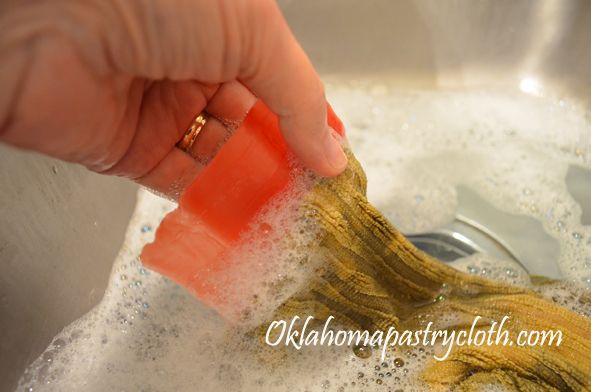 When you decide to use a block, use a knife to pry one end of wax off of the cheese. The rest just lifts off. Wash the wax in hot, soapy water and be sure that any pieces of cheese and oil are removed. Put the wax into your wax pan to reuse on your next batch.  The cheese can be grated  It can also be sliced or cut into cubes. Because it is sharper, it is also drier. So there you go!! Now you can wax poetic too….and if you want to send me your poems, I put them up at the blog! 🙂 Don’t forget to leave a comment to enter the giveaway!   |
|
| |
|
Oklahoma Pastry Cloth™ Company on Facebook
|
|
 |
|

|

 Homestead Revival
 Paratus Familia
 Rural Revolution