
   I love buttermilk for use in pancakes, waffles, biscuits and many other breads and cakes. However, because I use so much buttermilk, I frequently run out. Not to worry. I just put 1-2 tbsp of vinegar into the bottom of a glass measuring cup, add the equivalent of sweet milk for buttermilk, pop in the microwave for 30 seconds and ‘voila’, I have curdled milk with the same properties as buttermilk.  Mr. Fix-It has a lot of trouble with indigestion from meals and so we have found that 1/4 cup (with each meal) of the refrigerated mixture of 24 oz concord grape juice, 32 oz of apple cider with the “mother”, 1/4 cup of local honey and 1/4 cup of apple cider vinegar with the “mother” keeps him from having tummy trouble. And it tastes good too!  Want to rid yourself of an odiferous garbage disposal? Just freeze vinegar in ice cube trays and throw the ice cubes into the disposal to grind up.  How about that glass you found on your corner table in the living room, left there two weeks ago by the child who was told, “No drinks in the living room!”? Yep, there’s that telltale ring of a water stain. Just take equal amounts of olive oil and vinegar and rub into the stain to remove it.  According to the Vinegar Institute, (they have a place where you can graduate with a degree in pickling agents?) vinegar has many uses, not the least of which is as an ant repellent. Just wipe your counters with distilled white vinegar and no ant will come within a mile of your home (because of the smell, I’m sure). I daresay that might work on the busybody relative variety of aunt as well. And add 2 Tbsp of the apple cider version of vinegar to ½ quart water, 2 Tbsp. sugar and a couple of drops of dish soap and you can lure fruit flies to a certain “death by a really disgusting substance.”  Figure this one out: You can pour straight vinegar on the weeds that line your sidewalk, repeating until they die (pickled dandelions anyone?) but add a cup of vinegar to a gallon of water for a perfect solution to soak your azaleas and will have them thanking you for the acid – well not literally.  Cut flowers stay fresher longer if you add 2 Tbsp of vinegar and 2 Tbsp of sugar to a quart of water to fill the vase. If you change the water every 5 days, the flowers will stay perky.  I got a chuckle out of this vinegar application according to the Institute – tackling smelly dogs: “Wet the dog down with fresh water. Use a mixture of 1 cup white distilled vinegar and 2 gallons water. Saturate the dog’s coat with this solution. Dry the dog off without rinsing the solution. The smell will be gone!” Right. And now they will smell like vinegar. Good trade.  Vinegar will remove that bumper sticker for the candidate for whom you voted and who wound up having an affinity for bribes and women. It will soften paint brushes, clean radiator vents and leather shoes and even fix DVDs that occassionally stick on one frame. Most amazing of all is that according to the winner of the 2007 Online Vinegar Use Competition (what is amazing is that there is such a contest and that people actually entered), you can immerse your gold jewelry in one cup of apple cider vinegar for 15 minutes and it comes out sparkling like it is real!! No need for expensive jewelry cleaning!!  Vinegar has many more uses that you can find at the website of the Vinegar Institute. Yes, it is a weird and smelly liquid, but evidently, it is nature’s miracle substance! Go out and buy a couple of gallons! I’m buying stock! |
|
Oklahoma Pastry Cloth™ Company on Facebook
|
 |
Posts Tagged ‘vinegar’
Vinegar Tips
Tuesday, April 26th, 2011
Yep!! Canning Cheese
Wednesday, February 9th, 2011
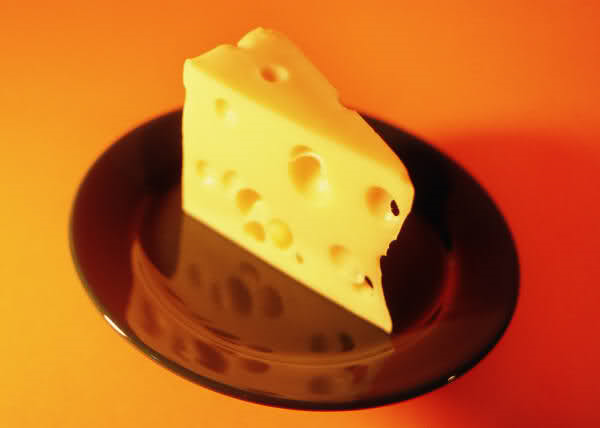 I’ve always heard that “necessity is the mother of invention” but I also think that it is “the mother of learning something new”. Such was the case recently after a productive trip to our local grocery which is owned and operated by the Absentee-Shawnee Indian Tribe. On this particular day I discovered that the store had block cheese on sale; 1 8oz block for $1. Never one to pass up a good deal, I decided that if one block of cheddar was good, 20 blocks of a variety of cheese was phenomenal! I tossed mild cheddar, mozzarella, sharp cheddar, pepper jack and cojack into my cart and trotted on down the isle. To my surprise, I found that Velveeta was on sale too. Oh joy. Now, I must digress here for a sec in defense of Velveeta cheese PRODUCT. Although I realize that Velveeta is the plasticized version of cheese, it is a must for any kitchen simply because it melts sooooo smoothly. It is wonderful for cream soups. It is true that nobody REALLY knows where Velveeta comes from. And while we are told that it is made from milk, it could be guinea pig milk for all we know. However, while we ponder how one milks a guinea pig, the rest of America is enjoying its queso made with Velveeta, picante sauce and maybe some ground beef flavored with taco seasoning. Velveeta is to the cheese world what Spam is to the ham world. Each has its purpose. And so, I got my Velveeta and checked out. On my way home, it occurred to me that all of this cheese had to have a place to go to stay fresh. I usually grate my hard cheese, put it into bags that I can vacuum on my FoodSaver sealer and then freeze it, but this was going to be an enormous amount of grated cheese. What if I wanted sliced cheese? My experience with freezing blocks of cheese for slicing had been less than successful. I had been totally unhappy with frozen Velveeta, so what to do? What to do? Thank goodness for the Internet. Enola Gay at Paratus Familia had the solution. Can it! Can cheese? Really? She showed how to can hard cheeses and that got me to thinking about canning the Velveeta too. I researched and researched and found several ways to do that as well. I wound up with what I think worked best for me. So first, I’ll show you how I canned the hard cheeses and then the Velveeta. Talk about handy. You can’t believe how wonderful it is to have canned cheeses. You can shred and slice the hard cheese and the Velveeta is just as good as if it were in the box. I suppose at this point I should throw in the disclaimer that I haven’t found anything that indicates the government watchdogs have given their seal of approval to this, but then, they don’t like us canning apple pie filling either. From everything I have read, these canned cheeses last up to two years. 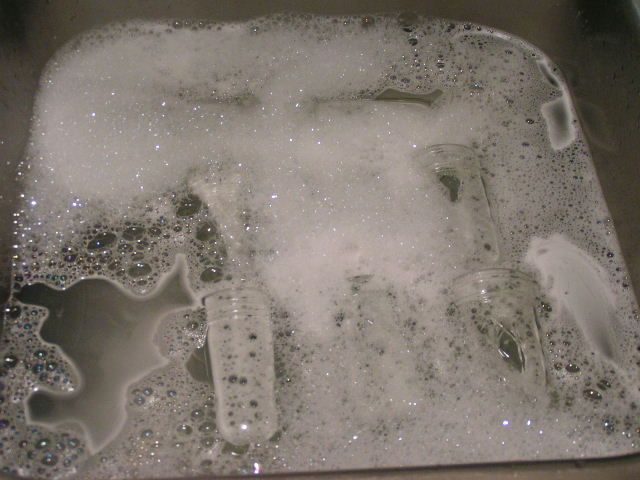 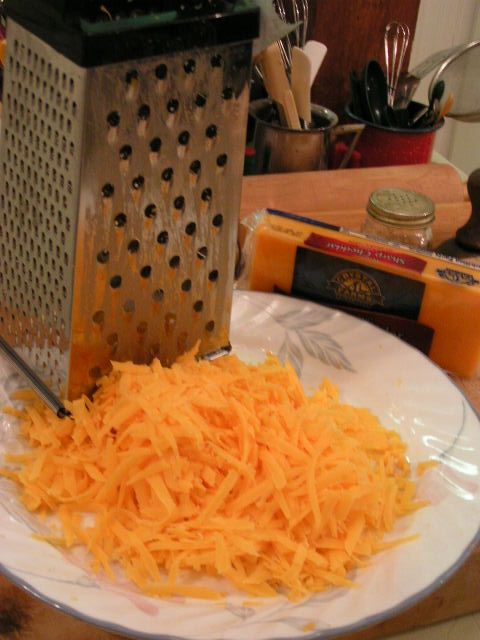 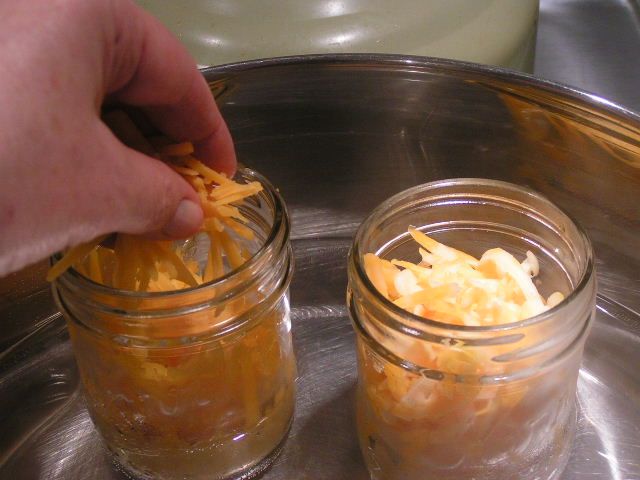 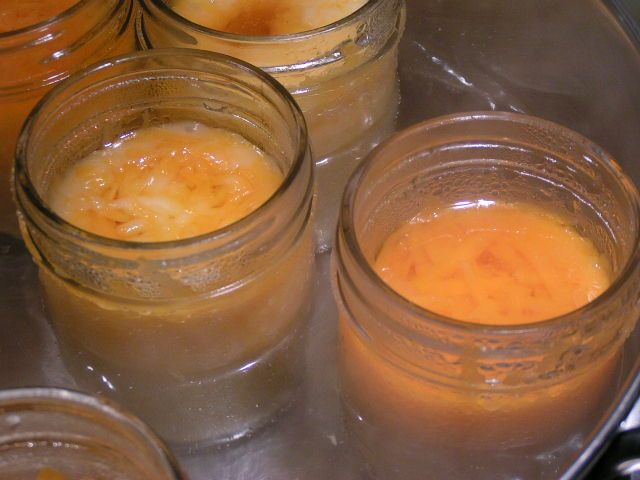 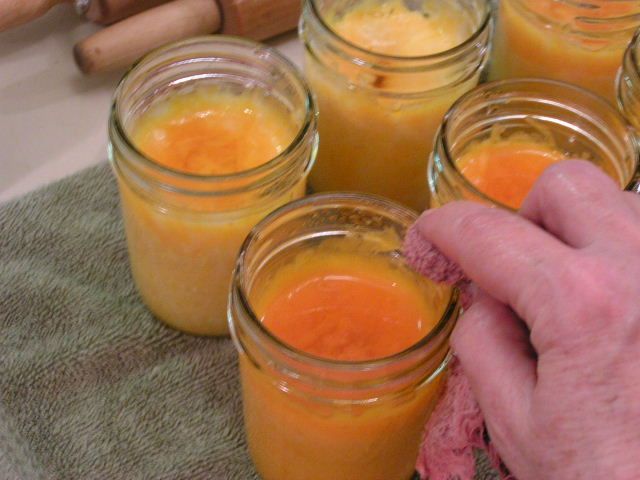 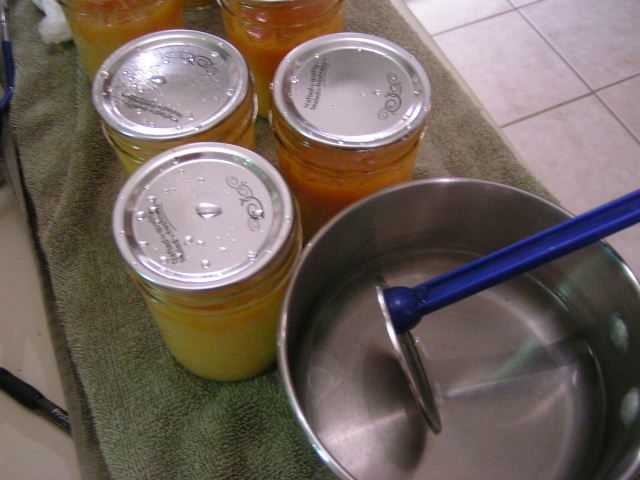 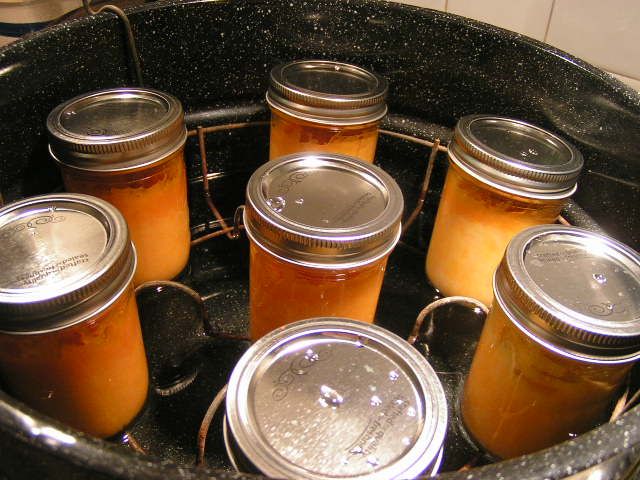 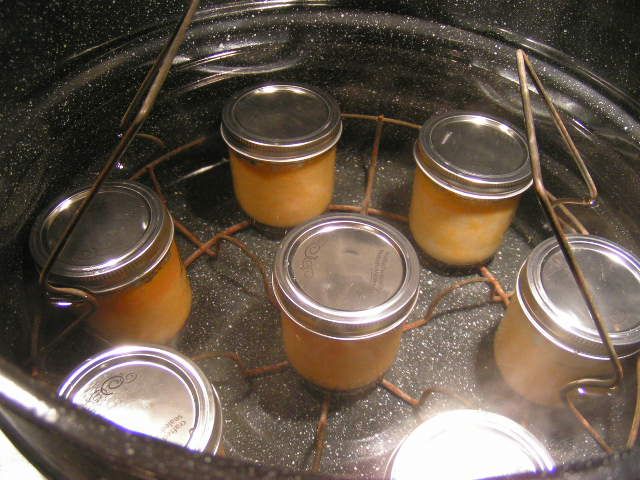 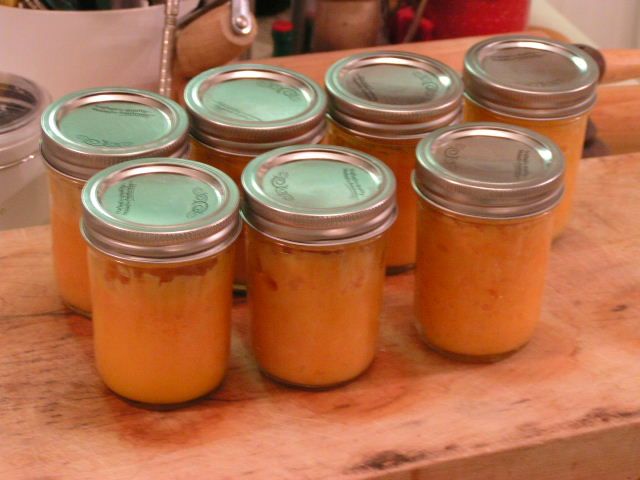 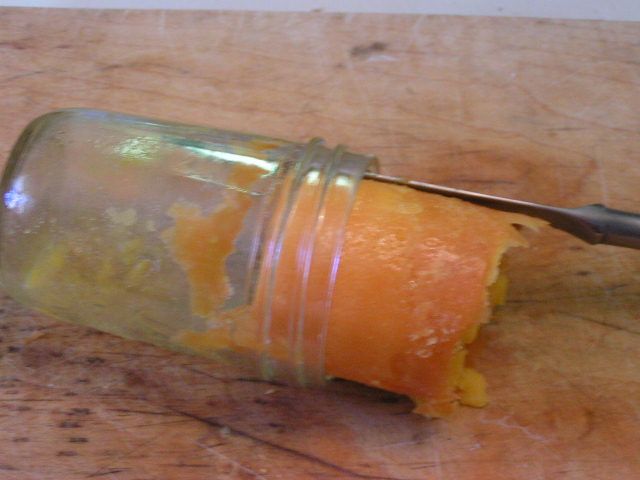 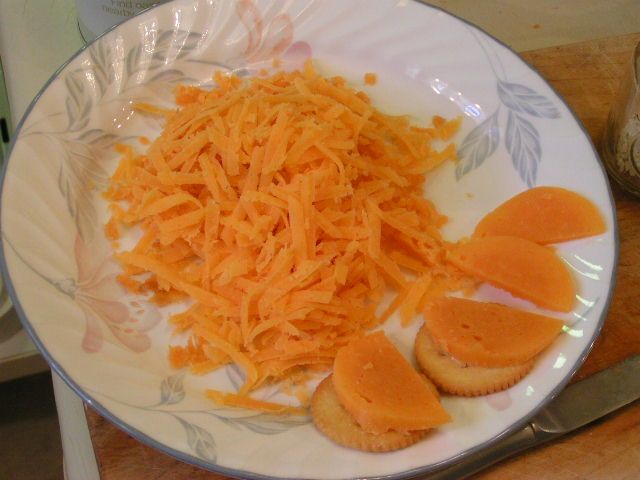 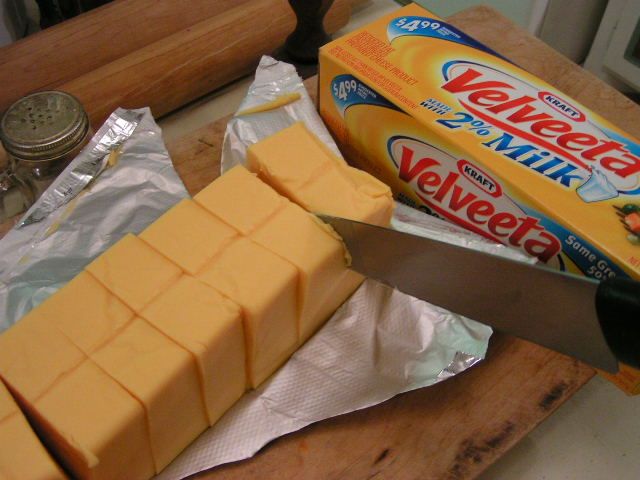 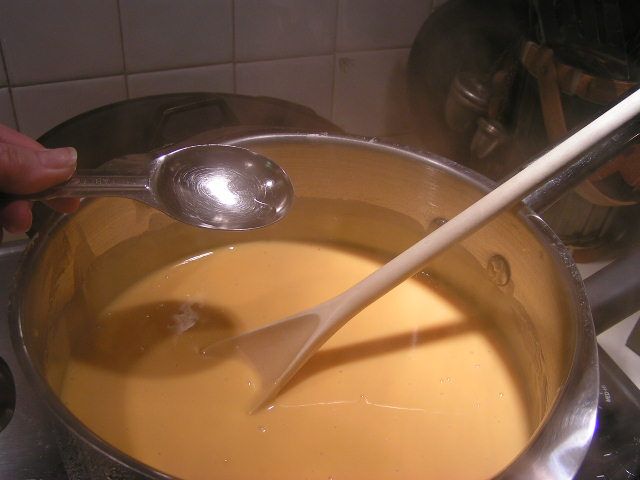 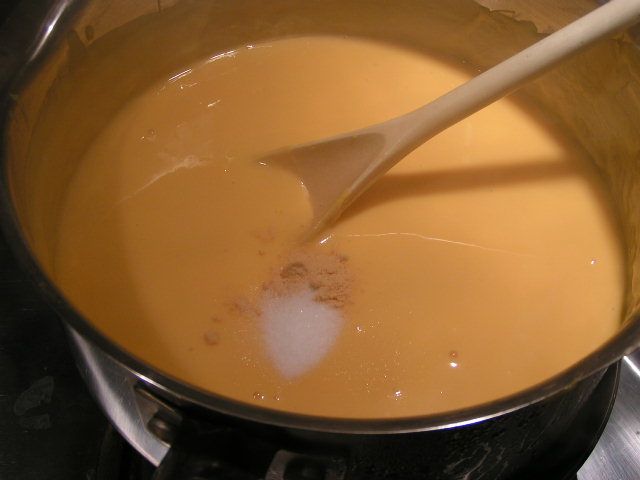 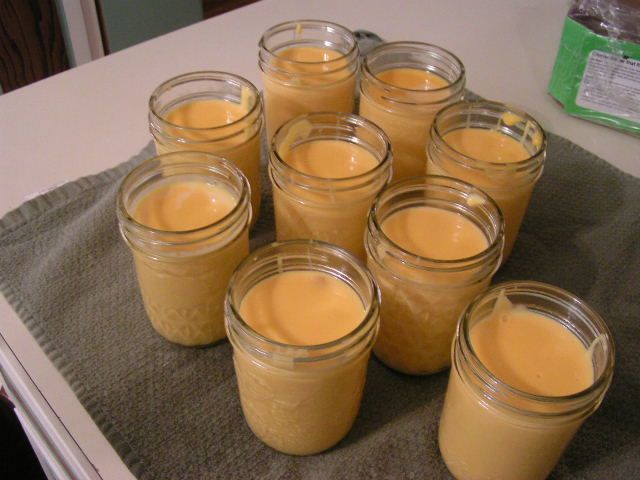 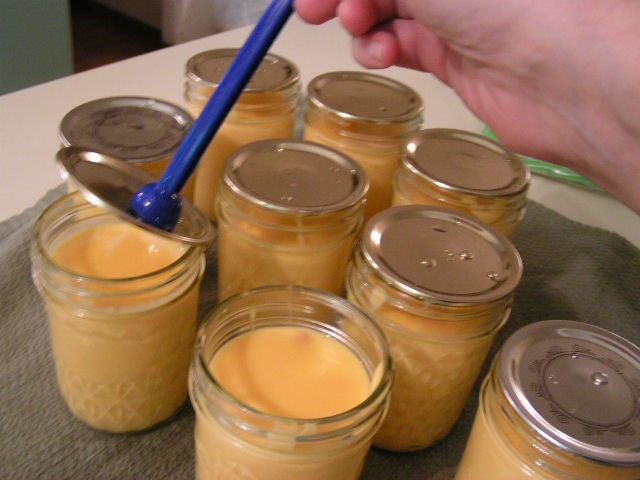 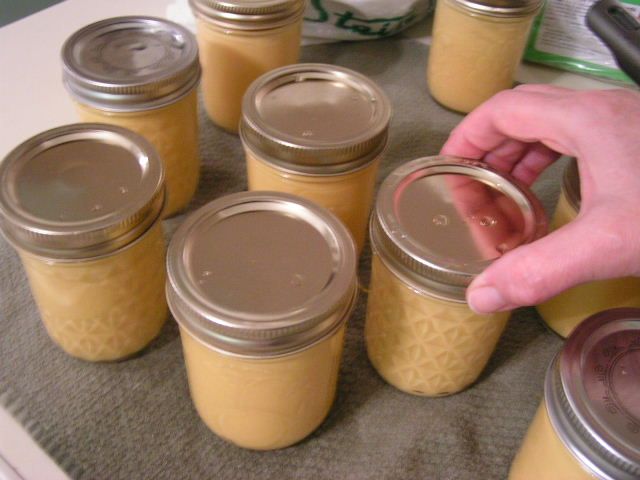 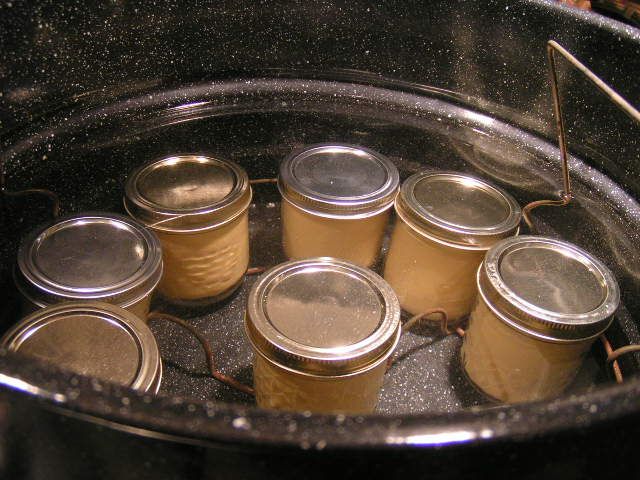 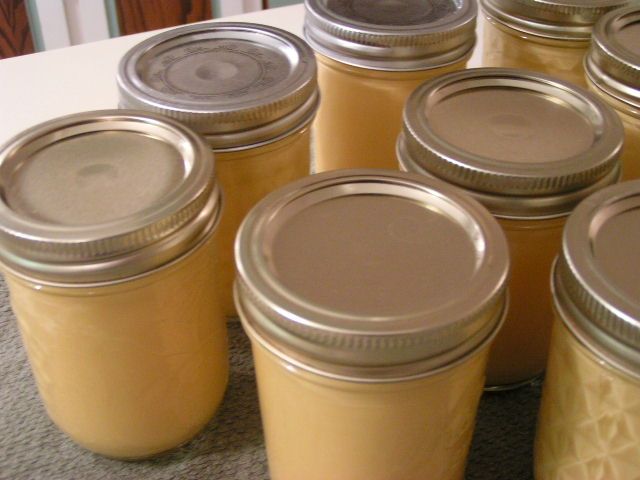 Oklahoma Pastry Cloth™ Company on Facebook
|

 Homestead Revival
 Paratus Familia
 Rural Revolution