 Boy, do I love this time of year…I think. Everything is coming in at once – peaches, apricots, nectarines, raspberries, blueberries, potatoes. And all of these things have to be processed before they go bad. Waste not – want not!! God has been good to us Okies this year and what we are given, we must use!! It just means that the kitchen becomes our sole domicile for awhile, along with the heat and mess that includes. I am a messy cook. I DO wash dishes as I go, but it just seems that I can’t keep up with those dishes or the juices and goo that come from my various food sources. By the time I am finished, hard as I try, I’m still walking slower than usual as my shoe soles stick to the floor and I’m trying to reach gummy splatters on the walls two feet over my head, wondering how in the world they got there. And then of course, there’s my stupid choices of cooking utensils as happened with my first run of strawberry jam his year. I don’t ever seem to remember that I flunked the spacial perception test in the 8th grade. 1st Law of Jamming: Attempting to make jam in a pot that is too small always results in an overflow of thick, sticky jam onto the stove surface and under the stove top, down the front of the oven door and pooling in an oozing mess on the floor. 2nd Law of Jamming: The number of rolls of paper towels needed to clean up after making jam or jelly is directly proportional to the lack of spacial reasoning of the cook. It was with joy and relief that I was introduced to a recipe for my newly picked strawberries, by reader Margaret D., because it did not require boiling and the subsequent mess associated with such. She shared this amazing and refreshing fruit drink and of course I had to try it. Oh my. Delicious!! And what is so neat is that the drink is canned in jars to be used all summer, and even winter long! The process is easy – well, minus all the juicing required but if you have an electric juicer, no big deal – and the result is a concentrate that can be added to tonic water, ice water, Sprite or Ginger Ale. Here is her simple recipe: 6 cups hulled strawberries 4 cups freshly squeezed lemon juice (or lime juice) 6 cups granulated sugar Note: Blackberries or raspberries can be used for the fruit. Have a waterbath canner ready with warming water. Place lids into hot water to soften and have jars sanitized, warmed and ready. This recipe makes about 7 pints of mix. I did a combination of pints and half pints since there are only two of us. 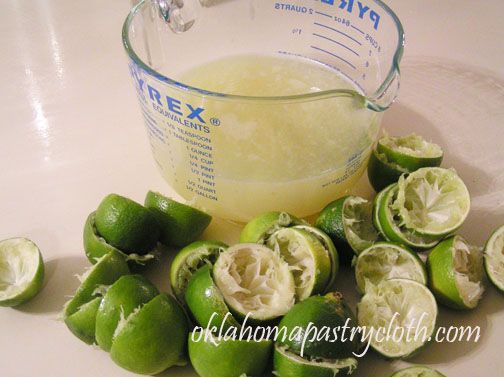 There’s an excellent opportunity for strengthening arms if one uses an antique juicer like I did!! If you have an electric juicer, congratulations! I made this recipe with lime juice because we love limeaids. 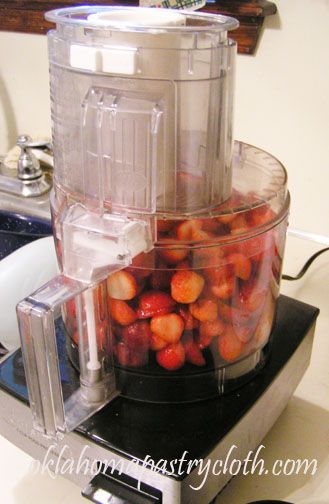 Puree the strawberries in a food processor or a blender. You CAN strain the juice of any strawberry seeds through cheesecloth if you are a hardworking and organized soul. I decided to live with the seeds!! 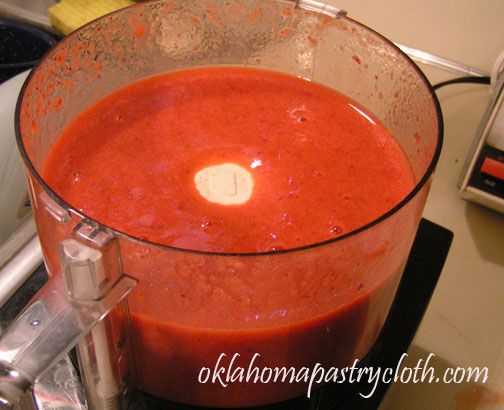 Liquify the berries. 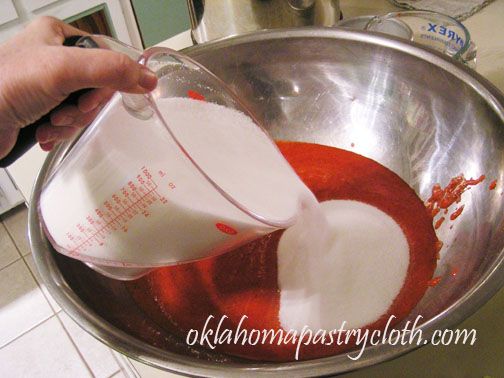 Add sugar to the berries and stir until incorporated. I mixed everything in a large bowl and transferred to my pot, but you can mix directly into the pot if you like. 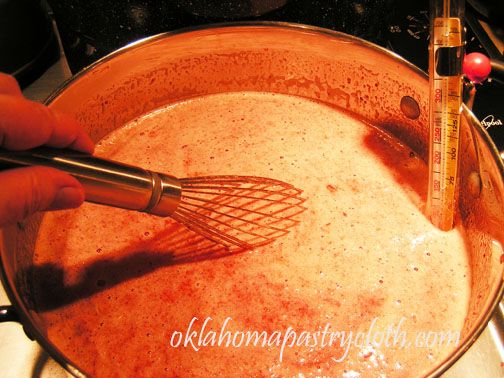 In a large stock pot, heat the mixture over medium-high heat. Using a candy thermometer, bring the liquid to 190º while stirring once in awhile. 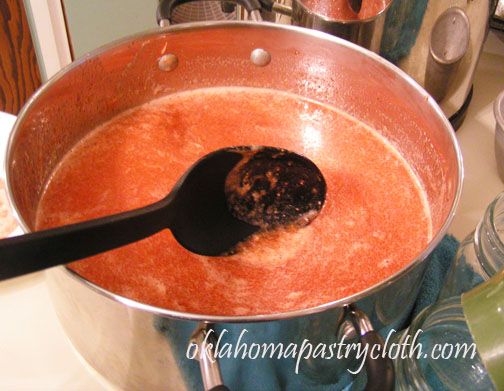 When heated to 190º, remove from heat and skim the froth off of the top. Just for info, I put the froth into a jar and threw that in the frig. Adding ice water to that made a wonderful drink! But removing the froth makes for prettier jars, especially if giving for gifts. 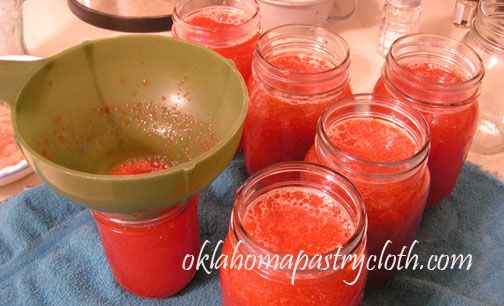 Pour hot liquid into jars 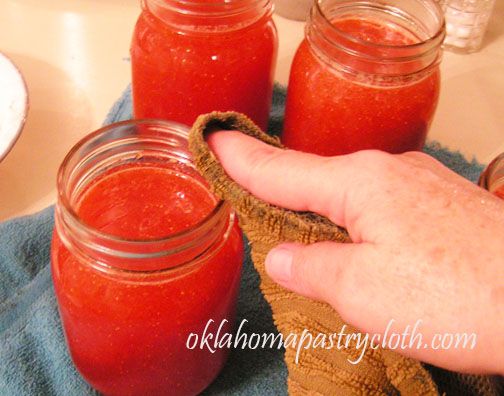 Wipe the rims of the jars of any drips with a warm, wet washcloth 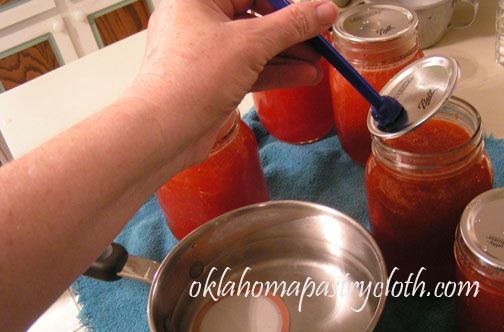 Place lids onto the jars and attach rings. Tighten and then back off slightly. Process in a waterbath for 15 minutes. Allow to stand and cool for 24 hours. Check seals. You can remove the rings and wash both jars and rings in soapy water to remove any residue. Replace rings when they are totally dry and the jars are totally dry. 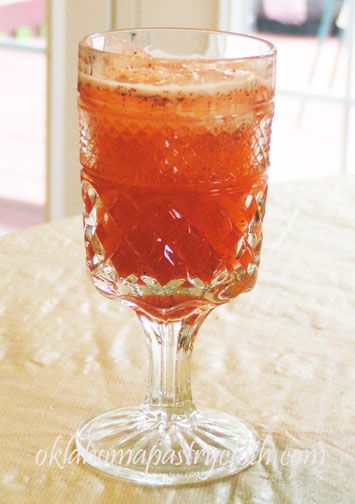 Reconstitute mix with equal parts of either ice water, tonic water, Sprite or Ginger Ale. Isn’t that a pretty drink? And so tasty too!! So thank you so much for sharing, Margaret!!  |
|
|
Oklahoma Pastry Cloth™ Company on Facebook
|
|
 |
|
|


 Homestead Revival
 Paratus Familia
 Rural Revolution