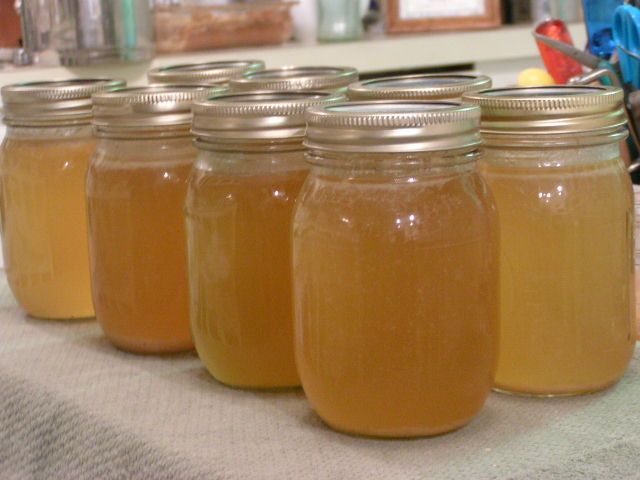
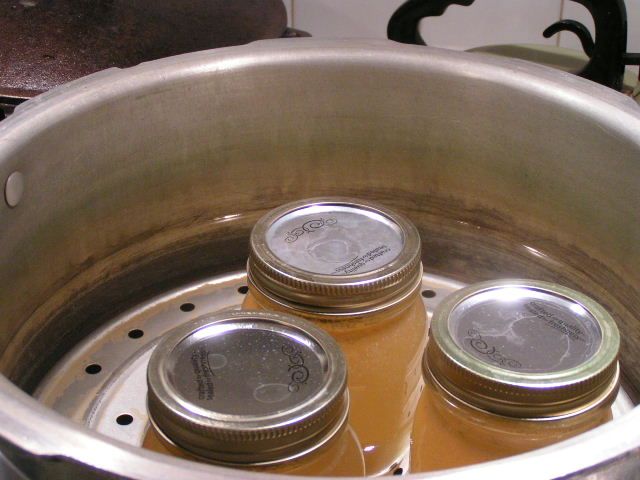
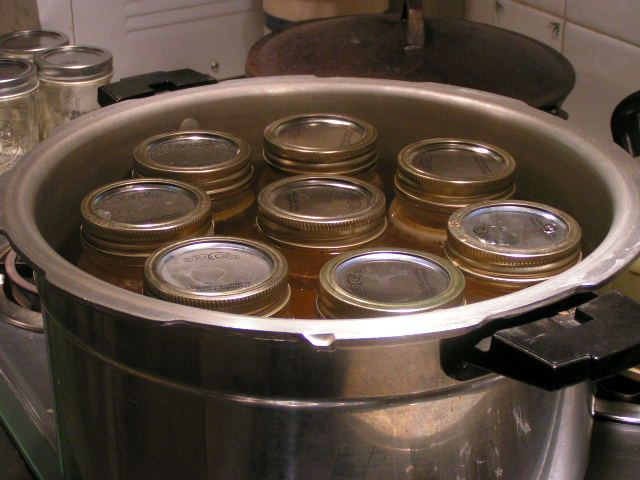
 A reader of the very informative blog Rural Revolution, A. McSp, shared a wonderful recipe for chicken stock to be used for cooking pinto beans, soups – you name it. I decided to try it and am in love. First, the smell that permeates your house while cooking this stuff is enough to call Glade and ask if they make Chicken Stock in a Can Air Freshener, second, the flavor is so rich that it makes everything to which it is added have more body, and third, it’s canable – oh wait – that’s not a real word unless you’re talking about creepy hungry people and can’t spell. How about this: It can be canned! You know that always gets me right here (pointing to my heart now). I’m afraid that I was so involved in the process that I didn’t do my normal photo session and so I’m just going to have to give you the recipe with only a few photos and a video. Sorry for my brain freeze. I did get a couple of shots! Here are the steps to this amazing chicken stock! 1. When you cook a chicken, save the carcass, skin and all and if you aren’t going to make stock immediately, put it in the frig until you are ready, no more than a couple of days. 2. Cut or break the bones up into pieces using kitchen shears. 3. Put the bones and skin into a stock pot and cover with water, about a gallon plus. 4. Add 1-4 stalks of celery. I used my dried celery! 4 tbsp to equal 4 stalks. I love my dried celery! 5. Add 1/2 medium onion 6. Add 4-5 cloves of garlic 7. Add parsley if you have it 8. Add 1/2 tsp dill seed if you have it 9. Now here she said to add 1/2 tsp dried orange peel, but I didn’t have dried so I used 1 tsp of fresh orange zest. Oh my. I think I prefer that to the dried!! 10. Add 3 tbsp white vinegar and the juice of one half lemon or lime 11. Add salt and pepper to taste (side note: If you want an even more robust chicken flavor add 1/2 – 1 tsp granulated chicken bouillon per pint jar of stock) Bring to a boil and stew on low heat for two to three hours. The vinegar and the lime or lemon juice pull the calcium out of the bones and so your broth is rich in calcium. As the stock stews, I add a little water to maintain the water level. When the cooking time is reached, I pour the broth, bones and veggies into a colandar that is sitting over a large bowl or another stew pot, to strain the broth. I press the stuff left in the colandar with a potato masher to get out all of the liquid and flavor into the stock in the bowl. At that point, I ladel the soup into jars, leaving a 1/2″ head space, clean the rims of the jars, attach the lids and rings and put them into a pressure canner of hot water (the jars of liquid are hot and will crack in cool water) to be processed for 20 minutes at 10 lbs pressure. One chicken gives me 10 pints of broth.  Unlike waterbath canning, the water level in a pressure canner is only about 2″ deep.  The jars sit in the water, but are not covered by it as in a waterbath. I did a video of the pressure canner as it was doing it’s thing this afternoon. I’ve had several people ask me how it is supposed to sound. If you will notice, it jiggles for a bit and then stops and then jiggles and stops. That is the rhythm that you want to achieve to keep an even pressure. I start out on high heat and when the weight starts vibrating, I start turning the heat down until I get a uniform rhythm. I bought this canner in 1977! It has been a jewel. Pardon the noise of the microwave in the background. Halfway through I realized it and turned it off! Last night, I made pinto beans with two pints of broth, two tbsp brown sugar and a slice of home-cured country ham. Oh my. I’m still grinning. |
|
Oklahoma Pastry Cloth™ Company on Facebook
|

 Homestead Revival
 Paratus Familia
 Rural Revolution