 I’ve been posting some hand-written recipes in my grandmother’s 1931 issue of the Rumford Cookbook as I am trying them out, myself. It is just too neat to see my grandmother’s penmanship on favorite recipes and to know that I am mixing what she used to mix up for her family, including my dad and my Aunt Lois. In my last post, I gave you a little tidbit of my father’s memories as recorded in his book, Sailing Down The River Of Memories. I thought that I would post a few more of those memories here, that I thought you might enjoy: “We churned our own butter. Lois and Dad liked the buttermilk, but I never developed the taste for it. We never used Oleo margarine (called Oleo) although we sold it in the store. During the thirties, oleo came in a clear sack and looked like white shortening because the butter industry had a law passed to keep it from being colored yellow and looking like butter. A small package of yellow food dye was included in the package. The oleo had to be kneaded with the dye until it turned yellow. Sometimes a person didn’t do a good job kneading it because there would be reddish-yellow streaks throughout the oleo. Some mothers didn’t take the time to color it so it looked as if they were serving lard. As I said, we had butter to go with Mom’s jellies and jams as well as wild honey. I don’t remember anyone in the community with a bee hive, but Dad or some farmer might find a bee tree down by the river that they cut down and then divided the honey among friends. Wild honey was dark, strong and delicious on hot biscuits… Mom was a woman ahead of her time. During the summer of 1940, she got the idea of freezing strawberries so she wrapped a couple of quarts in waxed butcher paper and put them in the ice cream freezer [at the store]. Then, she served them for Christmas. Why was this ahead of her time? Because frozen food didn’t come to the rest of the country until 1945 when frozen orange juice and Swanson and Sons frozen chicken and turkey came to market. People really thought she was smart. Oh yes, one winter we put some snow balls in the freezer and had a snow ball fight the next summer. Unfortunately, they got icy and never thawed out, so they sort of hurt when we got hit… Eating in a restaurant was a big event because we didn’t do it very often, but when we did, we went to family types, not the more expensive ones. Dad and I ate at the stockyards where we took cows and hogs. We ate at the ‘dime store’ such as Woolworth or Kresses or Newberry when Mom took us to Joplin. My favorite was the ‘blue plate special’. It was sliced roast beef on a slice of bread with mashed potatoes covered with gravy, slaw and a coke. A real special was a three-decker club sandwich at the Crown Drugstore. Man, was that good. Down at Pawhuska we went to a pig stand for pork bar-b-que and limeaid or coke…The first fast food place I remember was in Joplin out on Seventh and Maiden Lane during the late 1930’s. It was called “Chicken in the Rough” and had a logo of a rooster with a golf club. We got a paper plate with fried chicken, shoe string potatoes, a dish of honey and hot rolls. We sat in the car and ate it with our fingers which is why it was called “in the rough”. The Checkerboard Cafe’ with the outside walls painted red and black like a checkerboard was noted for coney islands. We sometimes ate at Chili King who served the best chili but he would not serve milk to drink because according to him, it would make a person sick. Oh yes, we did not drink milk when we had fish either. Why? Because. That was explanation enough!” There are 362 pages of memories, geneologies and photographs for us to cherish! And as I posted last time, one of the recipes that my father mentions as a favorite, was my grandmother’s Red Devil Food Cake. I found it in the tattered pages of the Rumford Cookbook, written quickly and precisely. However, there are no baking instructions at all! I had to elaborate on my own. In looking in our family cookbook, I saw that my Aunt Lois also included this recipe and with the note, “(The cake I learned to bake as a child and it was served often at family get togethers)…Note: There are no baking instructions included in my recipe” So here is the recipe and my decision to bake the cake layers at 350º for 20-25 minutes. 1/2 cup sour cream, lard or butter 2 cups flour 1 egg 1 1/2 cups sugar 1 tsp soda 4 Tbsp Cocoa 1 tsp vanilla extract 1/2 cup buttermilk or sour milk 1/2 cup boiling water chopped pecans (optional) Sift together flour and soda and set aside. 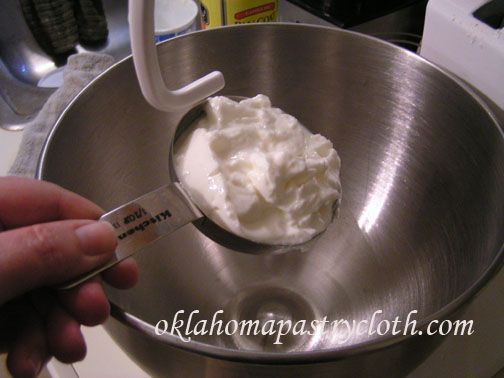 Place sour cream, butter or lard into a mixing bowl. I decided to try sour cream. Next time I am going to try butter. 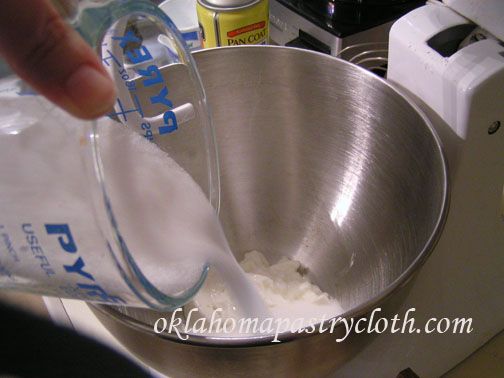 Add sugar 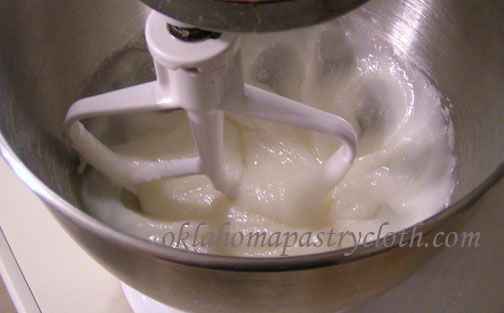 Cream until smooth 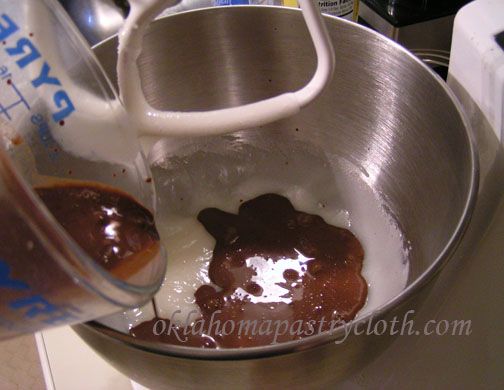 In a mixing cup, place cocoa and whisk as 1/2 cup boiling water is slowly added to dissolve. When the mixture is nice and smooth, add to the creamed mixture. 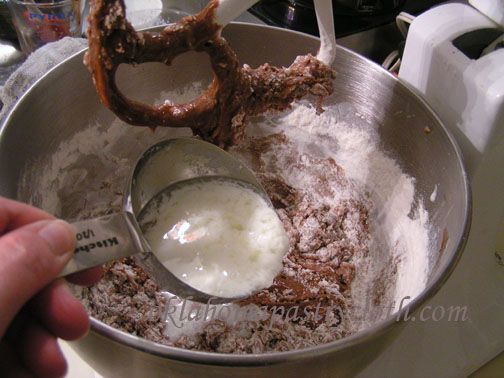 Add flour/soda mixture and stir and then add buttermilk or sour milk. You can sour milk by adding 1 tbsp vinegar into a mixing cup and then pour 3/4 cup milk into the vinegar. Allow to stand for 20 minutes and it will curdle. Pour out 1/2 of the thickest curds. 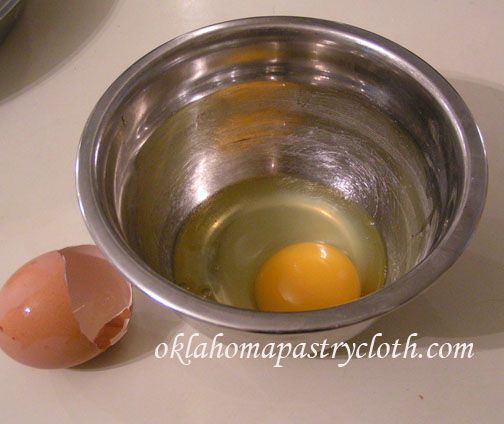 Add one egg and mix until batter is smooth and uniform 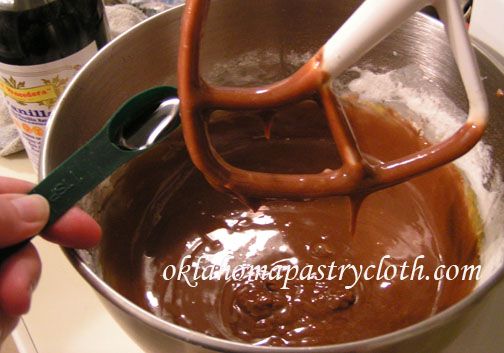 Add vanilla and mix. Unlike the batter in the last cake recipe, this batter is runny. My dad and his family also referred to it as “gravy cake”. 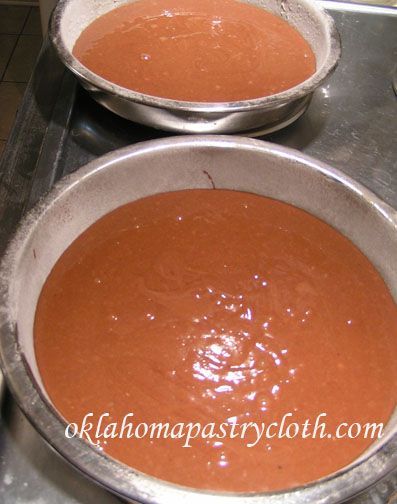 Divide the batter between two greased and floured cake pans. Bake at 350º for 20 – 25 minutes. Use a toothpick to check for doneness at 20 minutes to make sure you do not over bake. Invert pans onto cooling racks and allow to cool completely. Ice with recipe in the last post or use your own. Sprinkle with chopped pecans. 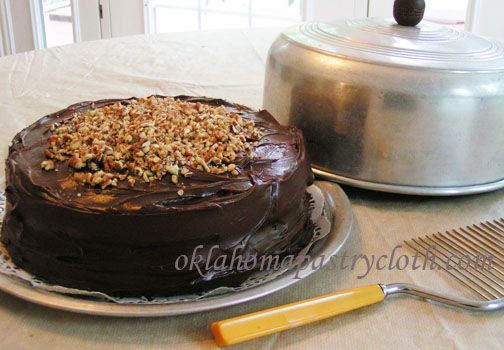 Here’s something neat. I am keeping the cake in my Grandmother T’s cake keeper in which she used to house the same confection! And generations of cooks continue on!  |
|
|
Oklahoma Pastry Cloth™ Company on Facebook
|
|
 |
|
|
Posts Tagged ‘buttermilk’
Cooking in the 1930’s Part III
Tuesday, April 10th, 2012
Buttermilk Whole Wheat Rolls
Monday, October 24th, 2011
|
Apple Time Giveaway  I guess I’m on a bread baking marathon because I’m trying recipe after recipe!! With OU football and Rangers baseball, Mr. Fix-It is reveling in home made soups, chili and bread. Never let it be said that I don’t know the way to a man’s stomach – I mean – heart. Friday, at Deborah Jean’s Dandelion House Friday Blog Hop, I saw that Candy at Lazy J Bar C Farm had been busy in the kitchen making the most beautiful rolls you ever saw. She sells them at her local Farmers’ Market and they evidently go like hotcakes – no hot rolls. Candy is a reader here and I follow her blog, so she graciously gave me permission to post the recipe here for you. Of course, I had to try the recipe first and take pictures! The rolls are so easy. And with a ribeye steak and baked potato last night, Mr. Fix-It put away several of these whole wheat delights, happily cheering on the Texas Rangers and watching Nolan Ryan drop the first pitch by former president George Bush. So here you go. I think you will love the presentation of the rolls and the taste as well! 1/2 cup buttermilk 1/2 cup warm milk 1/3 cup butter 1/3 cup granulated sugar 2 eggs 1 1/2 teaspoons salt 2 1/2 cups bread flour (I use King Arthur Bread Flour) 2 cups whole wheat flour 2 teaspoons bread machine yeast OR 1 packet active dry yeast (1 tbsp loose) If using active dry yeast, dissolve it in the warm milk before combining with the remaining ingredients.  In the bowl of a mixer with dough hooks, add buttermilk and then yeast that has been proofed in the warm milk (if using packaged or loose yeast).  Add butter that has been cut into slices  Add sugar (I added honey for Mr. Fix-It)  Then, add the eggs, salt and bread flour. Lightly mix all ingredients.  Add whole wheat flour one cup at a time. I added a total of 1 1/2 cups and reserved 1/2 cup for flouring my pastry cloth. The dough pulls away from the side of the bowl and is stiff and may not require all of the flour. Do not add too much flour.  Scrape the dough out onto your floured Oklahoma Pastry Cloth™  Lightly knead into a smooth ball  Pour about a tablespoon of olive oil into the bottom of a bowl and place the dough ball in top side down. Turn the dough ball so that the oiled top is up. Cover with a warm, wet towel and allow to rise until double.  Divide the dough out into 16 equal sections. I used a scale to weigh the dough to make sure each piece was the same.  Form each section into a ball and place 8 each into 9″ round cake pans, seam side down.  Cover each pan with a warm, wet towel and allow to rise until doubled again.  Bake at 375º for 12 – 15 minutes. It helps to rotate the pans from front to back to brown the rolls evenly. Remove to cooling racks immediately.  My contribution to the project was a glaze that I put on as soon as they came out of the oven and went onto the racks. I melted 2 tbsp. butter and 1 tbsp honey. Oh yeah. That was brushed over the tops of the rolls.  And yes….they are scrumptious. Thanks so much, Candy, for giving me a new, family roll recipe!!  |
|
|
Oklahoma Pastry Cloth™ Company on Facebook
|
|
 |
|
|
Strawberry Muffins II
Saturday, May 21st, 2011
|
As in the previous post, at the request of OPC Facebook Fan, Melissa, and because the strawberries are rolling in, I’m posting two separate recipes for strawberry muffins. The first one is Mr. Fix-It’s favorite and is pretty basic while this one is more along the lines of a soda banana bread. They are larger than the previous muffins with a different flavor. They are quite light for muffins.
 Preheat oven to 375º. Place strawberries in a bowl and use 2 tablespoons of the sugar to toss with the berries. Set aside  In a batter bowl or large mixing bowl, place butter and shortening  Add flour and cut butter and shortening into flour until it resembles course crumbs  Add soda and salt  In a separate bowl, whisk together eggs, buttermilk and sour cream  Whisk until smooth  Add strawberries to flour mixture  Stir until strawberries are coated with flour  Add strawberry extract flavoring to the egg mixture  Stir egg mixture into dry ingredients.  Continue stirring until all ingredients are incorporated. Do not over stir.  Mix Turbinado sugar and cinnamon in a small container  Evenly distribute muffin batter between muffin tins. Sprinkle tops of muffins with sugar mixture. Bake at 375º for 25 – 35 minutes on the center rack. Depending on your oven, 25 minutes is usually long enough, but test with a toothpick or knife for doneness.  As you can tell, these muffins are larger. They have a unique taste and are very flaky. They also may be frozen and reheated. |
|
Oklahoma Pastry Cloth™ Company on Facebook
|
 |

 Homestead Revival
 Paratus Familia
 Rural Revolution