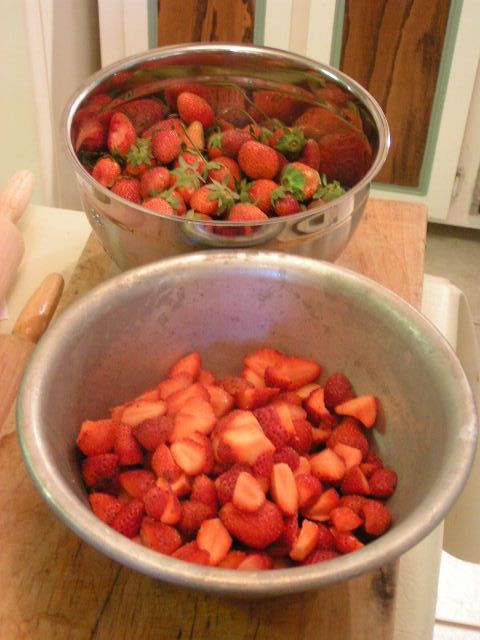
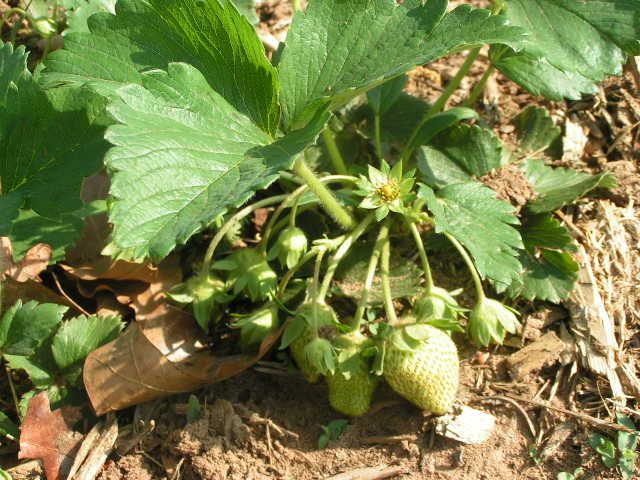
 Despite the drought-like conditions that Oklahoma has experienced this year, and in spite of the bitterly cold and snowy winter that attacked the state, the strawberries are showing how truly resilient they really are. We did lose some plants, but the ones that survived have rallied with a gumption. The plants and the berries are really large this year and drippy sweet. The varieties are Cardinal and Ozark . I’ve spent several days making jam and just thought I’d show the process for those who have never done it. I always go straight by the recipe for cooked jams in the Ball fruit pectin box. I like Ball fruit pectin better than SureJell but that’s just my personal preference. Be sure to have your waterbath canner ready, jars washed, sterilized and warm and lids sitting in warm water before you start. The jam goes pretty fast.               |
|
Oklahoma Pastry Cloth™ Company on Facebook
|
 |
Archive for May, 2011
Days of Strawberry Jam
Wednesday, May 11th, 2011
A Fun Project For the Kiddos
Monday, May 9th, 2011
 Friday afternoon, I had the pleasure of spending time with a precious group of home schooled girls who have formed a group called, “Keepers”. They are all ages and are polite, gentle, giggly and ready to tackle anything that is put in front of them. I was asked to do an art project with them that could be accomplished by all ages, even the very young, and so I decided that mock stained glass windows were just the thing. The beauty about this project is that there is no right or wrong to it and even tiny fingers can paint glue and tear paper. I loaded up the car with supplies, including a roll of newsprint for covering the dining table where we would be working. Most newspaper offices will sell you their end rolls of newsprint which offer you a plentiful supply of the paper for everything from covering tables to long murals for tempera paint. Our office charges by the inch thickness of paper on the roll.
 Cover the table with newsprint or an old tablecloth and place the stained glass pattern onto the table. Lay the plexiglas over the pattern and center. Place tape at either side of the plexiglas onto the pattern to hold the plexiglas in place. Using a Sharpie pen, trace the pattern onto the plexiglas. For thicker lines, go over the lines again. Remove the tape and pattern and turn the plexiglas face side down (side with the drawn pattern down).  Pour Elmer’s glue into small paper cup and add enough water to make it easy to paint – about 3 parts glue to 1 part water. Using a paintbrush, paint the glue mixture onto a portion of the traced pattern on the plexiglas. Tear pieces of tissue paper to fit shapes and lay onto the glue. Paint over the back of the paper, once on the plexiglas, with a thin coat of the glue mixture.  Offer lots of different colors  Continue painting each section of the drawing with glue and add different colors of paper according to what part is being completed. Be sure that the back of the papers are painted with the glue mixture as well.  This is one time that “staying inside the lines” has absolutely no application! Colors can overlap, glue can get splattered. It doesn’t matter.  Young children are really successful with this project because it does not have to be exact.  A dove is starting to emerge!  The youngest one has finished. A damp cloth easily removes any wayward glue. When the glue has dried, hot glue the plexiglass into the frame by placing little dots of hot glue in each inside corner of the frame. Display on a wire easle or add a hanger and hang in the window on a suction cup hanger that can be purchased at Hobby Lobby or Michaels. Be sure and choose a window that does not have direct sunlight as it will fade the colors of the paper.  They all did such a good job, don’t you think? This is an easy and fun project for kids of all ages. I hope that you get a chance to try it. |
|
Oklahoma Pastry Cloth™ Company on Facebook
|
 |
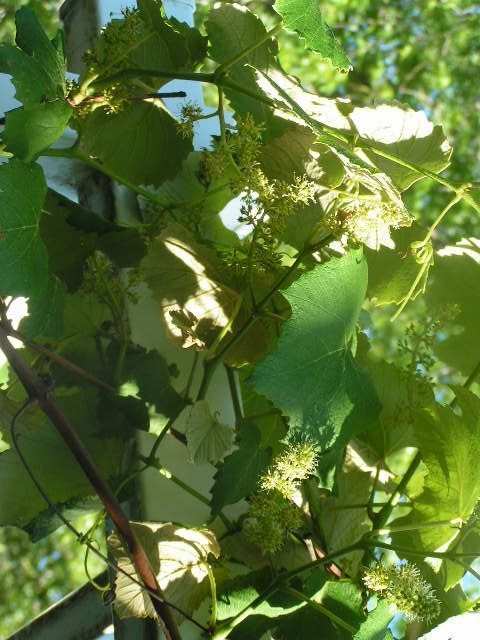
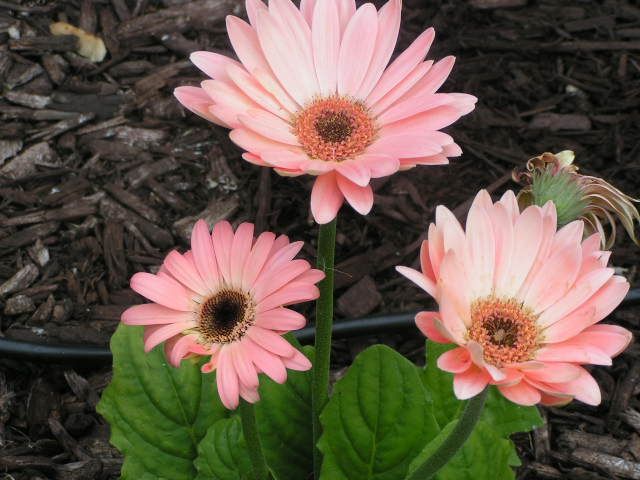
Roses and Berries and Grapes – Oh My!
Thursday, May 5th, 2011
        |
|
Oklahoma Pastry Cloth™ Company on Facebook
|
 |
A Few Shells Short of a Box
Tuesday, May 3rd, 2011
|
You get the picture – not hitting on all cylinders. You know? Mr. Fix-It got this video by email today from a friend – also a male – with the accompanying comment which kinda ruffled my tailfeathers, “You just don’t find good wives like this anymore.” Well, yeah. Thank goodness for suffrage! What gets me is that this lady looks happy. She obviously took that part about “love, honor and obey” seriously!! I can just hear that guy from the movie shorts of the ’30’s, in his nasally voice intoning, “And here we have Mrs. Not-Too-Smart and hubby having a lovely Saturday afternoon in the park. After games they’ll be hitting the bar for a couple of “shooters”. And then again, maybe they went there first!” From a 1932 test of bullet proof glass! I just had to share it with you – oh, and location unknown – except that it can’t be Oklahoma!! We Okies aren’t this dumb: Care to add any other idioms? |
|
Oklahoma Pastry Cloth™ Company on Facebook
|
 |
Creamy Chicken Veggie/Noodle Soup
Monday, May 2nd, 2011
 I don’t know about where you are, but here in Okie Land, it’s just downright cold. Last night, we had a low in the 30’s and it appears to be making a repeat performance tonight. A wonderful rain has continued the entire day, totally breaking the drought for sure. We even had a little pea-sized hail for good measure. The ground is soaked and that’s a good way to be!! A neighbor even burned trash this weekend – something that has been forbidden in these here parts. And so, though this is the first of May, and though we normally have warm weather by this time, I decided to “soup” up my basic chicken soup recipe and make a meal into which Mr. Fix-It could sink his teeth. By his third bowl, I figured that he liked the results. There’s leftovers for tomorrow too! Here is my new concoction! Soup Note: You can substitute dried veggies, canned chicken and canned milk if you want to try your hand at ‘sustainable’ cooking.  Pour one to two tbsp olive oil into a large stock pan or pot.  Add 1 tbsp flour and on medium heat, stir until flour is fully incorporated to make a light roue.  Add 2 quarts chicken broth and 1 bouillon cube and stir. Simmer on medium heat  In a skillet, add one tbsp olive oil and sauté 1/2 cup chopped onions until soft   Chop three large button mushrooms  Add chopped veggies to sautéd onions and toss  Pour vegetables into simmering broth  Add 1/8 tsp thyme  And 1/8 tsp sesame oil  Add chopped raw chicken breast  Add a fresh orange peel. We love this. It makes all the difference, but it is optional  Stir and cover. Simmer for 30 minutes and then remove orange peel  Add 1/2 cup chopped cabbage and simmer, covered, for 10 more minutes  Uncover and add 1/2 cup half and half and stir well  Bring to a boil and gently sprinkle in homemade noodles while stirring to keep from clumping. We much prefer the homemade noodles to packaged and they are so simple to make. They are much more tender, but you can use the packaged. Simmer until tender. The noodles will naturally thicken the soup, but if you want it to be any thicker, just add cornstarch that has been mixed with cold water. Note: If you plan to can this soup, leave out the noodles. Just open a jar of soup later and add noodles prior to serving. Noodles get mushy when canned.  |
|
Oklahoma Pastry Cloth™ Company on Facebook
|
 |

 Homestead Revival
 Paratus Familia
 Rural Revolution